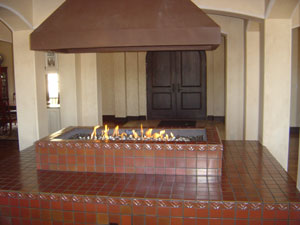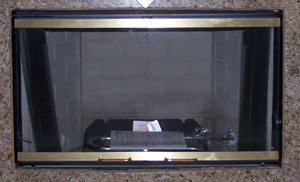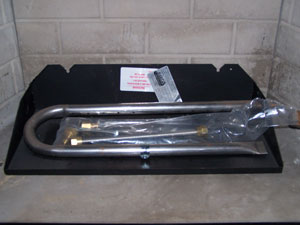
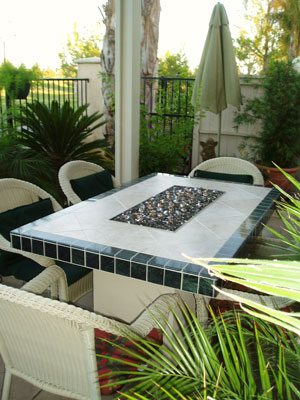
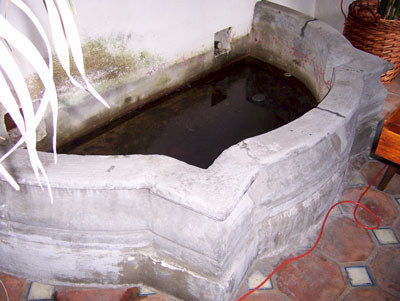
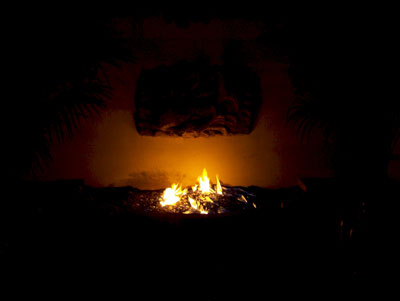
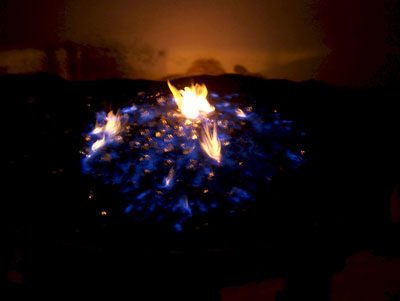
The fountain below was converted to a fire pit with
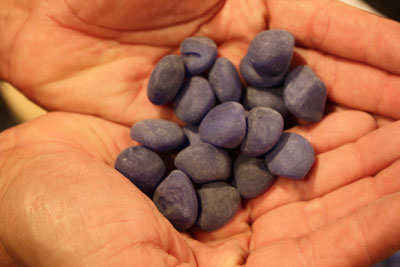
Black Magic. We use a several hundred pounds of lava rock then topped it with crushed lava rock to keep the materials from falling through. After we placed the
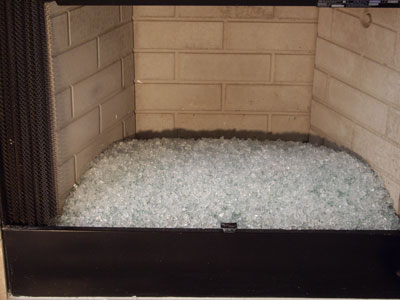
Black Magic on the lava rock Craig topped it with
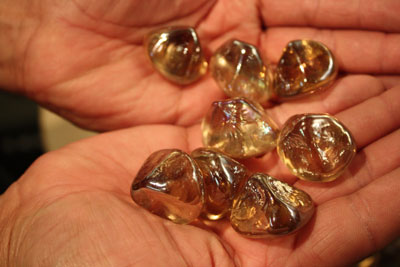
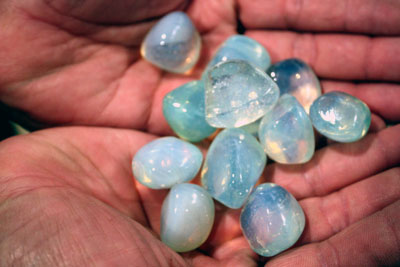
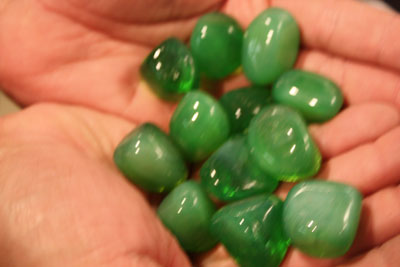
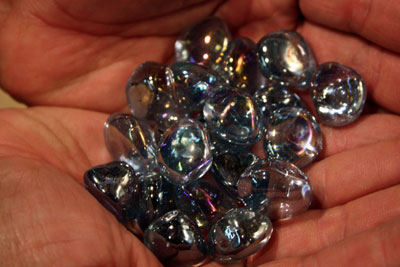
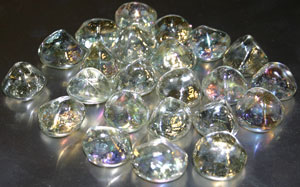
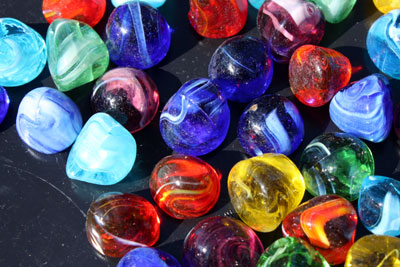
Clear Pyrite (clear with sterling silver coating) Base Glass,
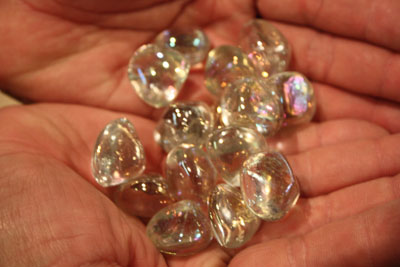
Clear Diamonds,
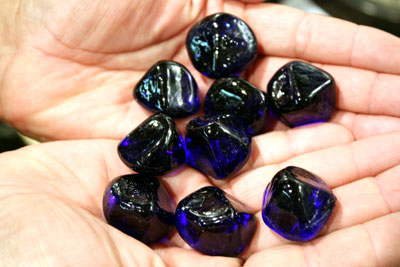
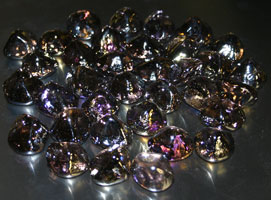
Black Base Glass,
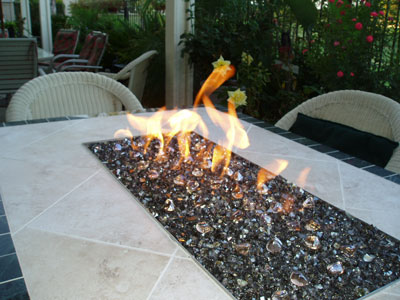
Black Reflective Base Glass and now he has one cool fire feature. We will show you from beginning to end.
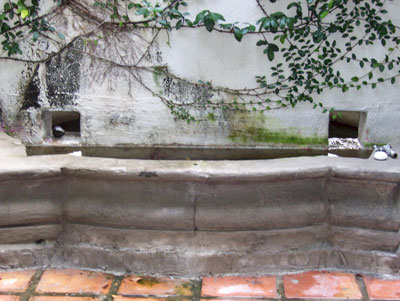
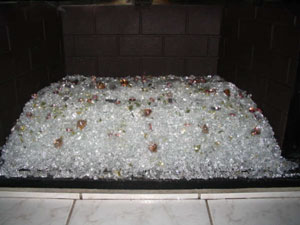
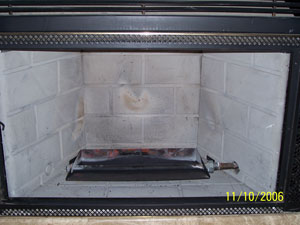
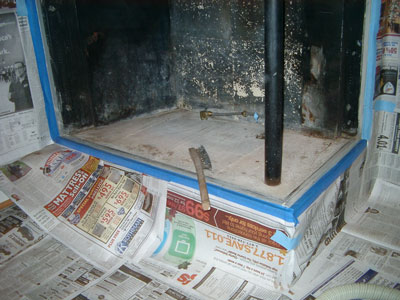
NASTY!
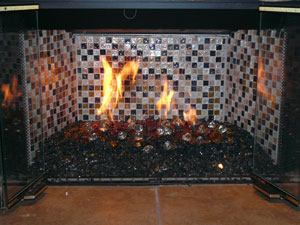
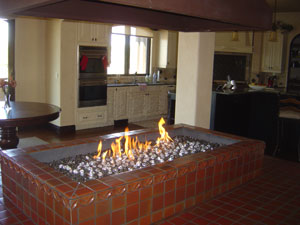
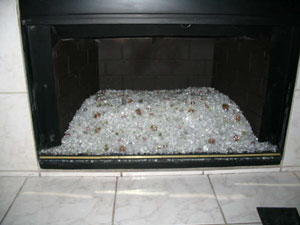
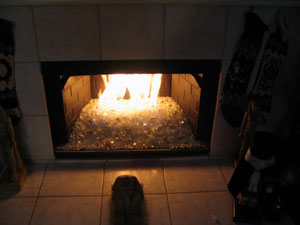
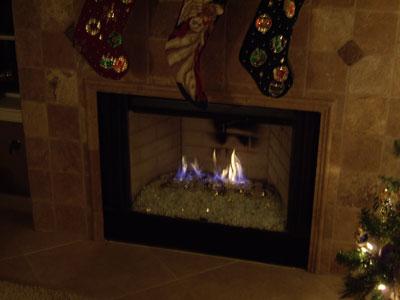
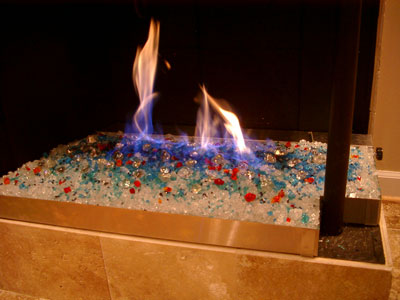
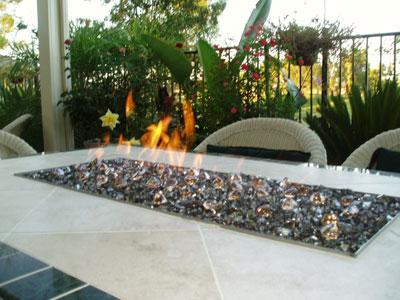
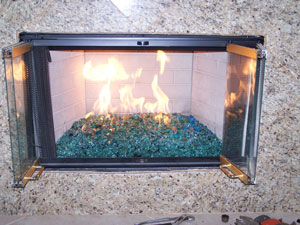
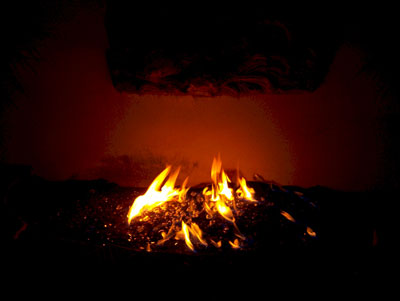
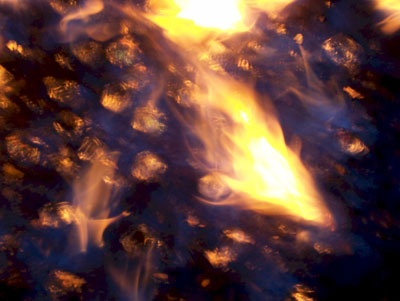
Here you can see the lightly coated Black Magic with our glass for accents and sparkle.
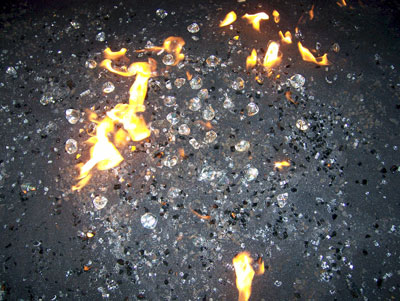
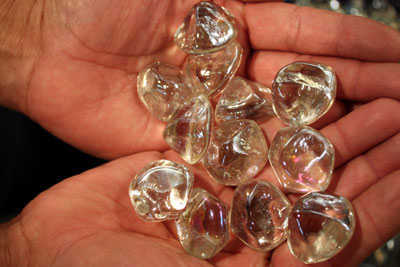
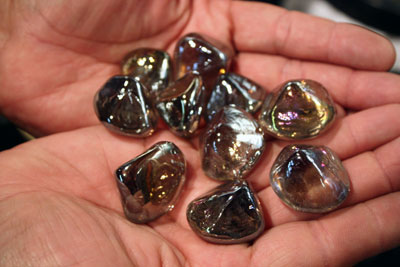
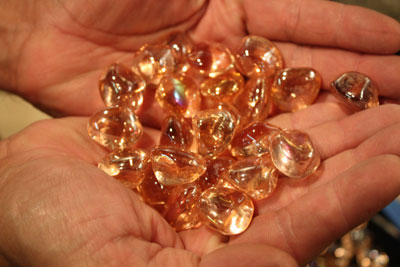
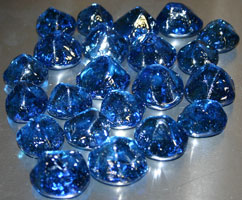
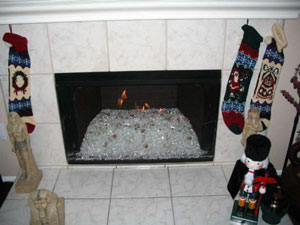
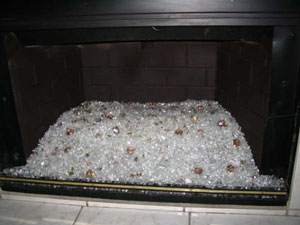
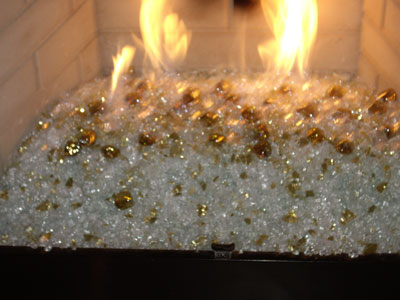
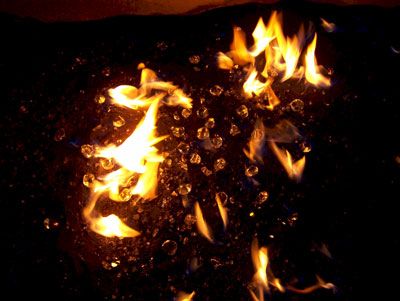
Here you can see the Diamonds. When you see the Diamonds in the fire they appear to be melting but actually they are only reflecting inside which looks like they are meting. They are made from crystal.
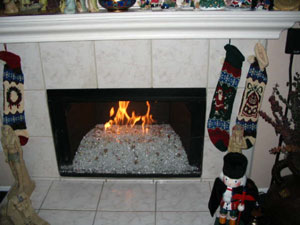
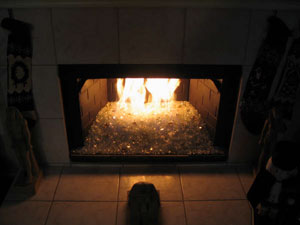
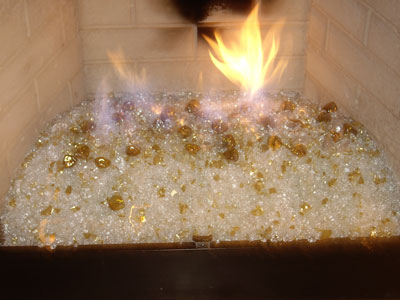
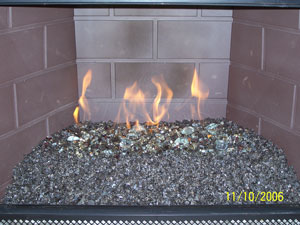
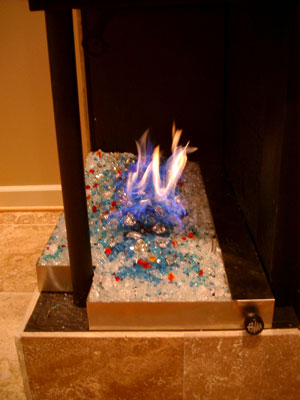
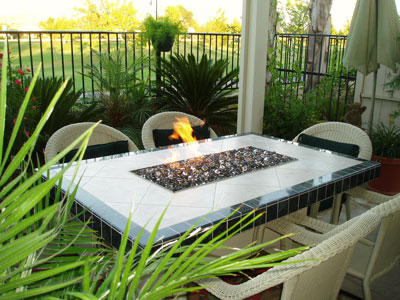
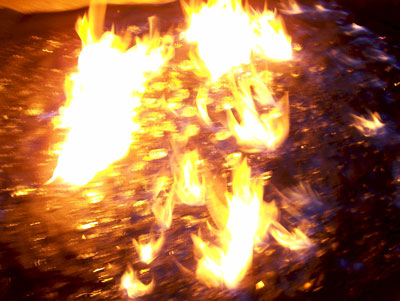
And with everything just right you have the Black Magic look!
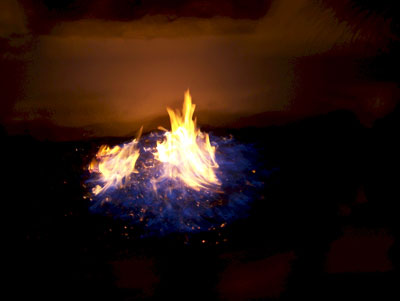
Nice Flames!
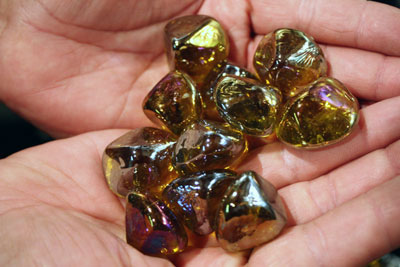
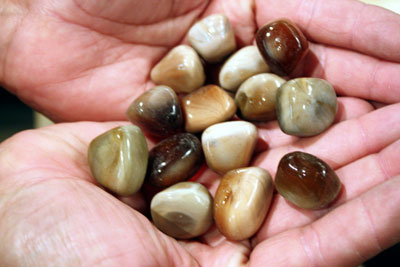
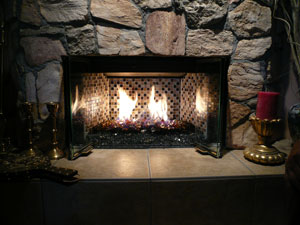
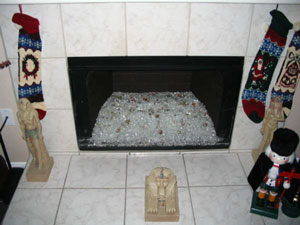
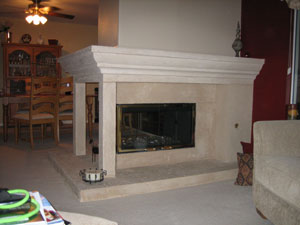
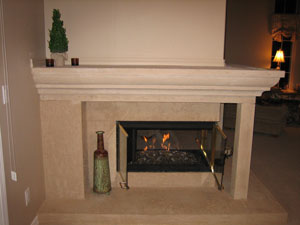
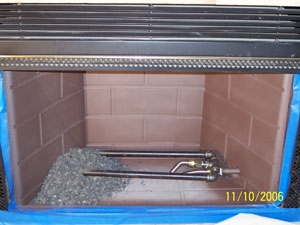
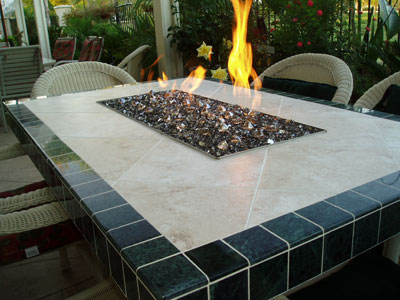
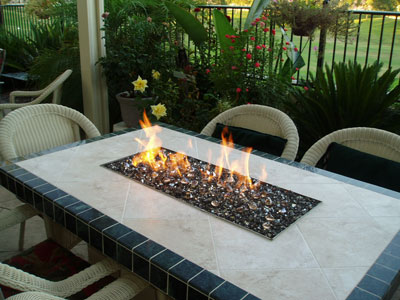
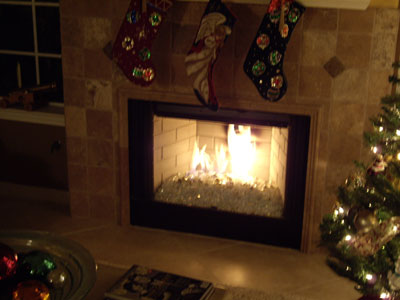
The fireplace below is in Palm Desert California and was a self install with a crushed lava base, Clear Base Glass over the lava, Starfire Base Glass on top of the clear and topped with Amber Diamonds and a splash of our Gold Base Glass . It looked great until they found the burner was too close to the back which burned the back wall. I don't know if this was repaired as we did send paint and instructions on how to prevent this in the future. The fireplace looked great except for the "skid mark" on the back wall.
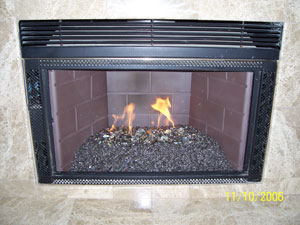
Above it still looked good here!
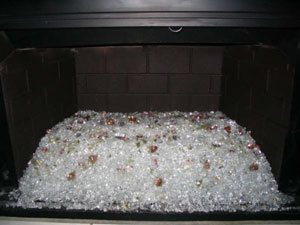
About our
Diamonds, they are made of crystal and when you see them in the fireplace you actually see the fire reflection reflecting the flame backward as if the diamonds were melting from the inside.
These are are newest Diamonds, 2 1/2" ! Soon to be released.
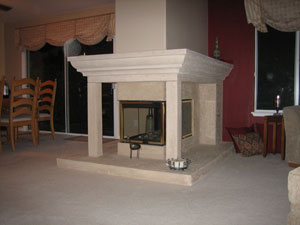
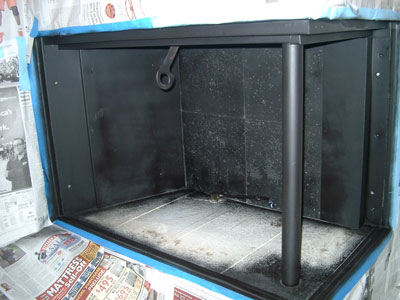
Do it yourself fireplace remodel made easy, or at least it seems that way.
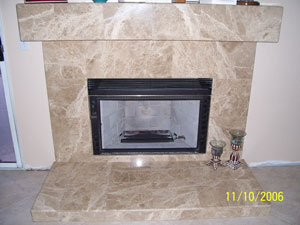
First, the tile that was installed is not rated for fire. This tile would of popped off as soon as the fire was turned on. So do a little research before you begin. We can help in many ways, just call and ask.

It may have of seemed to be a good idea at the time, but it wasn't!

When redesigning a fireplace we suggest card board mache'. A card board mock up so you can see a basic preview of your project.


Below you can see the bottom, top and mantle in card board.


Now the rip and tear process begins!

Below we installed the extra electrical for the components and the TV. The components will be installed on the right side out of view with a black glass door. This will be installed later.

Below the framing begins.


Below we now added the Durock at the fireplace opening. This is key to the whole project. Math is very important when doing these layouts!


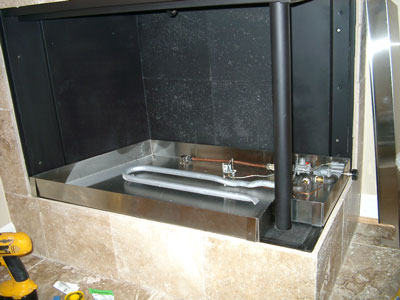
Below you can see the slate is being added.


Above and below the fireplace is 90% finished. The mantle needs to be installed and the door on the right to conceal the components needs to be installed as well. The inside of the fireplace will have 3 pieces of black galaxy granite installed. We will post these pictures of the fireplace when it is completely finished as well.

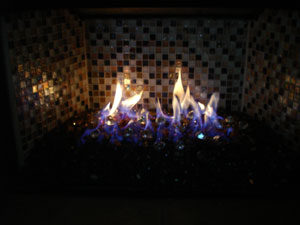
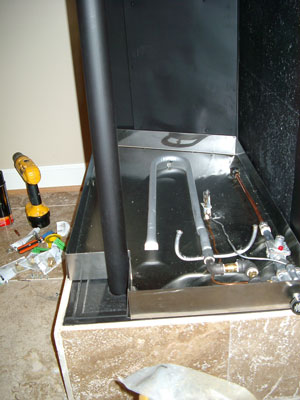
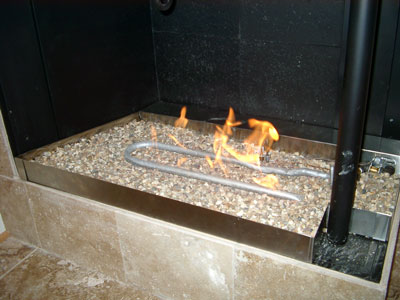
Now for the glass installation. We started with a satin black paint on the back walls, until we install the granite. Then we bulked up the base with 2" of white sand as this will save you a bunch of money! We used sand because we were pouring Starfire Base Glass in the fireplace. If we were to use a darker color of glass we would of used our crushed lava rock as a filler. When using sand, always make sure the burner is on top of the sand.

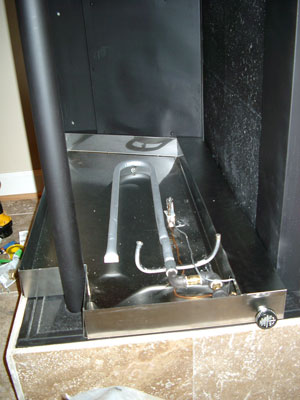
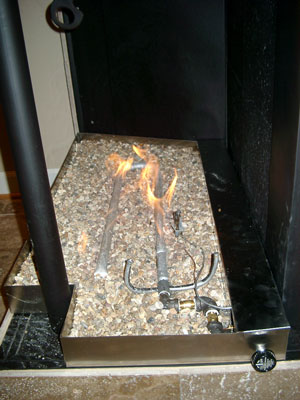
Test the burner/ location making sure the flames don't hit the walls.


Then pour the glass!


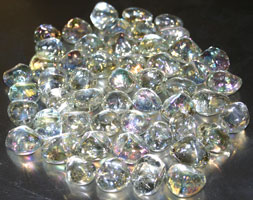
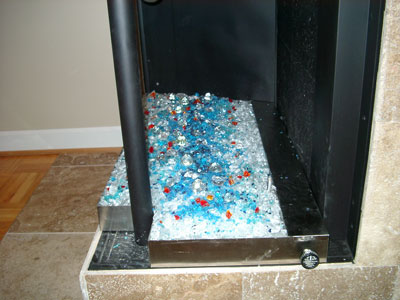
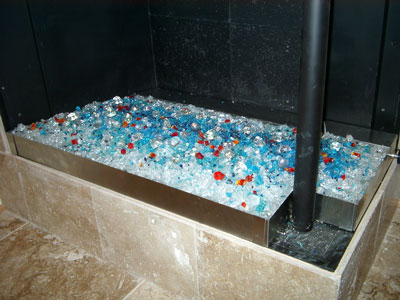
We added a few Pink Diamonds and then later added Ice Ice Ice Topper and Clear Diamonds. These products because of the way they are made appear to be melting on the inside.


The sealer that was used was a stone enhancer, not just a regular cheap sealer. When using rock you always want to see the beauty of the stone you are using.


As you can see the mantle is still missing. We have a few more details to still do and as soon as we have time to post the pictures, they will be here.
We encourage imagination to all of our customers and we support you and your projects. Regardless how simple or how creative. This is one of the elements that spawned our success and continues to do so.
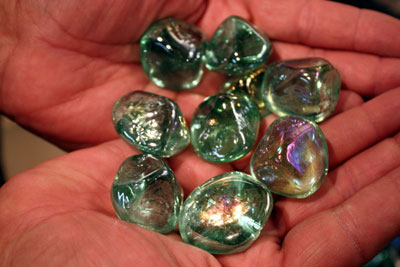
The next several pictures are of Gisella Hunter in Palm Springs. She had us install a
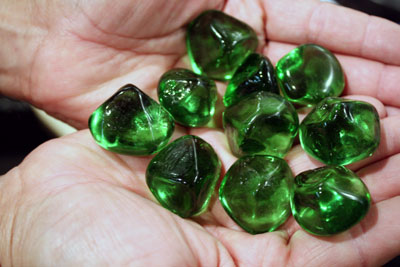
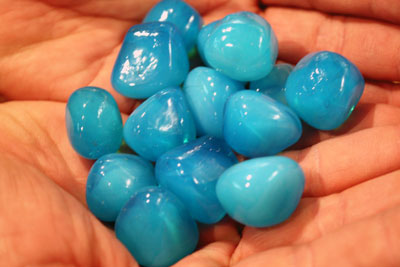
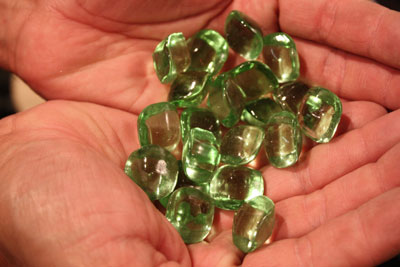
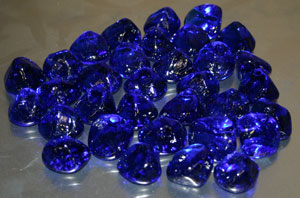
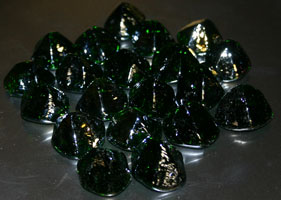
Blue Green Base Glass, painted the interior a Antique Ruby Red, then she topped it with:
Then if that was not enough, she had us build two VortexED Fires to set next to the fireplace.