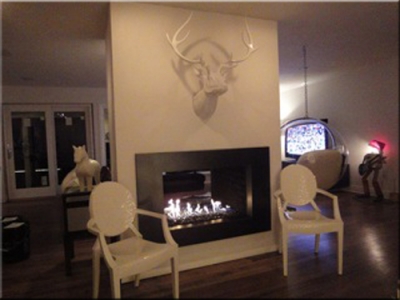
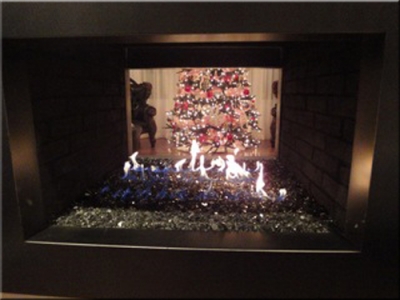
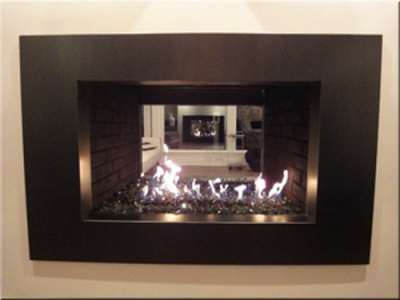
Get Ready for Nasty to Nice Fireplace Pictures!
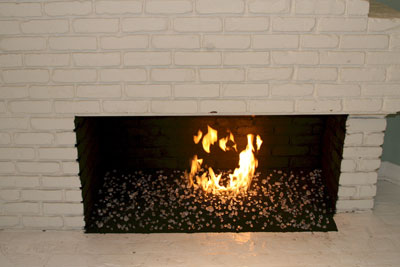
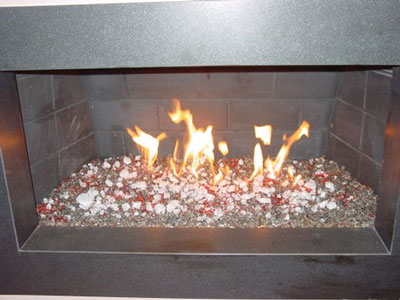
Here is a fireplace before and after with Clear and a splash of Ice
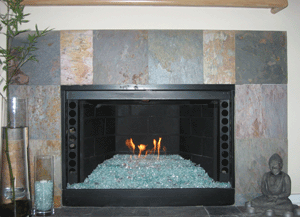
The fireplace below has 1/2" Chunky Clear with a little bit of Ice Topping it off installed and a simple self install. This is a remote control and it is located on the bottom right.
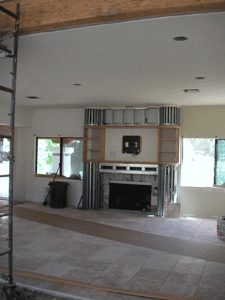
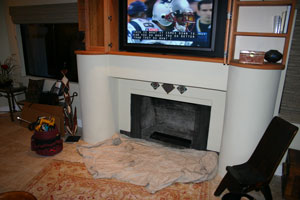
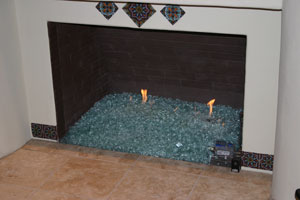
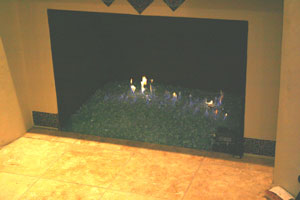
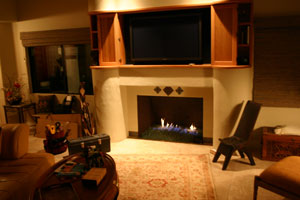
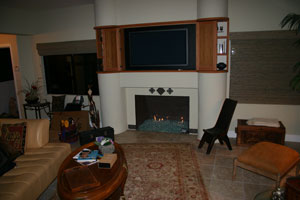
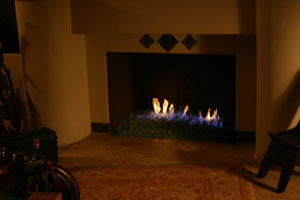
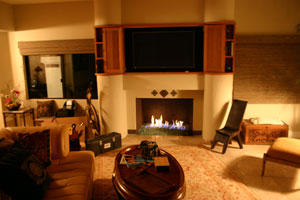
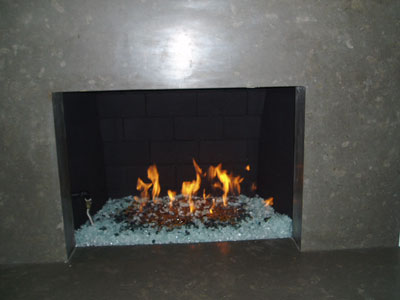
The fireplace below is a direct vent installation with Gray, Gray Reflective and Clear Pyrite installed
Has anyone ever said "Nice Logs"? I don't think so. We are going to show you how to transform your direct vent fireplace into a real attractive fireplace.
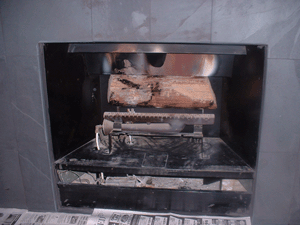
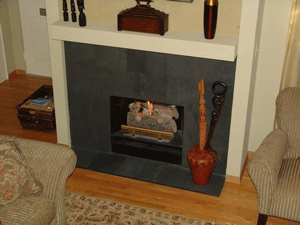
The key is not to change the amount of gas going into the fireplace, so don't change the regulator.
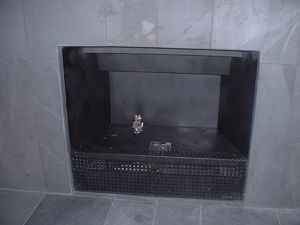
The thermo coupler (heat detector) will be raised to the surface to insure it will still work.
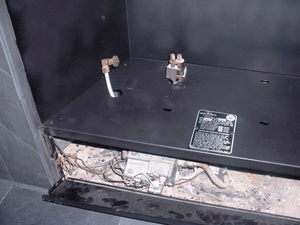
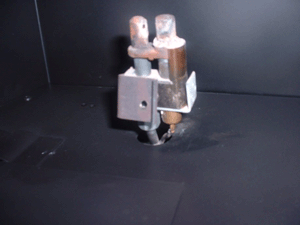
Drop in a new burner or use the one that was installed with your fireplace and your done.
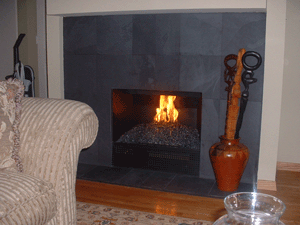
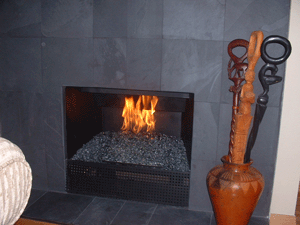
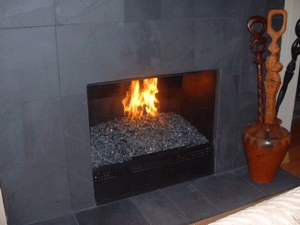
The fireplace below has a base of starfire and topped with dark red orange
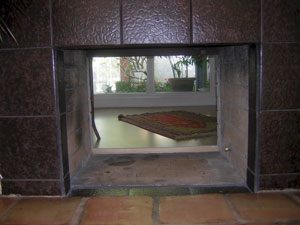
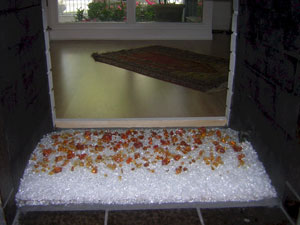
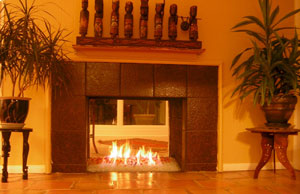
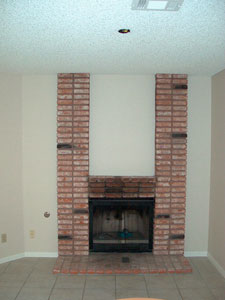
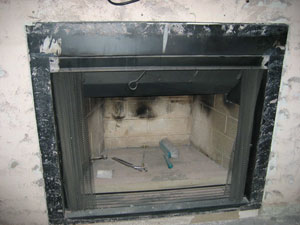
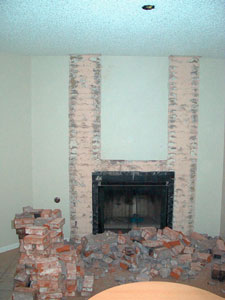
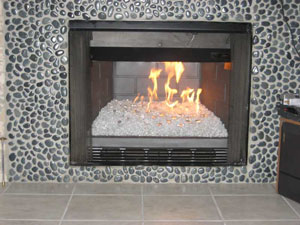
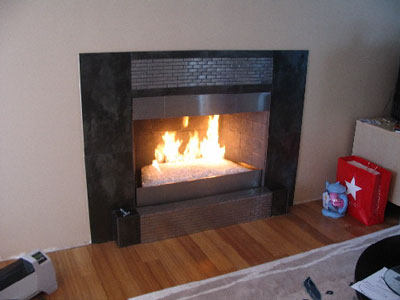
The 2 fireplaces below are the same fireplace! This fireplace started out with a brick face and Clear glass
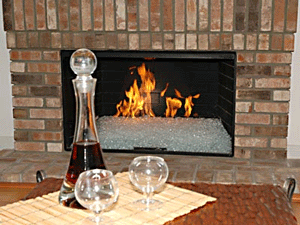
After a little black granite and some Clear Ice, we have a very nice fireplace!
This fireplace belongs to Carl Herkes
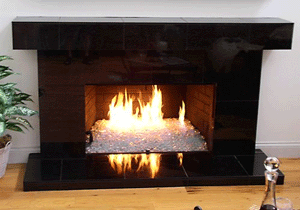
The fireplace below has Evergreen, Evergreen Reflective and Topped with Ice.
Before and after, big difference?

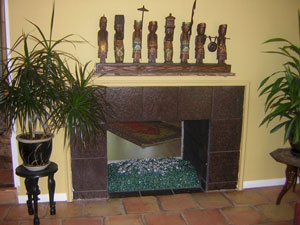
The 6 pictures are of Green, Green Reflective, a 2" install with lava rock filler and is a self install
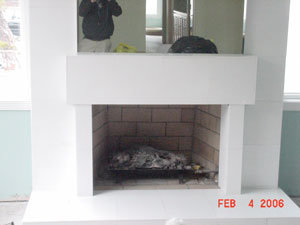
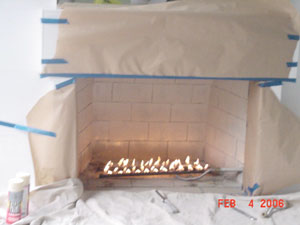
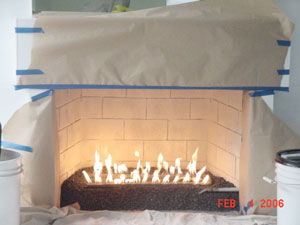
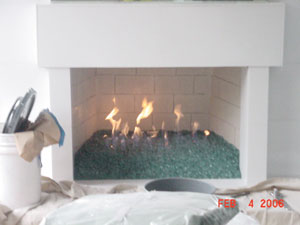
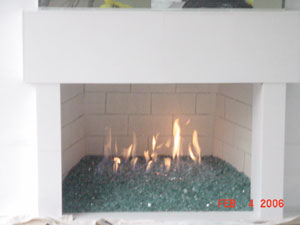
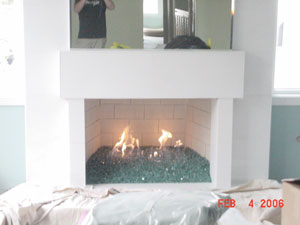
The pictures below are of a self install fire pit with crushed lava rock and a Clear base
1/2" to 3/4" lava rock is use just to the bottom of the ring.
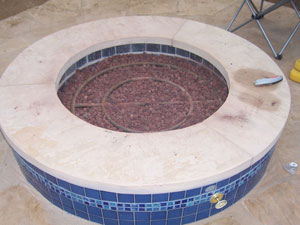
If you want a higher center then pour a little more filler on top of the ring.
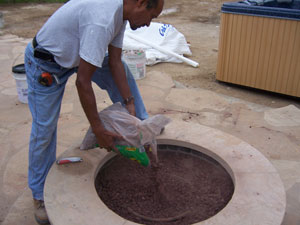
Now we will pour the crushed lava rock (1/4" to 3/8") over the filler as this will stop the glass from falling through the lava rock.
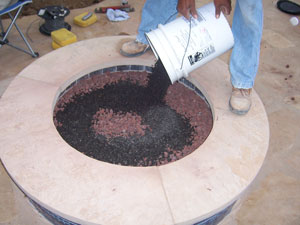
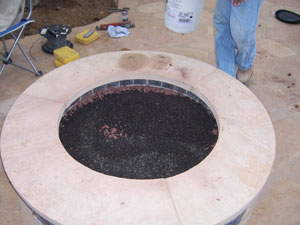
Finish shaping and pour the glass
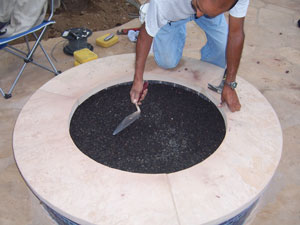
This is a 36" fire pit which requires 56 lbs for a 1" cover and 80 lbs for a 1 1/2" cover.
We used the 1" method, 56 lbs which as you can see works just fine and no you can't see though the glass. Any one telling you need more is trying to fill their pockets with your money!
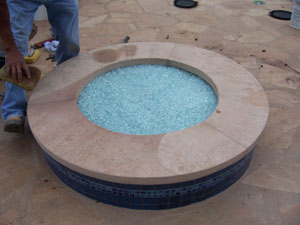
The second step will be to add color and toppers which we should post in a few days and night time pictures with the fire on
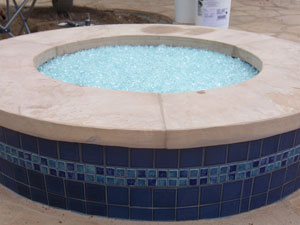
The fireplace below has Starfire and Ice. This is a complete makeover and turned out very nice.
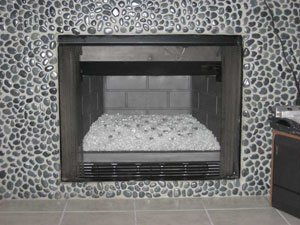
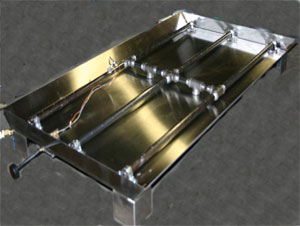
The pan burner below is for a 2 sided fireplace and this pan is 25" x 45" and controlled from only one side. It is constructed from 16 gauge brushed stainless steel with 3" x 3" x 3" corner legs.
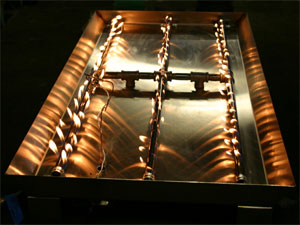
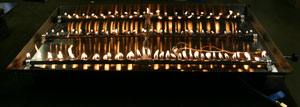
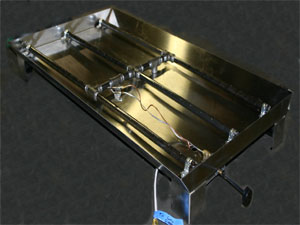
The picture on the bottom left shows you the thermo-coupler and safety pilot light kit which are UL and CSA approved.
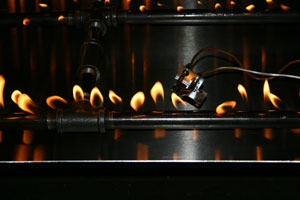
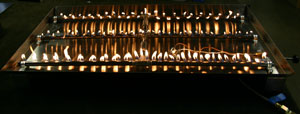
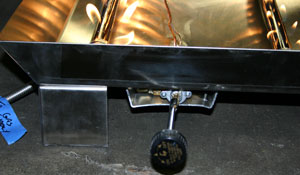
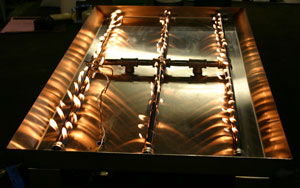
This is one side of the two sided fireplace and we will post pictures when the glass is installed of both sides.
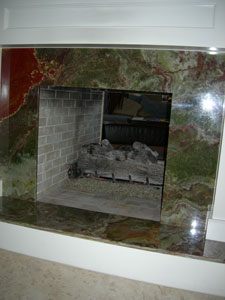
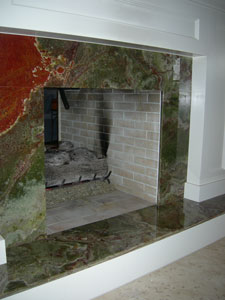
The fireplace below is in Georgia and we will explain as we move down
The first 2 pictures are of how it used to look, nice logs! I don't think so!
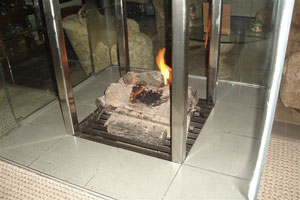
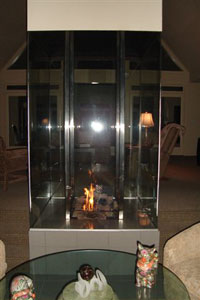
The owners of this fireplace called and told us they couldn't use the fireplace because of the soot (carbon-monoxide) (poison) So we redesigned the fireplace with an air vented pan and our glass (Starfire and Ice) and now a clean burn! The flames are all above the glass and therefore no more carbon-monoxide. Fireplace Shops and dealers won't tell you about this unless you ask, how would you know to ask?
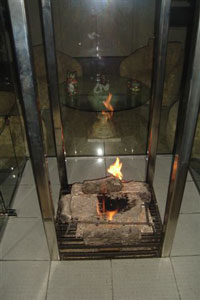
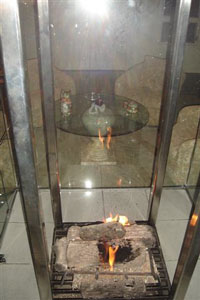
Starfire and Ice on the left
Pan and ring burner on the right.
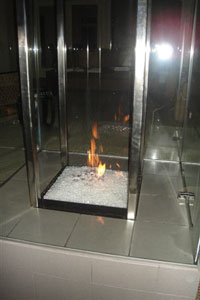
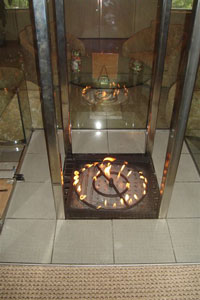
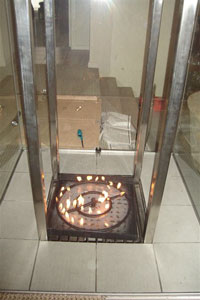
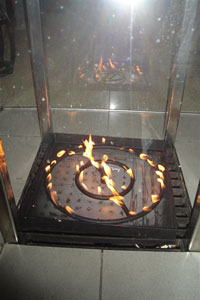
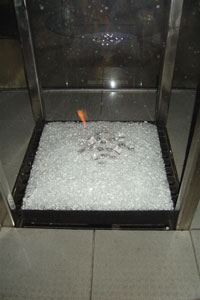
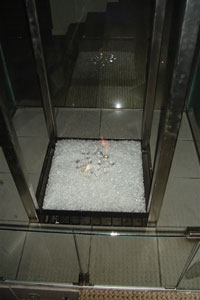
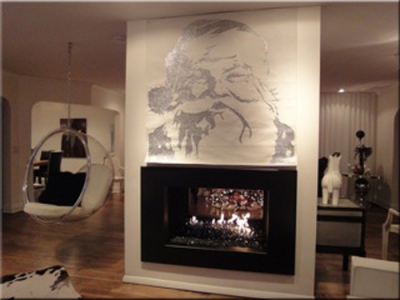
Really nice fireplace in the middle of the great room surrounded by 3 glass walls.
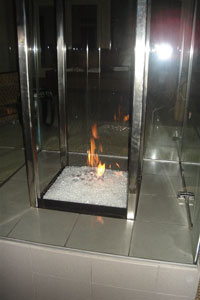
The fireplace below has Clear, Gray, Black, Clear Pyrite and Topped with 1/2" Starfire.
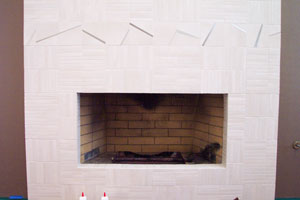
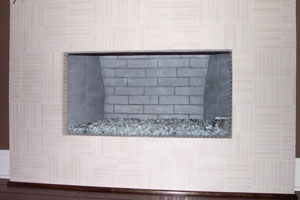
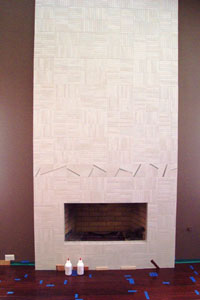
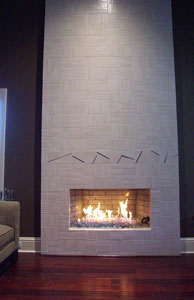
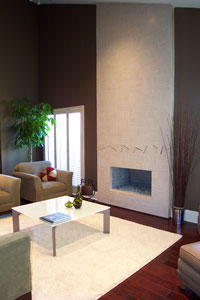
The fireplace below is in Newport Beach California and Laura did a great self install!
2" of lava and a Bronze base with Bronze Reflective and 2 lbs of Gold. One can of paint and your done.
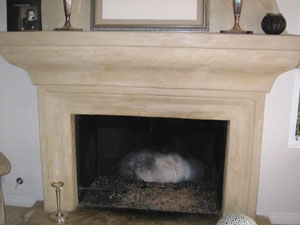
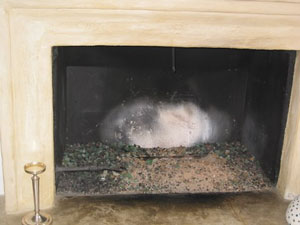
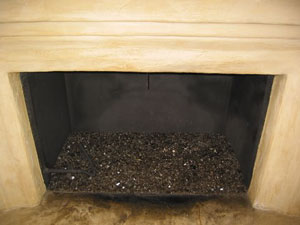
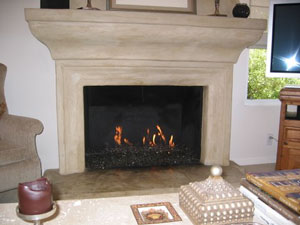
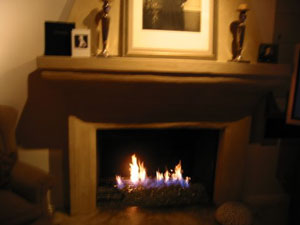
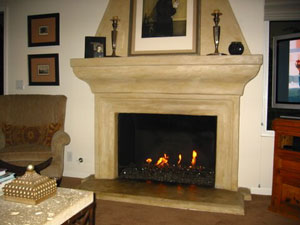
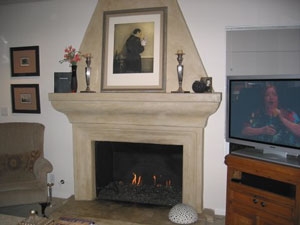
The fireplace below has Bronze, Bronze Reflective, Ice, Gold and Yellow Amber Topper. This fireplace is in Shawano, Wisconsin at the Cotton Patch Restaurant.
E mail Patti and tell here you saw her fireplace.
Now for the after pictures! This was a custom propane burner which was under all of the glass!
This is what Patti had to say:
Hi Ed,
Well, it's been about two weeks since I installed the new fireplace, and it is the talk of this sleepy little town. Because of the "Ice" on the top, it has been nicknamed the "Fire and Ice" fireplace. I just placed an order for a pound each of 1/4" Gold, Yellow Amber Topper and Clear Ice. I think it needs a smidgen more color, and since the Ice is the big feature, I decided to add a little more. I have to say, I didn't think I would like the ice, but it looks amazing!
Thank you Ed and Jimmy for all of your help and hand holding over the past few months. I will take more pictures when I add the new products.
Thanks again,
Patti
The fireplace below has a 3" layer of crushed lava, 1/4" Clear base, 1/2" Starfire, 3/4" Starfire for the chunky look and a flush surround to finish it off. A very impressive and modern house and fireplace. From beginning to end, here we go.
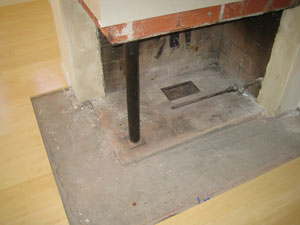
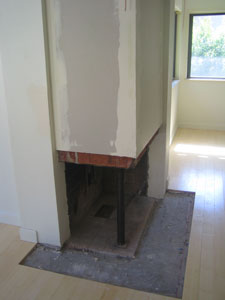
We also floated the walls to level the fireplace and get it ready for the surround.
A little bit of granite on the floor
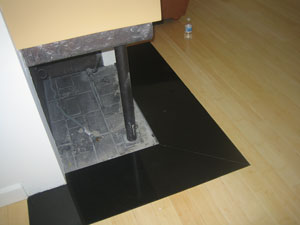
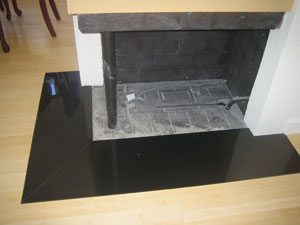
If you notice to the right there is no valve to turn it on? The plumber from a few years ago has it to the right about 5 feet, DUMMY! Lets fill the fireplace with gas before we get there and see what happens! Don't hire that plumber.
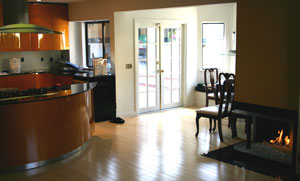
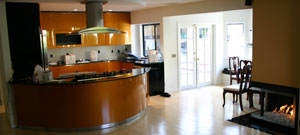
We are now going to do an extended 3/4" glass radius counter in the kitchen in front of the stove for a glass counter top.
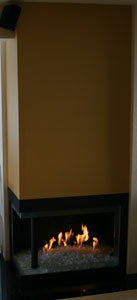
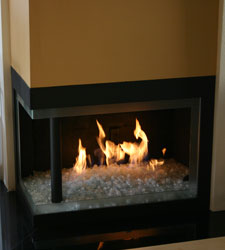
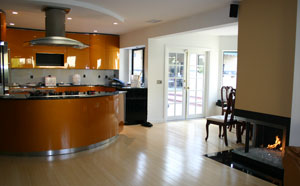
We also bent all of the kitchen handles to contour the cabinets.
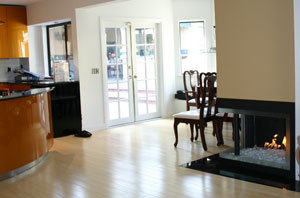
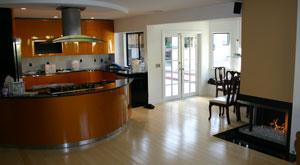
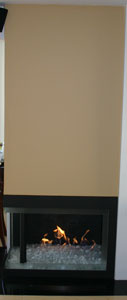
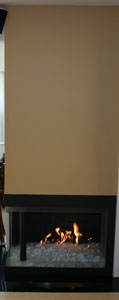
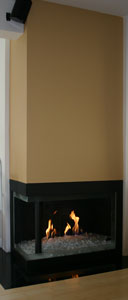
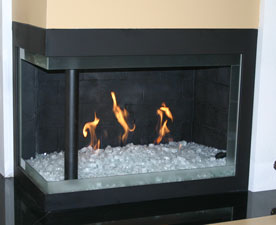
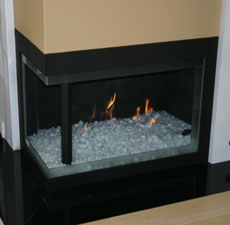
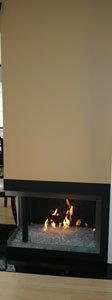
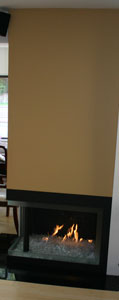
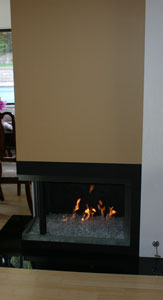
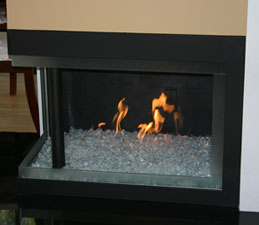
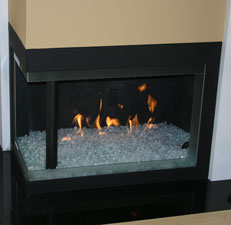
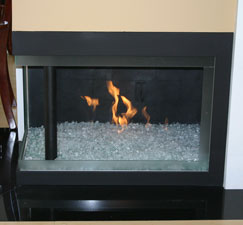
Now you can see the fireplace valve to the right.
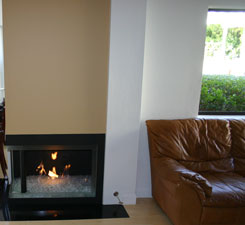
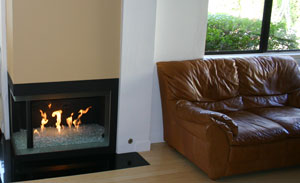
We flush fit a surround to the wall for a final finish. This was a satin black aluminum frame with 2" of glass installed
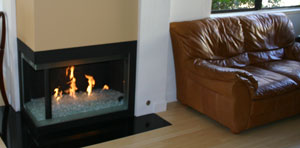
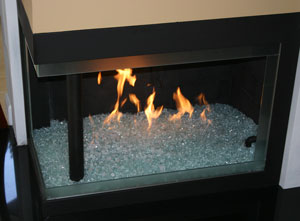
We are capable of any size project from design to a full installation (depending on our current work load). There is nothing we can't do as we are the the first and foremost authority in our field. We never say NO! We do only what the other companies can only dream about!
Ed
The fireplace below is a propane burner, self installation with the 2" method, Starfire and Gold on top
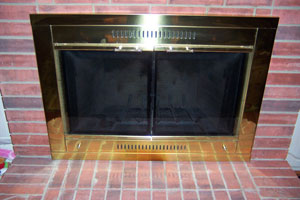
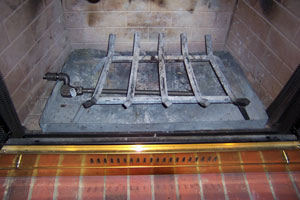
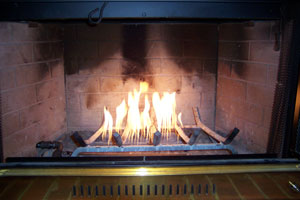
Above we have the old burner with a smaller flame pattern which we will change to a double burner in our tray propane pan burner
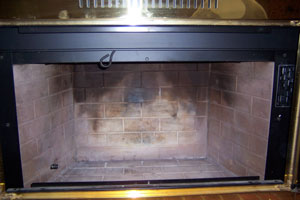
A little bit of cleaning with a wire brush and 1200 degree paint
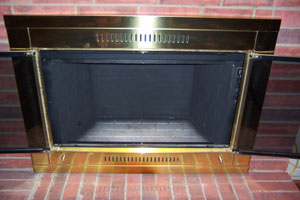
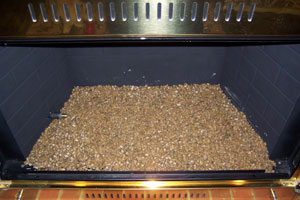
We filled the bottom with pea gravel and the covered it with sand
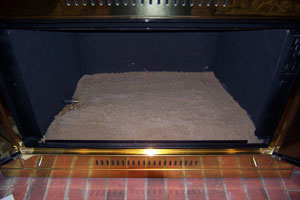
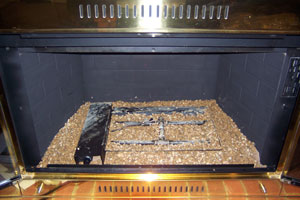
Then we installed the propane burner and filler it with pea gravel to the top of the burners
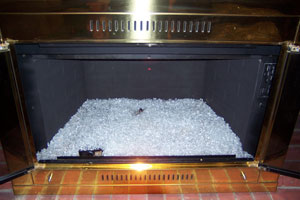
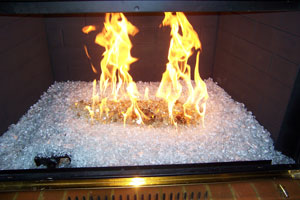
You can see the pilot light and thermo-coupler exposed
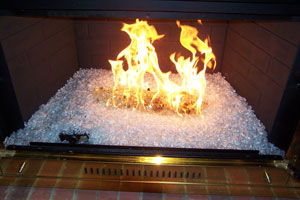
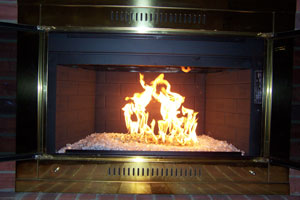
So there it is. A clean burning propane burner, 2" method, no soot, no smells, no carbon monoxide and it puts out a tremendous amount of heat. We sell the 2" method because it works and if anyone tries to tell you different, they need your money more than you do. We are the only company building propane burners for glass that don't soot or smell!
This is a self install with a Clear base, Lagoon Topper, Pale Emerald Green Topper and Ice
above the burner goes in
below the lava goes on the burner. Then magically the lava disappears! We use the 2" method to save money not gouge the customer as we here this everyday how customers are taken by BS!
The fireplace below is in San Diego, California and the colors used were:
Cobalt Blue Topper
Steel Blue Topper
Cranberry Pink Topping
Purple Topper
Lilac Topper
Deep Royal Topping
Clear Base
Solex and Solex Reflective
Azurlite and Azurlite Reflective
Blue Green and Blue Green Reflective
and a little bit of Ice Ice Ice on top
wow!
The end pictures show that the burner was too close the wall which was an easy fix by moving the burner forward.
This is where is went a little bit wrong, oops. We just had them move the burner forward and now its fine and the back wall was repainted.
The fire pit/ table is at the Roxbury Hotel and we will show you the progress here from beginning to end. This was a propane installation with our FPPK burner. The colors used were:
1/4" Starfire, 1/2" Starfire, gold, Lime Green Topper, Pale Olive Green Topper, Olive Green Topper,a little bit of wood and tile and here you go!
Above shows the framing and the gas line coming in.
Below shows the pipe coming out of the floor and the thermo-coupler on the glass next to the igniter
Roxbury Hotel, a cool fire pit!
The fireplace below is a before and after with Starfire.
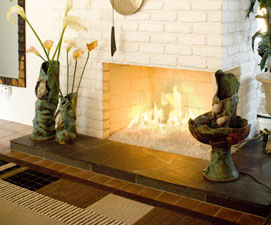
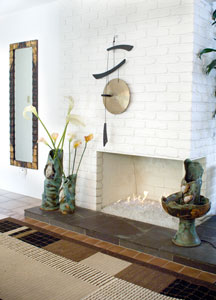
Below is what we started with. We can fix anything!
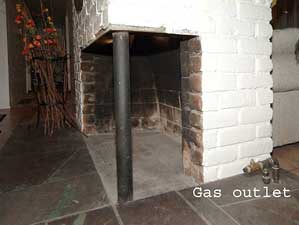
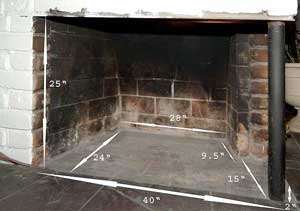
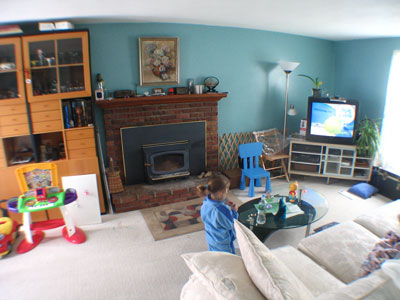
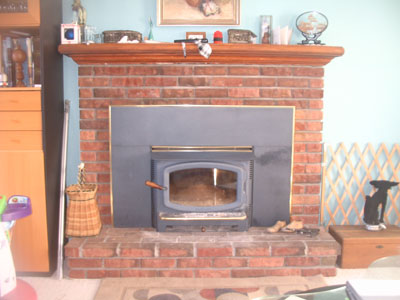
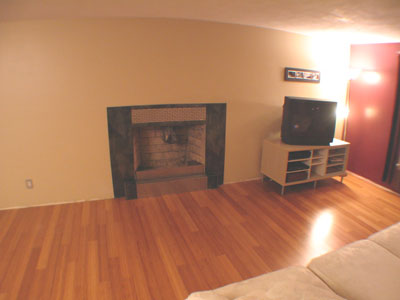
The pictures below are from Iggy in New York. He sent me a picture of his fireplace and asked me what we can do to help him. Well sit down and watch. A new pan, hood, surround, tile and Starfire! Nice insert, not! Just like "Nice Logs", not!
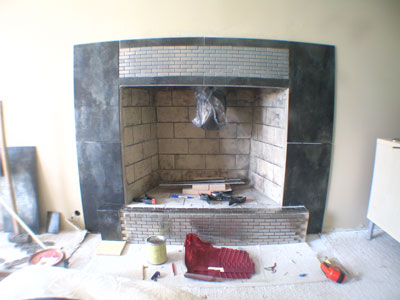
below is a template for the stainless steel pan
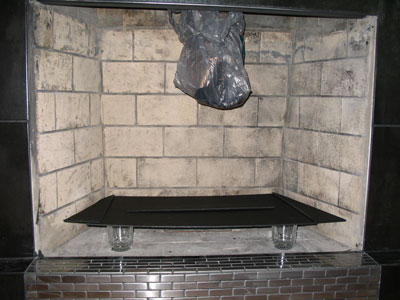
Below we added a pan
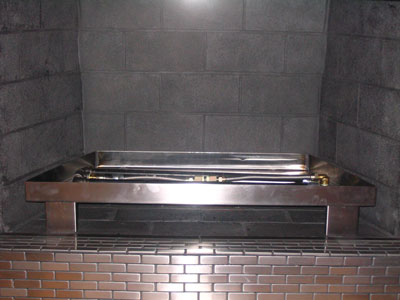
Below we added a vent which was taken out years ago.
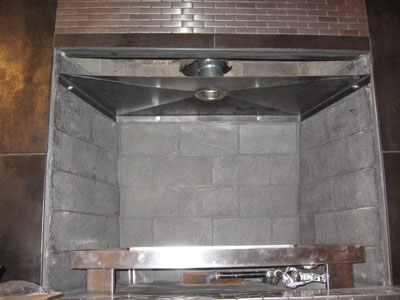
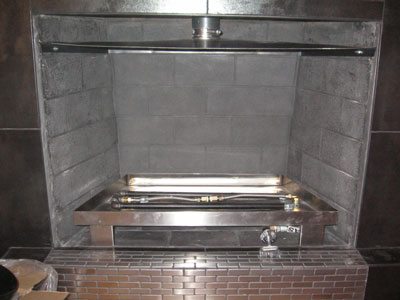
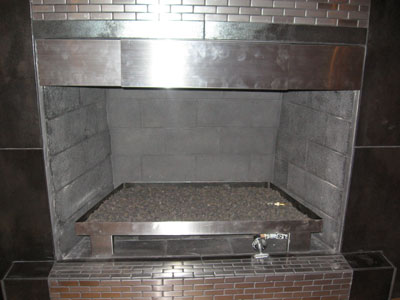
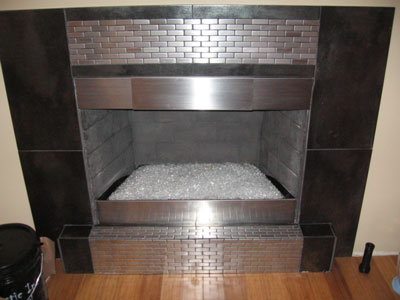
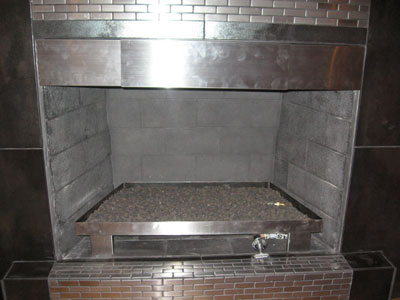
Above you can see the the key valve and below you don't see it. Because we made a removable panel!
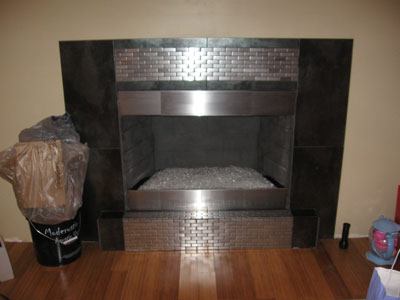
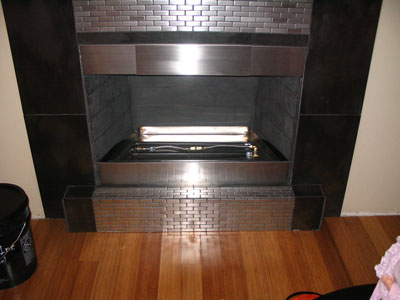
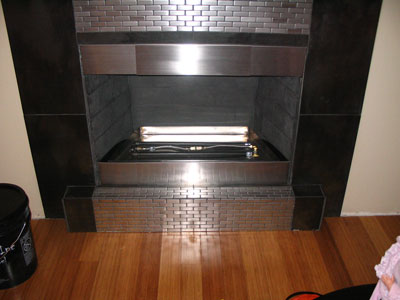
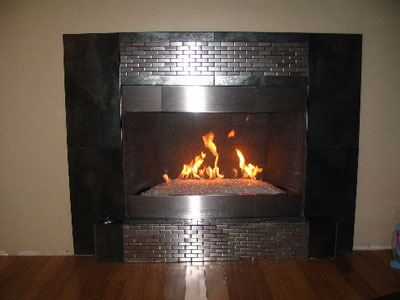
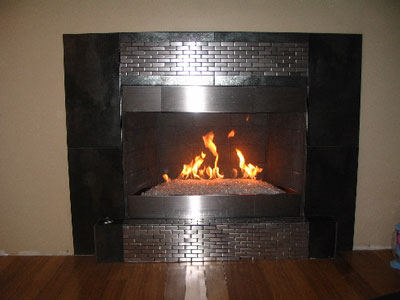
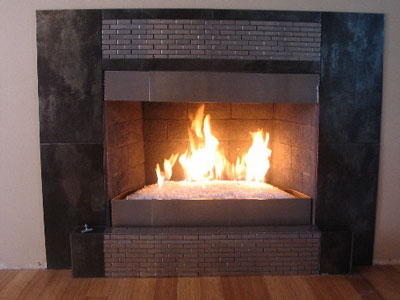
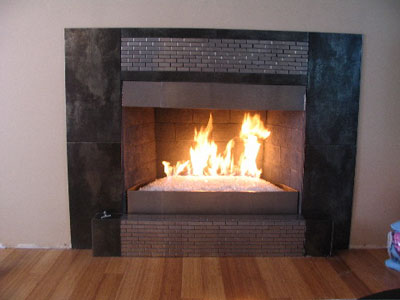
There you have it in Rochester New York, Iggy it looks great.
The fireplace below is a before and after with Starfire installed behind the corner surround. There will be more pictures when the back of the fireplace gets it's finishing touches.
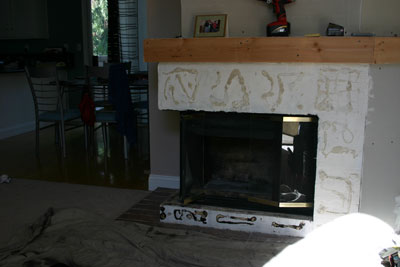
As you can see it really needs a face lift
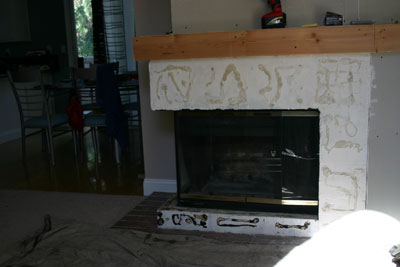
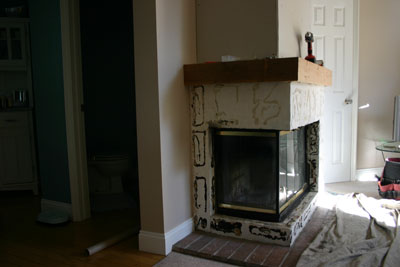
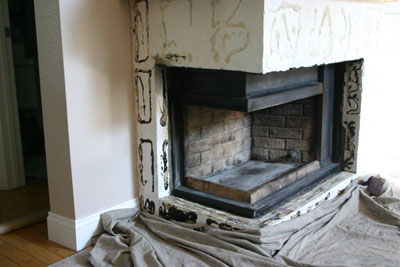
Now with the doors gone and the back cleaned and painted
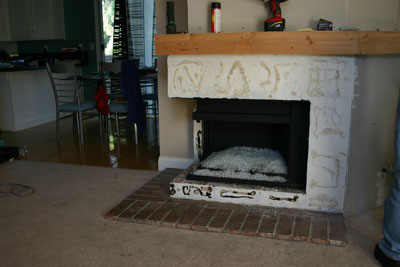
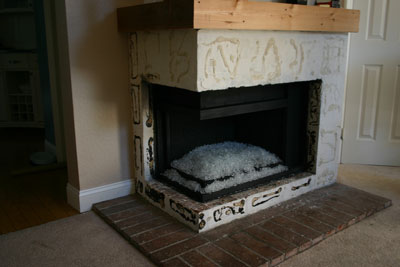
There was about 2" of crushed lava under the Starfire
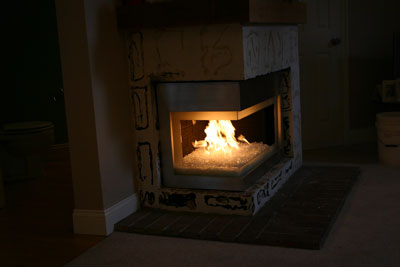
After the surround was installed we finished Topping the Starfire off up to the top of the metal of the surround. This is another reason we use fillers, to keep the costs down.
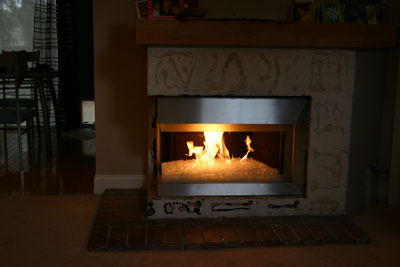
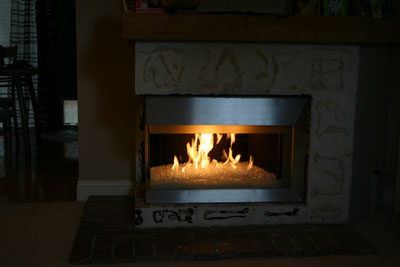
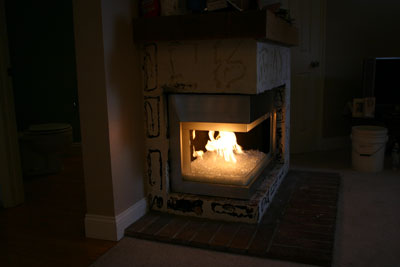
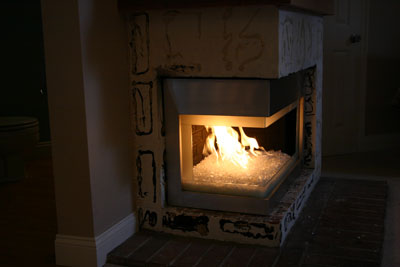
We will post pictures of the fireplace when it is completely finished with the granite back.
The fireplace below was installed by the customer (Kim Clark) with a remote control, propane burner manufactured by us and Topped with Starfire. The fireplace was transformed form an ordinary to work of art, nice job!
The picture below has the burner being tested
This is the remote control on the lower right with the pilot light assembly
We now have fire!
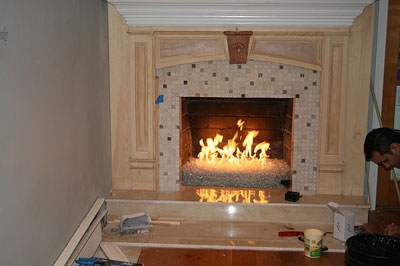
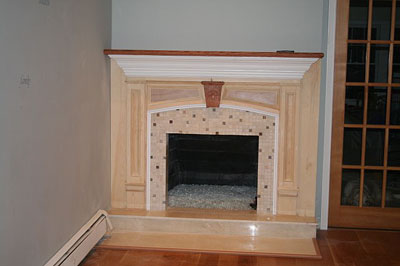
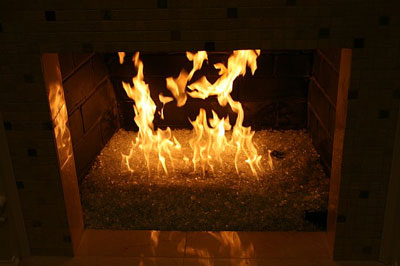
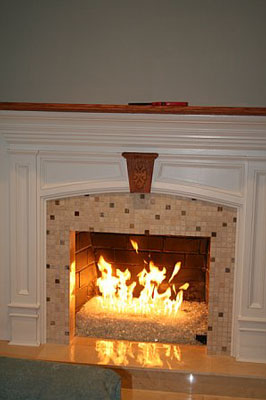
The fireplace below is in Beverly Hills California.
We use a Black base glass with Clear Ice Ice Ice on top. The customer wanted to use their original burner to keep the flames localized in the center area. This fireplace goes from "Log Ugly" to very nice and contemporary in about an hour. If you really take a look at your fireplace place in the beginning it almost looks like an incinerator for long ago.
Not very nice? Nice Logs? I don't think so!
Now it's painted and ready for the glass.
A Black base glass and 5 lbs of our Ice Ice Ice.
You can't see the Ice on still pictures but what it is doing like looking into a spoon, it reflects backwards and appears to be melting. Ask for a sample and you will be amazed.
The fireplace below has a Starfire base with Citrine, Dark Red Orange, and Orange Topper with a touch of our Ice Ice Ice. This was a complete remodel in natural gas and a remote control was added with a pilot light
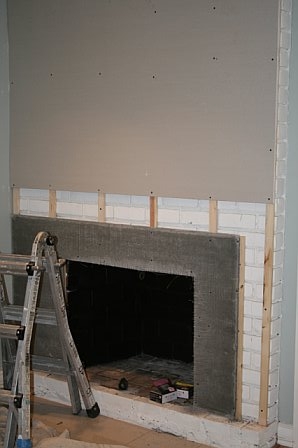
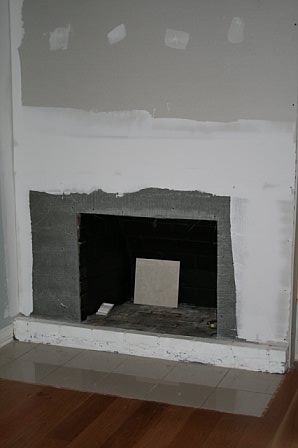
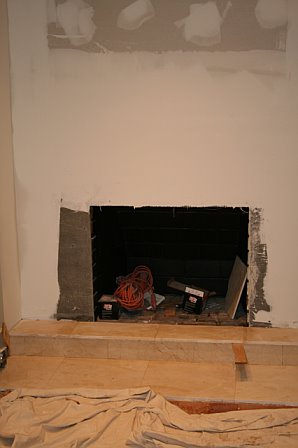
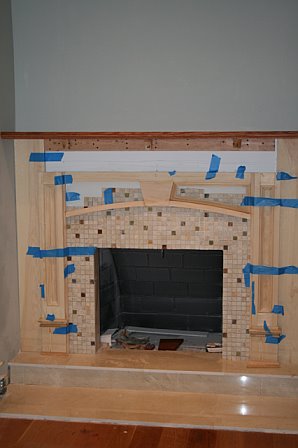
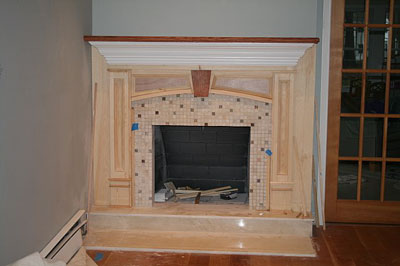
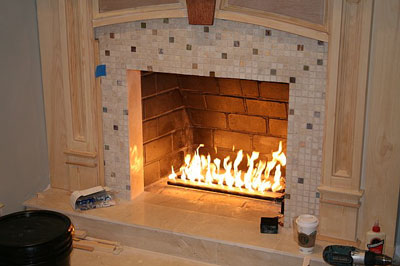
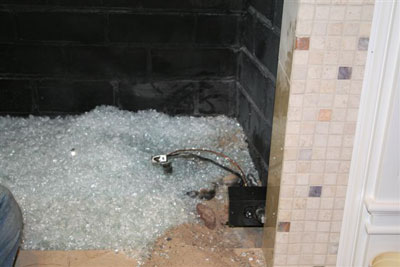
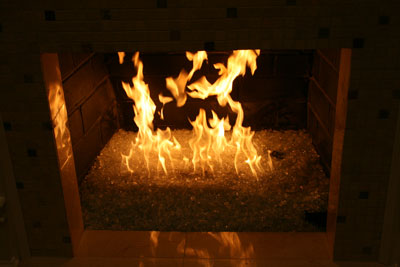
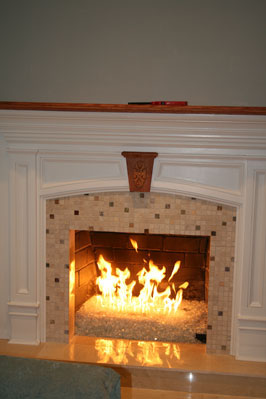
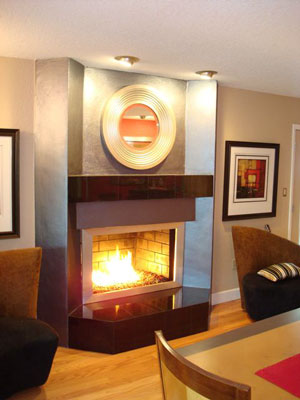
The fireplace below in in Lakeland, Florida and was installed by John Addison for his customer. The fireplace has one of our propane pan burners with a remote control. We built a brushed aluminum surround with out the inner glass per the customer request. The glass that was used was a Gray base glass with Black and Copper Ruby Red on top.
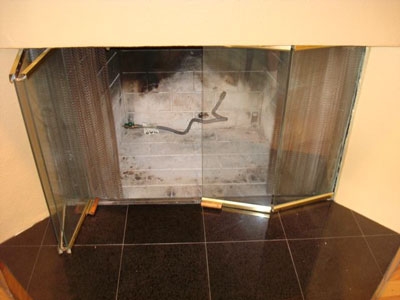
As you can see the fireplace was not much to look at until we added our touch.
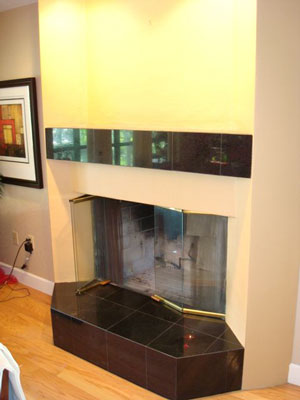
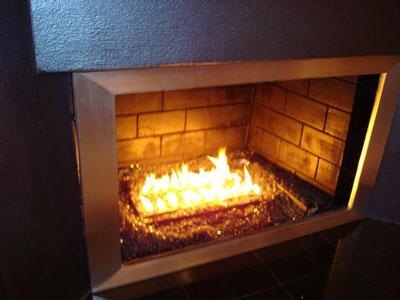
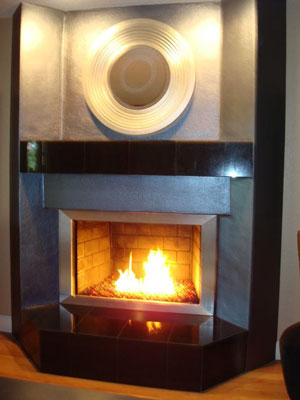
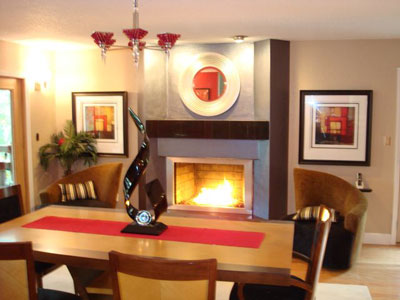
You be the judge, We think it turned out wonderful!
The fireplace below is a before and after and a "how to" make it low and lean. A more contemporary look. This is a self install by Rich Kamins and one very nice job!. He used a Bronze and Bronze Reflective base glass. Topper with a bit of Starfire. Ice Ice Ice and about 2 pounds of Copper Ruby Red Topper for a splash of color.
Typical nasty fireplace before Moderustic!
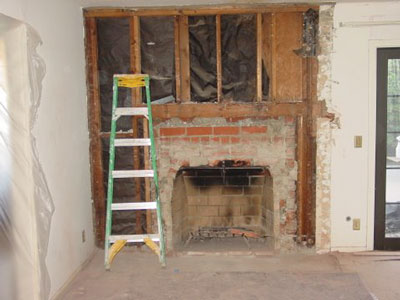
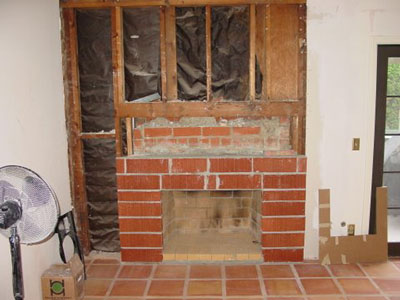
A few bricks and some drywall
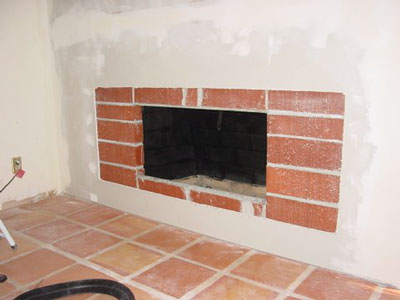
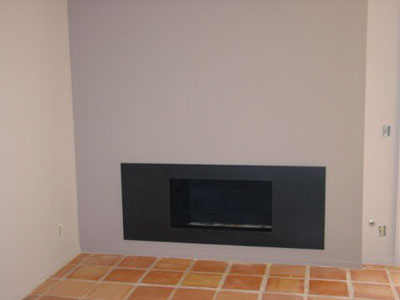
Some sand under the burner for filler to raise the base glass.
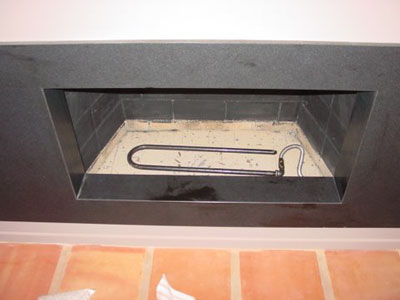
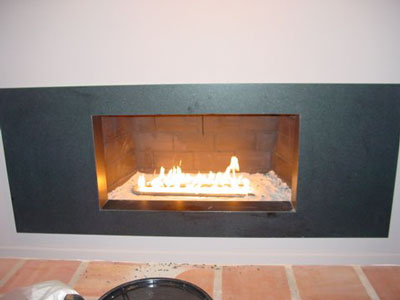
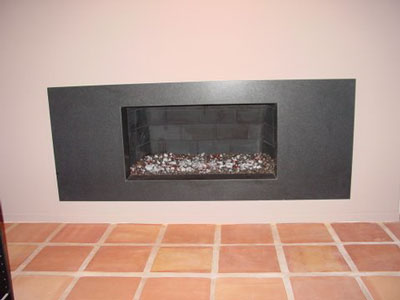
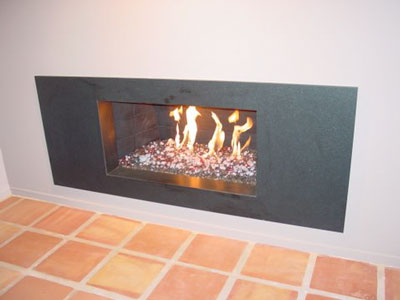
And here you have one nice finished fireplace.
The fireplace below has a mixed base of:
14 lbs Starfire, 14 lbs Amber and 1/4" Blue Green,
Topped with 2 lbs of Blue Green Reflective and 1 lb of Jade Green Topper.
here are the pictures from start to finish, a couple of the pictures were a little fuzzy from the customer. Oh well.
Now typically is your fireplace looks like yuck, put candles in it and everyone will tell you how nice it looks! NOT! So don't do it! If it's dirty or looks like a skid mark, clean it and or paint it but don't put candles in it.
A typical fireplace where Fake Logs used to live. Now they are residing in the Fake Forest after leaving nice black skid marks on the walls of your fireplace, nice! Actually the soot you see in your fireplace is carbon monoxide but the fireplace manufactures which manufacture the Fake Logs just don't seem to tell you this little fact! It's poison and it's the furthest thing from being green that you could ever get. If you really still like Fake Logs then just sit in your garage with your car running and entertain your friends and family there. It's just a healthy.
The customer here could of painted his flex line to help hide it a little better. Again what was the plumber thinking, hanging logs? Maybe that's why we plumbed the line so high in the air?
Anyway after all of that it did turn out nice.
The fireplace below is in Pasadena California. this is a before and after with a 2" base of crushed lava as a filler with Starfire on tot with a double 24" burner installed. We are next installing one of our surrounds.
Looks nice? Huh? NOT! Again, has anyone ever told you nice logs? I don't think so.
I would really not like being a log manufacture as they really produce some ugly products, in my opinion. But you decide for yourself.
Below we have installed the burner on top of the lava rock filler.
Now test the burner to insure the flames don't hit the back wall as this will scorch the walls.
Now this is nice! Now we will install a surround. Most everyone tells us "Nice Glass"!
The fireplace below is a propane fireplace with our propane pan burner and the glass that was use is:
1/4" Clear White base glass
1/4" Clear Chunky
1/2" Clear Chunky
and 2 lbs of Platinum
From beginning to end.
This was a custom size pan because of the smaller size of the fireplace, but we can build anything.
The fire pit below is a typical fire pit with large lava rocks.We removed most of the larger pieces and poured a few hundred pounds of crushed lava rock to cover the larger lava.
Then we installed 2 18" stainless steel rings and just covered then with even more crushed lava.
Then we poured Canary Yellow Topping and here you have it.
The fireplace below is a propane fireplace. A bed of crushed lava was installed and a Clear base glass was used to cover it all up.
Step 1, paint it!
Step 2, cover the old brick!
Finish the face and floor, very nice!
Install the propane pan burner
Fill in and all around the pan with crushed lava rock.
On the left side you can see the gas connection which will soon be covered as well. On the right side the control cover will be covered as well. This propane pan burner was fitted with a remote control, radio frequency.
Now that your finished your ready for FIRE! Have your spouse lite it in the event they didn't follow the instructions! (just kidding again)!
The fireplace below is in Palm Springs, California and is a self install
Clean and paint the walls in the color of your choice, we offer 25 colors!
Screw on the flex line adapter
Attach the flex line and burner with the flex line under the burner.
Test the burner to insure the flames are not hitting the back wall.
Pour on the glass, with or with out filler (sand or crushed lava rock)
and your done!
The Fireplace below has a Clear base with Light Yellow Topping.
The first pictures shows how it started and as you scroll down you can see the transformation. Very Nice!
The fireplace below is a self install with a Hanover Red back ground, The glass that was used is a Clear base with Starfire on top. The Red and Orange Toppers were applied. Jon and Liz Kleinman even labeled their pictures for us.
Then the Starfire and Toppers were added.
The fireplace below was installed by George Foote who also built his own pan, great job! We supplied the burners and glass and George supplied the talent and labor. Great job George! The colors used were:
Starfire base glass,
Azurlite,
Azurlite Reflective,
Gray base glass,
and our Ice Ice Ice and you be the judge!
Before the pan and glass.
Here is the stainless steel pan that George built.
Start with Starfire.
Add some Azurlite.
and the rest of the colors for one nice design from George!
The fireplace below has a Starfire base glass with Copper Ruby Red Topper on top and 2 lbs of Ice Ice Ice on top.
Here is a glimpse of what it used to look like, yuck!
You have to try to understand, we see this transformation everyday and we still don't understand the lure to fake logs, do you? Take a closer look at your fireplace, is there anything nice about it in the daylight?
The fireplace below is a self install with out any filler. They used a Clear base glass with a 17 lb layer of Starfire base glass to cover the Clear base glass.
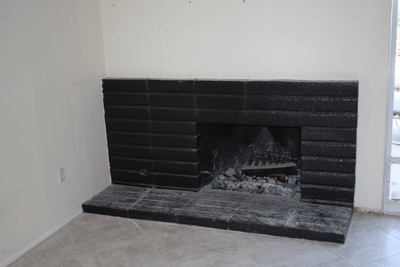
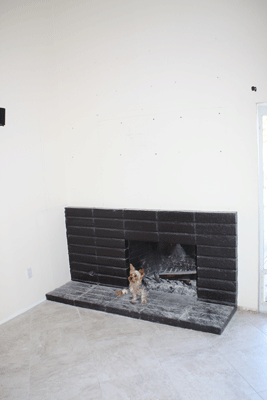
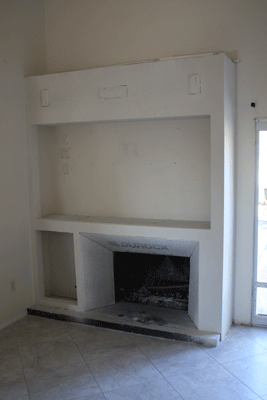
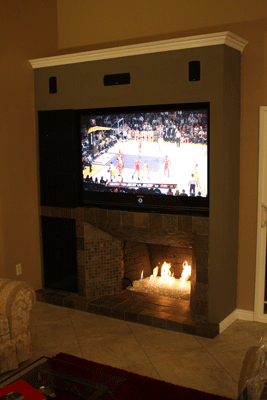
The Fireplace below belongs to Candice, Jonathan and Rocky (a cute little Yorkie). We converted a plain fireplace to a much more usable and modern fireplace TV entertainment area. Watch the transformation from beginning to end. We Topped it with Starfire to finish it off.
Below is Rocky, just supervising
We started the metal framing in 16 Gauge steel studs. No wood was used and you should never use wood near a fire.
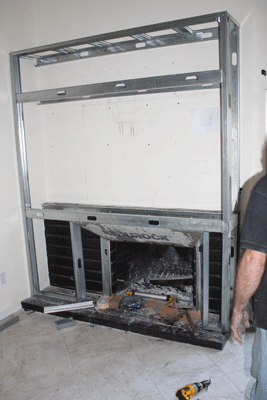
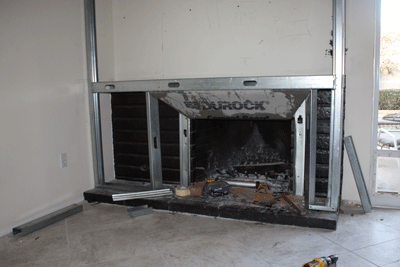
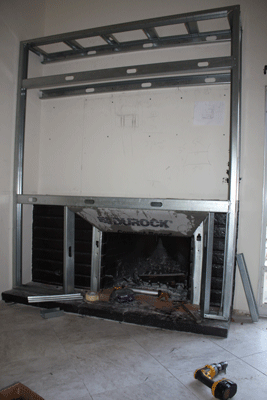
Below we wrapped the opening with durock, concrete board.
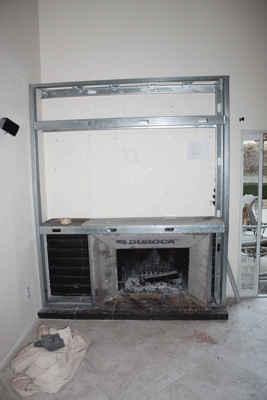
Add a bit of drywall.
This was wired for a surround sound and electrical in the left cabinets.
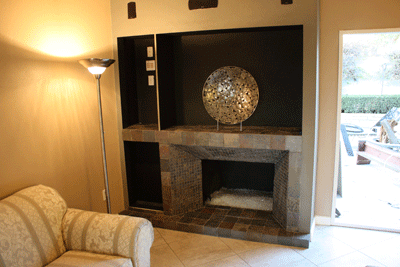
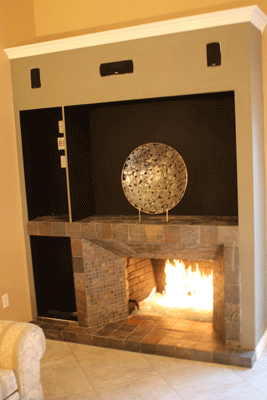
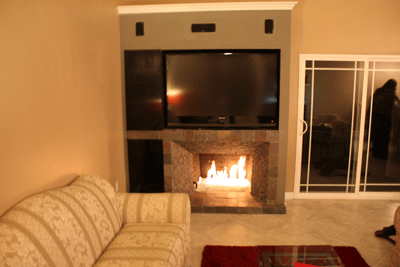
The TV that was used was a DPL (16" deep) and this is how you install a TV that is not a flat screen above your fireplace. In the left cabinets the components were installed and concealed by black glass doors. On the top we installed a set of 6" lights on dimmers to give additional room/ mood lighting.
The fireplace below was installed with a dual battery operated 100,000 BTU propane electronic ignition system. Each capable of 100,000 BTU's of fire. The first pictures show what we had to work with and how it progressed.
The glass that was used was Starfire, Gold and Ice Ice Ice.
If this was in your house you would say NASTY!
Burning wood and logs is just nasty and dirty! True story!
Above you can see the soot that come out of the fireplace and and leaves your house smelling so carbon monoxide fresh! YUCK!
Add a bit of lime stone.
A few pieces of copper.
Below you can see the sand bed and the ignition box we built.
Below are the two vent we installed for the air mixers inside of the ignition systems.
and here we are finished. Now isn't that much better litter feller?
Modern times call for modern measures! I guess that's why we are Moderustic!
The fireplace below belongs to Todd. As you are going to see one great before and after transformation.
He used an 1/8" Clear base with Starfire on top. Then he added Red R Topper, Black Luster Topper and a few Clear Diamonds.
Out with the old and in with the new!
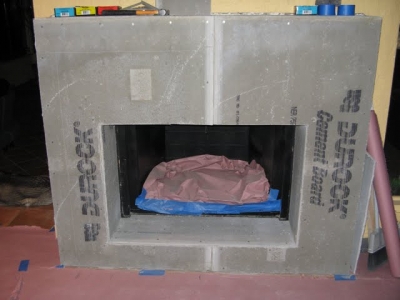
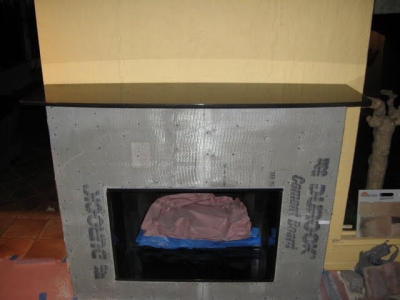
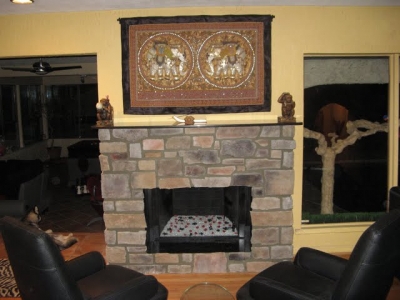
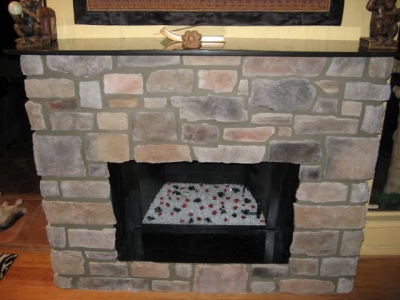
We would of liked more pictures of it burning but Oh Well!
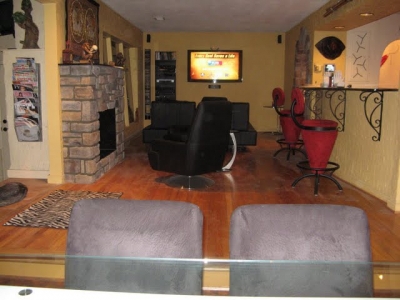
The fireplace below is from Cory here locally in
Rancho Cucamonga California. This transformation was a complete surface make over along with out Sterling Silver interior. The glass that was used was Bronze base glass. This is truly a DIY project and we like to help you create your ideas to reality.
Here we begin with the old interior brick panels removed.
Below you can see the new stone being applied.
Below the Sterling Silver panels and Bronze base glass with a few pounds of Gold base glass was installed.
Now you can see the reflection on the walls in the Sterling Silver panels. No, these are not just mirrors in the fireplace. If you do try this, let us know how it worked out for you. Be sure to send us pictures of your project and we will be sure to post it on our "How Not To Do It Page"! No, Really!
Again we are proud to constantly give you new and exciting products for your fireplace and fire pit projects.
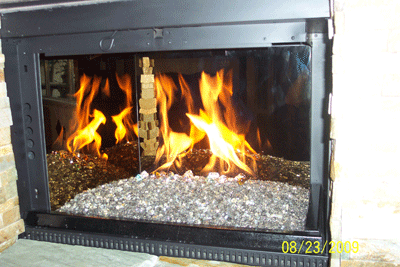
The fireplace below is a self install in Palm Springs at Tim Rockwood's. About 2" of crushed lava was used and a 2" layer of Solex base glass was installed over a double 18" burner. Watch how simple this really is. From ugly to one really nice fireplace.
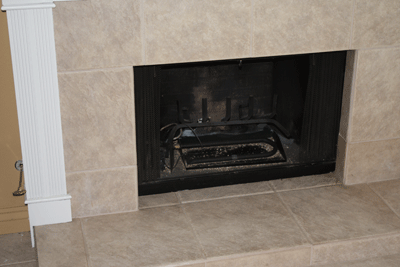
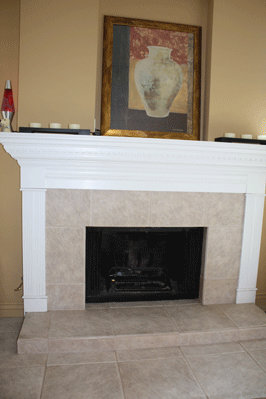
Above and below is what it looked like when the project was started.
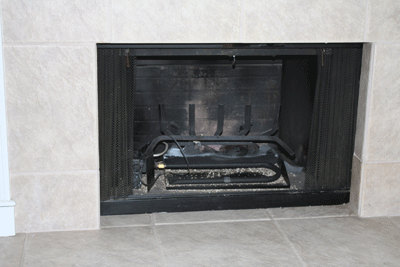
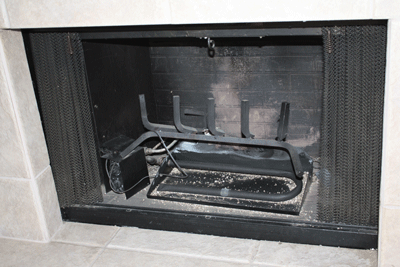
Below you can see the grate (noting great here) and the remote control. Too much stuff in the fireplace if you ask me.
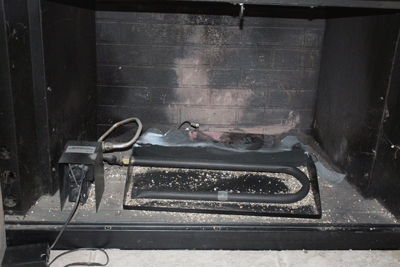
Above, if you use a remote control, let's find a better way of hiding it? You think?
Below all of the STUFF is removed, much better!
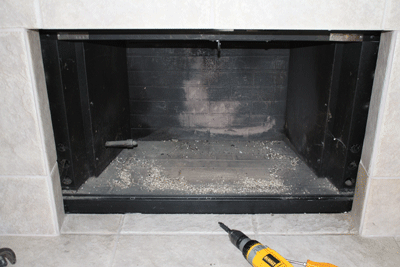
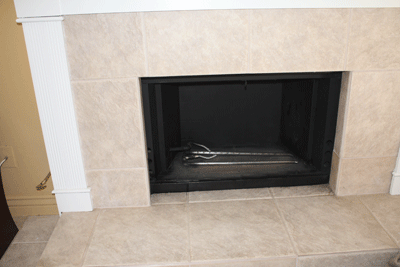
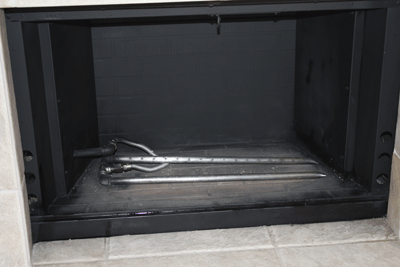
Above and below it is now painted and the double 18" burner is installed.
Very clean look! Uncluttered!
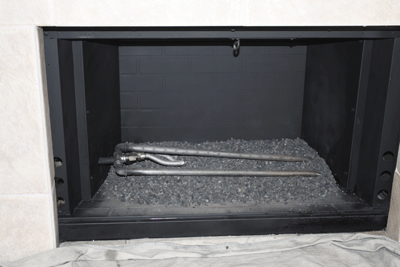
Above the lava was poured up to the gas stub on the left side just enough to cover the burner. Be sure to leave 3 to 4" in the front for the glass. You don't want the lava all the way up front.
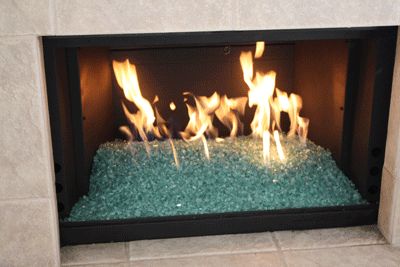
Now pour the glass and you have a heat producing fireplace as you were supposed to have in the beginning and it looks pretty good too!
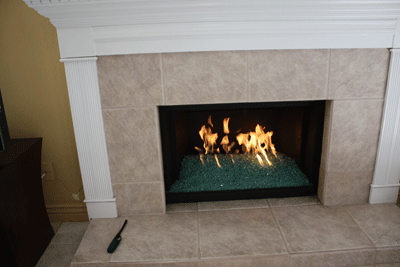
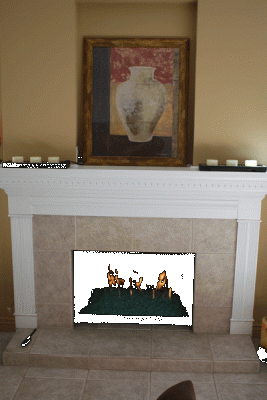
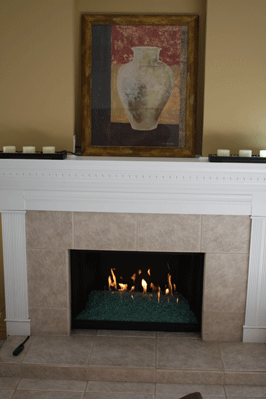
These pictures of the fireplace were taken in the daytime if you were thinking why they were so light.
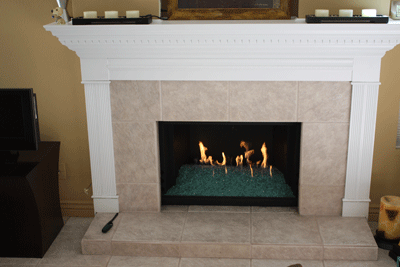
Do it yourself fireplace remodel made easy, or at least it seems that way.
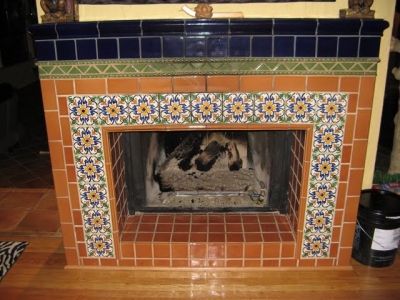
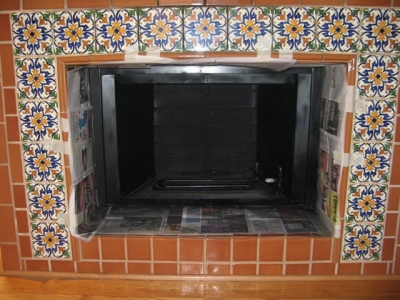
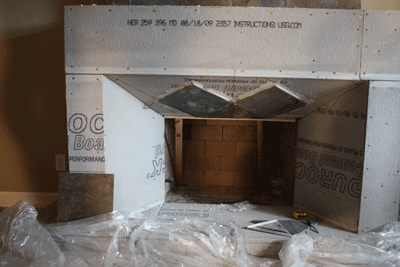
First, the tile that was installed is not rated for fire. This tile would of popped off as soon as the fire was turned on. So do a little research before you begin. We can help in many ways, just call and ask.
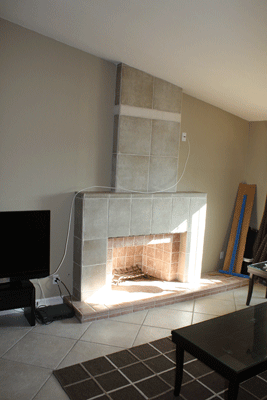
It may have of seemed to be a good idea at the time, but it wasn't!
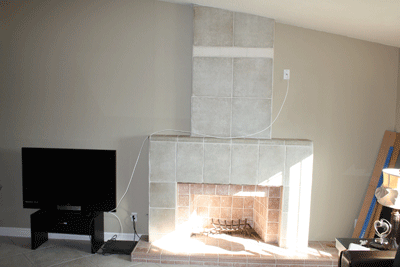
When redesigning a fireplace we suggest card board mache'. A card board mock up so you can see a basic preview of your project.
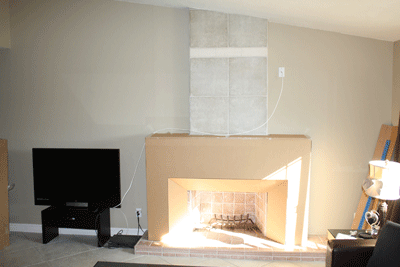
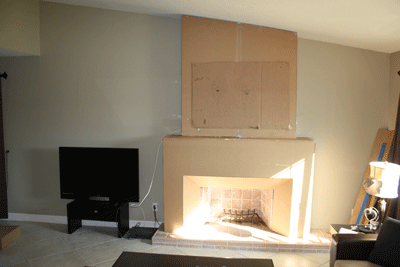
Below you can see the bottom, top and mantle in card board.
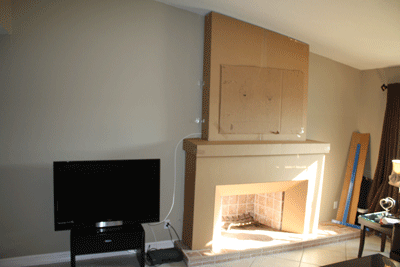
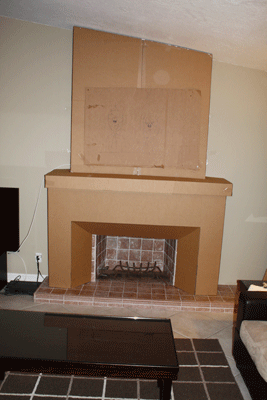
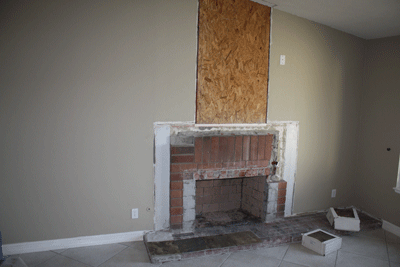
Now the rip and tear process begins!
Below we installed the extra electrical for the components and the TV. The components will be installed on the right side out of view with a black glass door. This will be installed later.
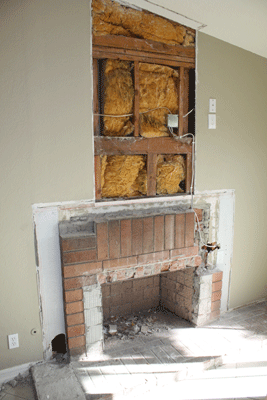
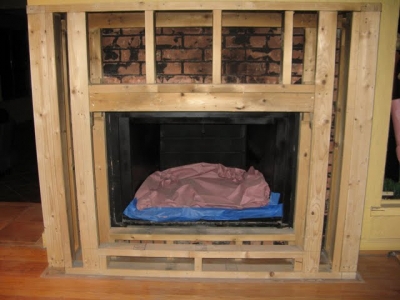
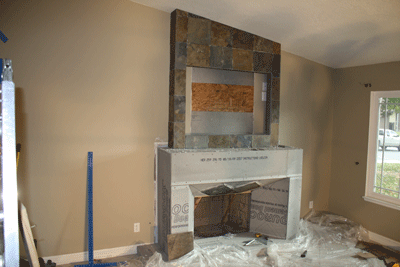
Below the framing begins.
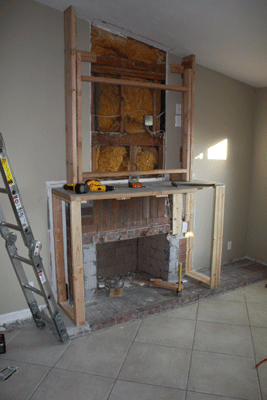
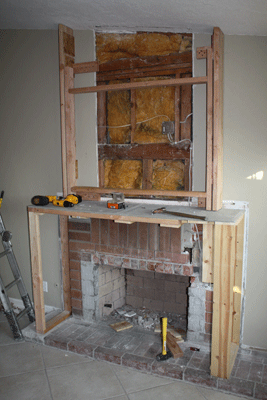
Below we now added the Durock at the fireplace opening. This is key to the whole project. Math is very important when doing these layouts!
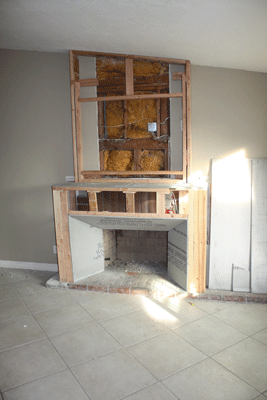
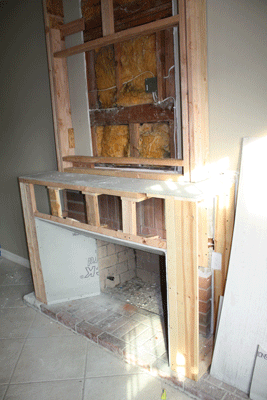
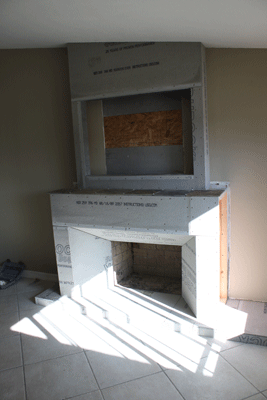
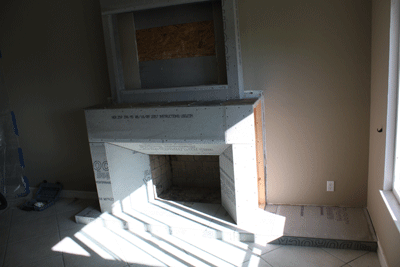
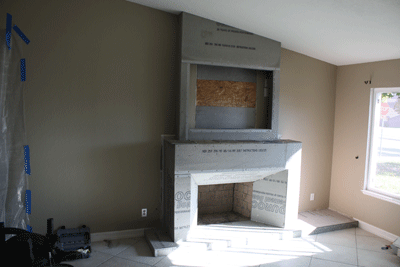
Below you can see the slate is being added.
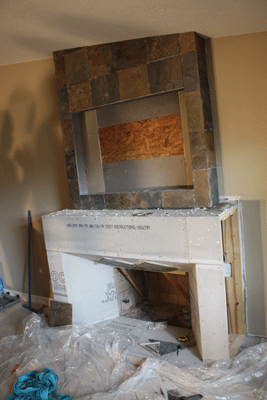
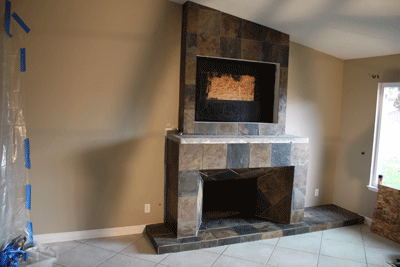
Above and below the fireplace is 90% finished. The mantle needs to be installed and the door on the right to conceal the components needs to be installed as well. The inside of the fireplace will have 3 pieces of black galaxy granite installed. We will post these pictures of the fireplace when it is completely finished as well.
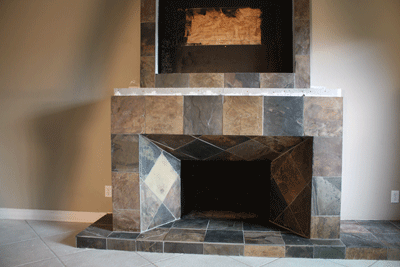
Now for the glass installation. We started with a satin black paint on the back walls, until we install the granite. Then we bulked up the base with 2" of white sand as this will save you a bunch of money! We used sand because we were pouring Starfire base glass in the fireplace. If we were to use a darker color of glass we would of used our crushed lava rock as a filler. When using sand, always make sure the burner is on top of the sand.
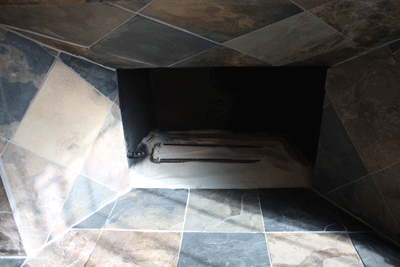
Test the burner/ location making sure the flames don't hit the walls.
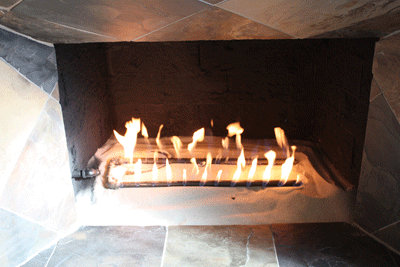
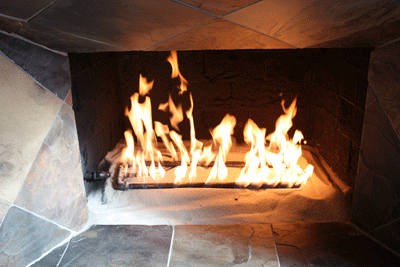
Then pour the glass!
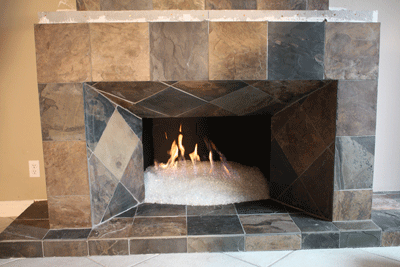
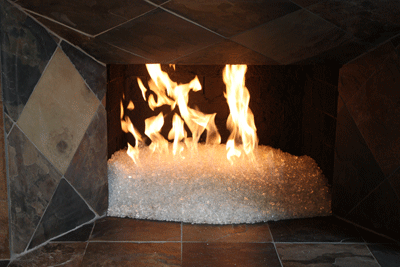
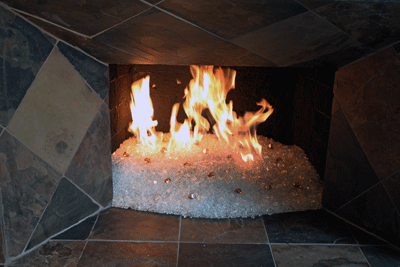
We added a few pink diamonds and then later added Ice Ice Ice and Clear Diamonds. These products because of the way they are made appear to be melting on the inside.
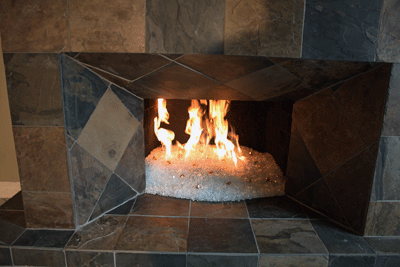
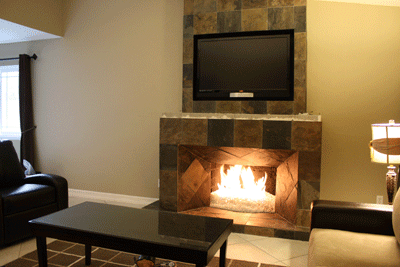
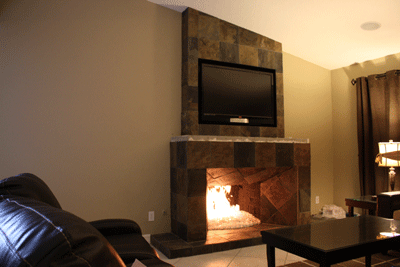
The sealer that was used was a stone enhancer, not just a regular cheap sealer. When using rock you always want to see the beauty of the stone you are using.
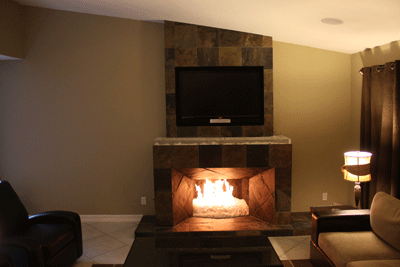
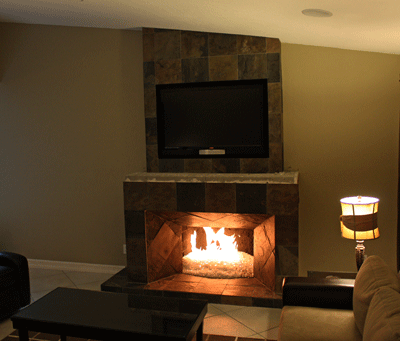
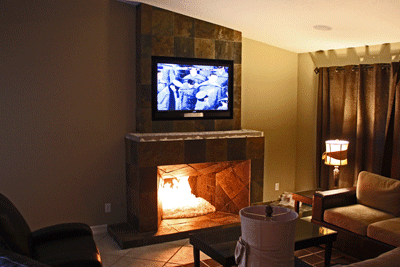
As you can see the mantle is still missing. We have a few more details to still do and as soon as we have time to post the pictures, they will be here.
We encourage imagination to all of our customers and we support you and your projects. Regardless how simple or how creative. This is one of the elements that spawned our success and continues to do so.
Kentucky Fireplace Remodel
The next fireplace was built by Dave Luerman in Kentucky and you will now see his before and after also using a base of Starfire base glass.
Below you can see where it all began. Dave is one very creative customer.
Luerman 1
The fireplace that was replaced was very nice but just met the needs of Dave.
Luerman 2
Out with the old and lets frame up the new.
Luerman 3
Luerman 4
Luerman 5
Add the durock panels.
Luerman 6
Luerman 7
Luerman 8
Frame the Hearth
Luerman 11
Luerman 10
Luerman 12
Install a triple 24" burner.
Luerman 13
Luerman 14
Luerman 15
Luerman 16
Luerman 17
Luerman 18
Add Starfire base glass and your done.
Luerman 19
The fireplace below is in Palm Springs California. We used Starfire base glass over a 2"
bed of sand. We will narrate as we go:
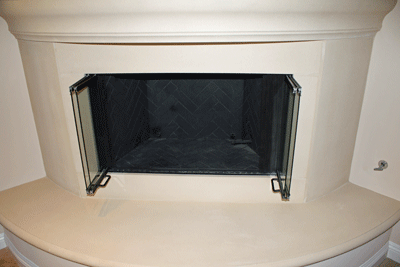
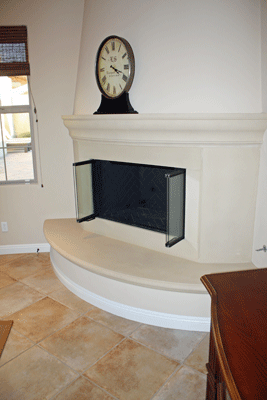
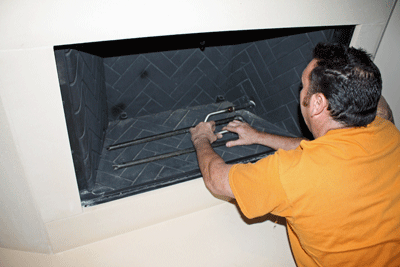
Here is the fireplace with the screen removed
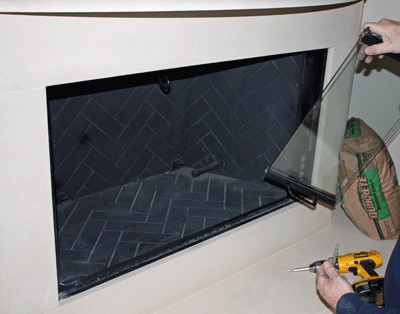
Now we remove the doors, very simple. One screw on each side at the top generally removes the doors.
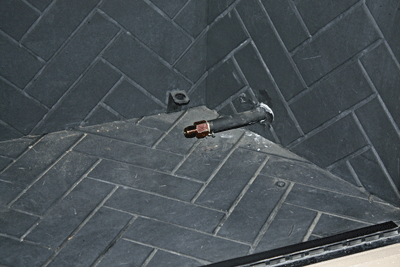
Below, remove the end of the flex line and screw it on to the stub out coming out of the wall.
Below, now attach the flex line from the burner to the stub out. Keeping the flex line curled under the burner.
Below, pour in as much sand (on lighter colors) as you would like to raise the glass bed.
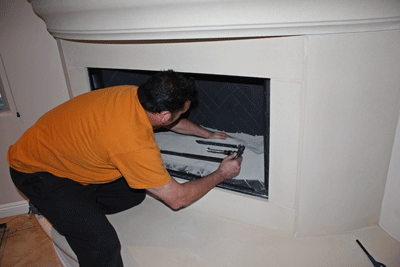
Look how easy! Even my installers can do it! Bring th burner to the top of the sand so it can operate properly. With crushed lava you can keep the burner below the surface. Keep your sand/ lava at least 3" to 4" away from the front!
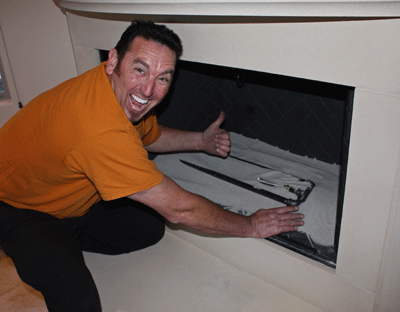
Pour the glass and your done! Our typical install where we don't have to paint is about 12 minutes!
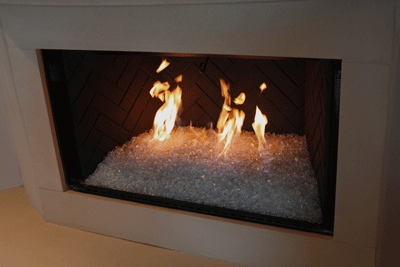
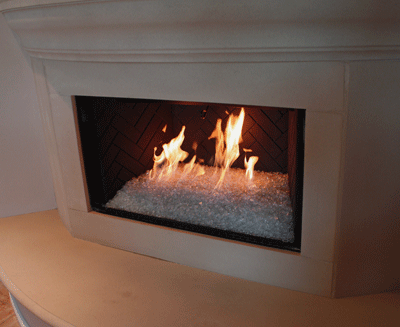
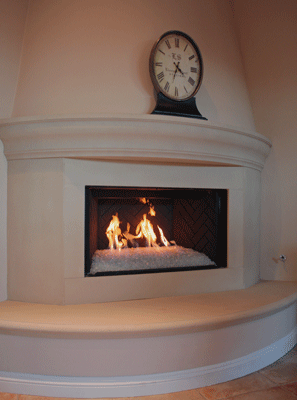
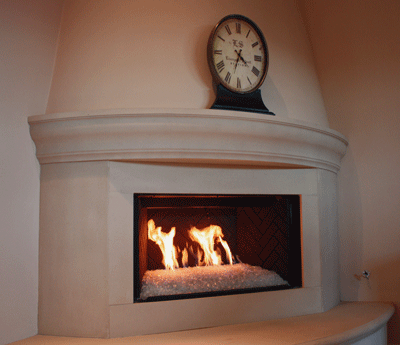
Looks awesome!
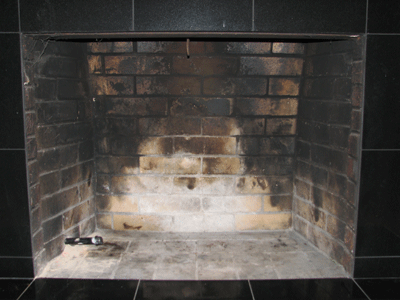
The fireplace below is typical wood burning fireplace which we see every day. Once uncovered it looks like an incinerator. They are pretty nasty looking with out the fire burning. We like to show the before and after so you know what you really have.
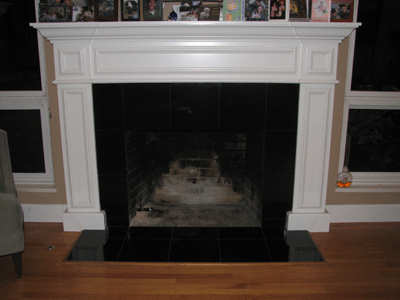
Nice! Very Nice!
We had Starfire base glass installed with Ice Ice Ice on top.
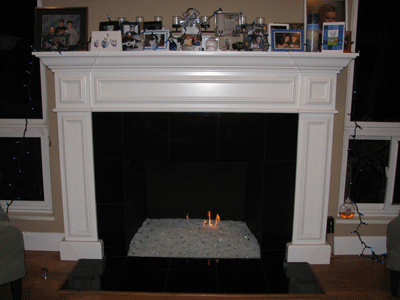
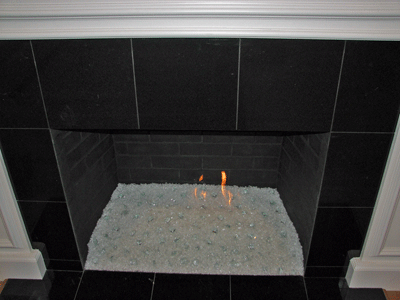
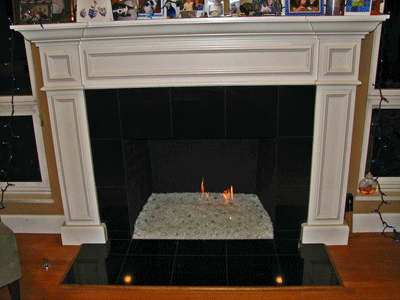
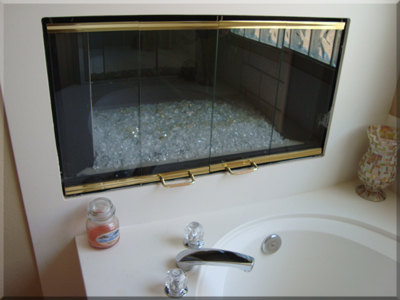
The fireplace below is a two sided fireplace from the bedroom to the bathroom. This is a very simple conversion. A Starfire base glass was used and topped with Gold bas glass.
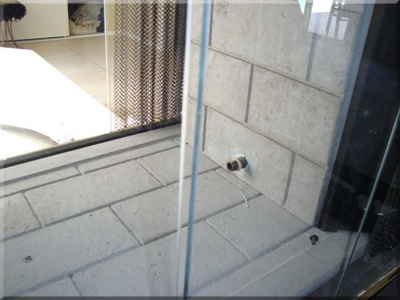
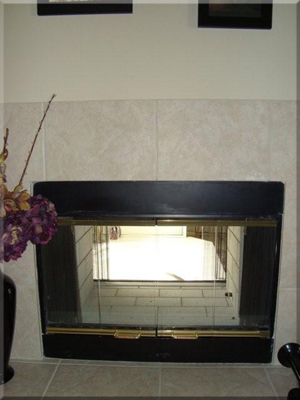
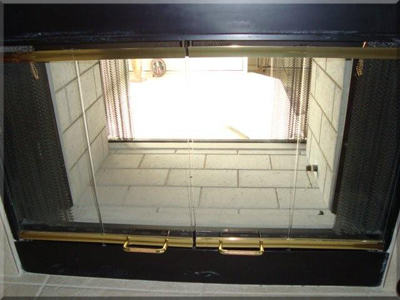
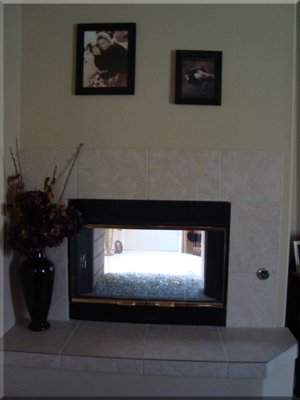
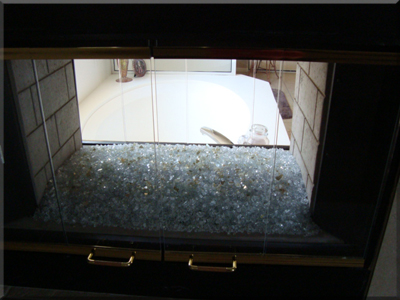
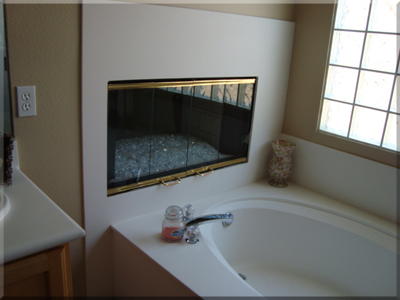
Very simple, very clean and very nice.
The fireplace pictures below is a before and after fireplace.
The glass that was installed is:
Galaxy Green base glass,
Clear Diamonds,
Ice Ice Ice,
Pale Cobalt Blue Topper,
Rhubarb Topper,
Lime Green Topper
You be the judge, a very nice mix of colors. Many times better than the BEFORE!
YUK?!
Just the Cobalt Blue Topper is installed above and below.
The fireplace pictures below show the before and after from Bob Kobus. The glass that was used is:
Starfire base glass and Ice Ice Ice, Very nice, contemporary and simple!
Let's go from start to finish:
Nice Logs! NOT!
Bob used an aluminum brick metalized panel.
Then they did their grind pattern.
And here you have it finished!
Yes the logs will be leaving very soon!
Starfire and Ice.
Much better, don't you think?
The Fireplace below from Larry and Bonnie Bidwell was a typical wood burning fireplace. YUK!. Larry and bonnie are Geologists/ rock hounds with an extensive collection! Here are the fireplace pictures with the fireglass/ fire glass installed:
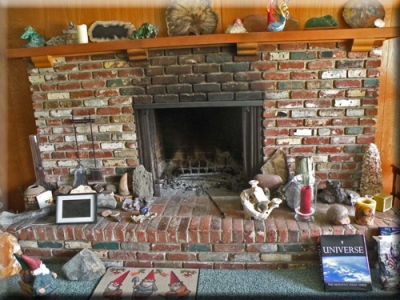
Pretty, don't you think so? Pretty Ugly! Can you honestly tell me you still like wood????
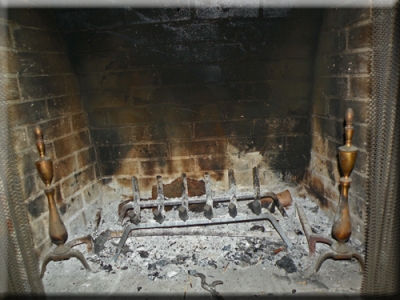
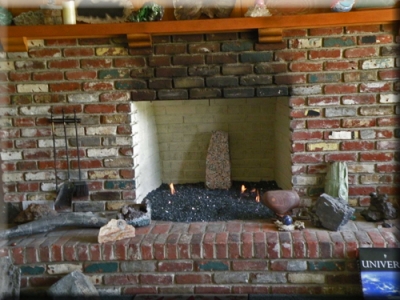
They still have yet to clean the bricks above the fireplace, but this is the result of burning wood!
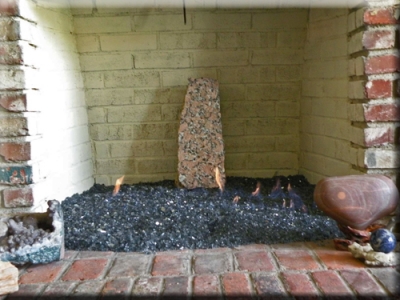
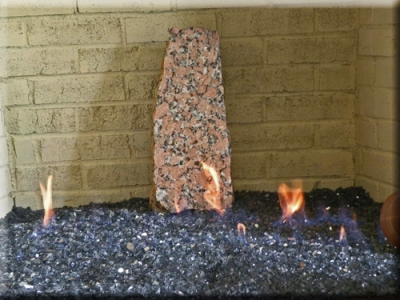
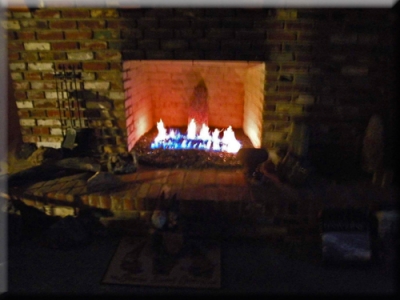
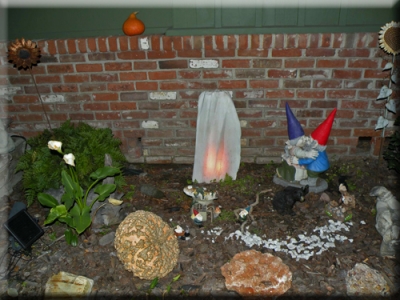
Below are a couple of pictures of Larry and Bonnie's garden with their collection, amazing if you were to see it!
The next set of fireplace pictures are of a Starfire base glass,
Clear Diamonds,
Blue Diamonds
And of course how it looked when they started. YUK!
When burning, the Diamonds have a convex bottom which make it appear that it is melting on the inside.
Nadine is very creative and always tries to add her personal touches.
The next fireplace is a self installation/ remodel.
They installed an:
1/8" Gray Base glass under
1/4" Gray Reflective base glass.
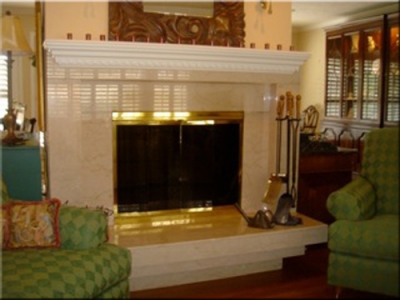
Very nice but dated and out with the old.
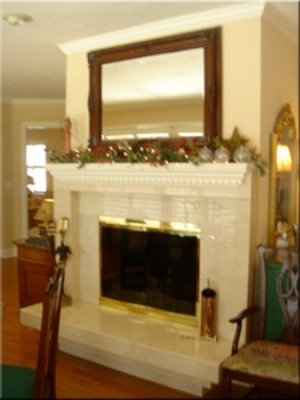
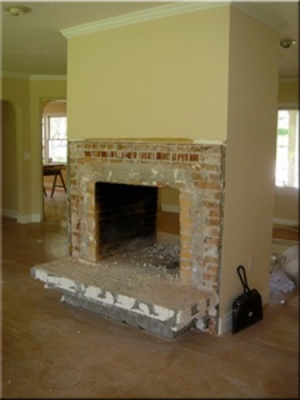
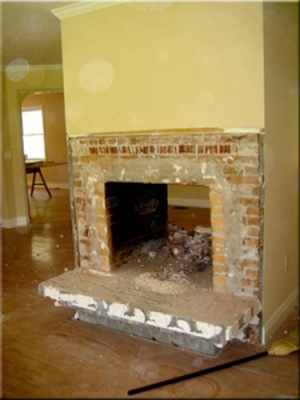
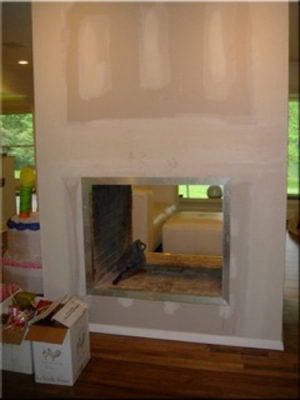
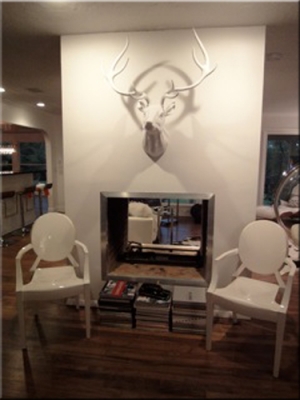
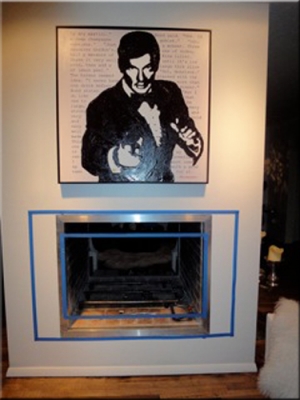
Steel surrounds manufactured and installed.
