This next fireplace comes to us from Robert Stauffacher, who used Clear Base Glass FireGlass. Robert was also kind enough to provide some feedback, here is what he had to say,
"We are so HAPPY with our new den fireplace...I suggest to any potential customer to talk with Ed and get an itemized bid from Moderustic. If there is still a question take that Itemized bid and shop around. I do not think the quality of product, quality of finished installation and customer service can be beat"
The fireplace pictures below are with Blue Green Base Glass FireGlass/ Fire Glass and Blue Green FireGlass. Marla installed the Blue Green Base Glass and Blue Green Reflective Base Glass Fire Glass in both fireplaces.
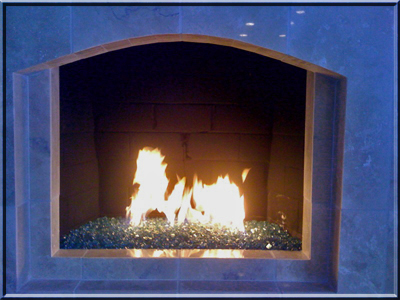
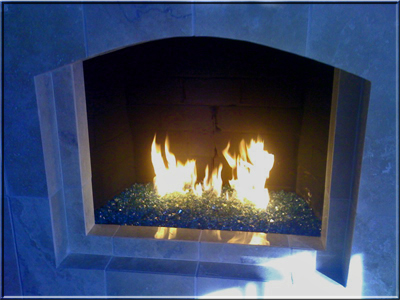
Very nice Fireplace Design.
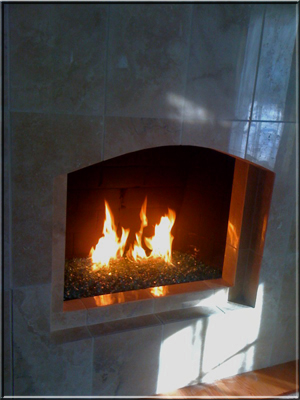
Sev in Las Vegas installed Gray Base Glass (FireGlass/ Fire Glass) in his direct vent fireplace. A very simple fireplace design.
____________________________________________________________________________
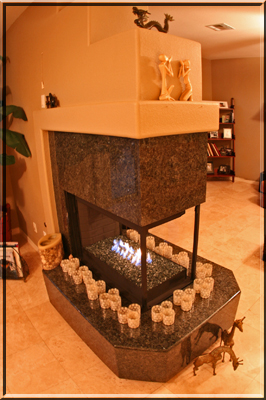
Click HERE or on the picture below to see how this was installed and what we used!

______________________________________________________________________
The fire pit pictures below are of a simple overflow water feature with Fire Stones all around.
The fire ring that was used was a 30" round side feed. We make custom rings for any application. Either for propane or natural gas fire pits or fireplaces.
The fire pit pictures below were taken by and for the Sweat Equity weekly HGTV Do It Yourself TV Show. The FireGlass that was installed was:
Starfire Base Glass,
Blue Diamonds,
Ford Blue Base Glass,
with an 18" stainless steel fire pit ring burner with out the center to accommodate the water feature. All of the fire glass was placed around the pile of fire rocks in the center. The top of the table is removable if you ever needed to service the water pump or any other reason. Always build and design it with replacement or repair in mind.
Now for the fire pit pictures:
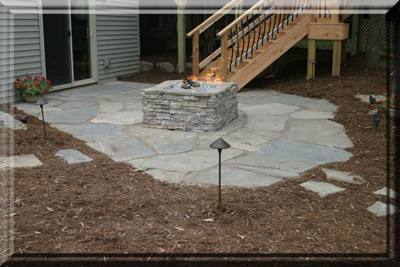
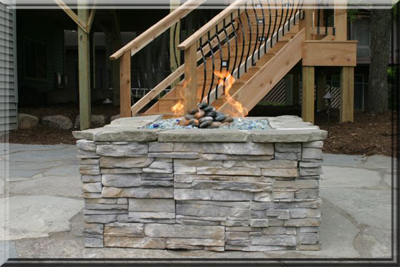
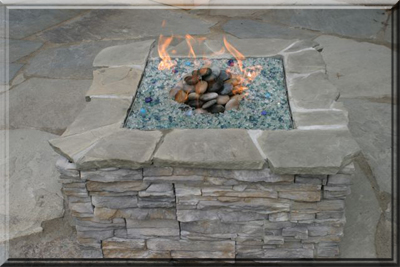
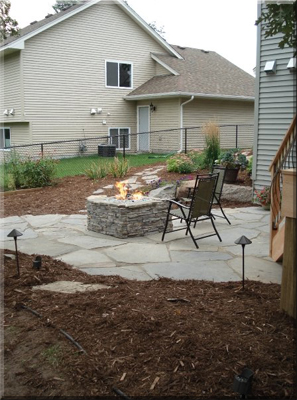
Aquatic Glassel was used in this and every application.
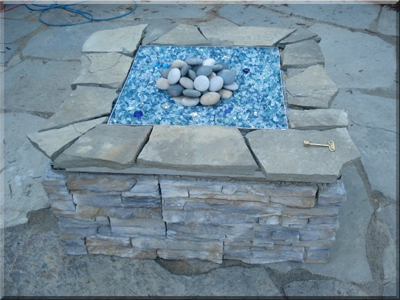
There was an aluminum sub frame built with durock attached. Then the stone was applied to the surface. All of the components are under the removable top.
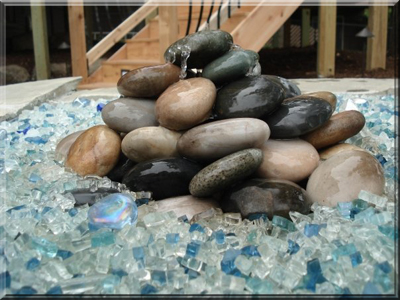
This episode will air on or around May of 2010 on HGTV and the DIY Network.
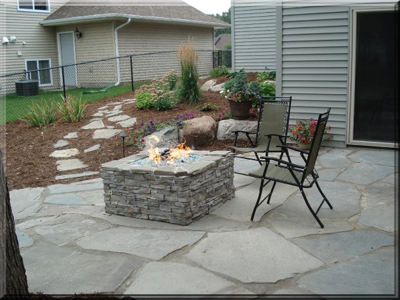
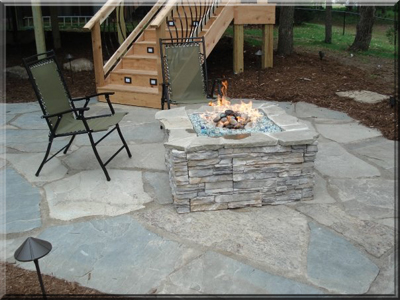
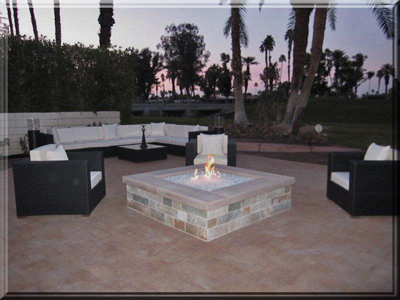
The picture of the fire pit below was taken in Newport Beach California. The glass that was installed was Starfire Base Glass. One very nice backyard and fire pit!
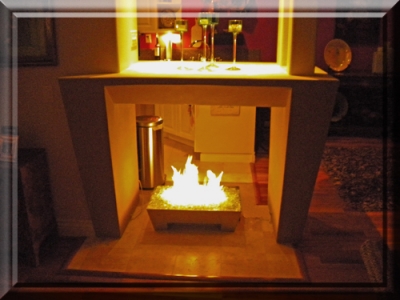
Here are two interesting new style burner pictures! These are floating flames! It's our pan burner/ manifold with Floating Flames!See other burners in our
"Pans Burners and Baskets" page!
Float on!
The
stainless steel pan below was created by John Webber of San Diego, California. He created a card board mock up (card board mache') model for us to reproduce for his pan in the fireplace. This is a good way to provide a preview of what is to come. Our philosophy is "Your thoughts, My Hands!" we can build anything you desire. Here are the fire place pictures and pictures of the pan before, during and after!
We are not showing the burners or the controls as everyone we build is different.
Above you see John Webber on the right. He was excited to see his model come to life.
The next several fireplace pictures are from Andy Peeke from New Jersey. Andy did the self installation with his wife. Almost a complete fireplace make over once you see. They use a Starfire Base Glass, Yellow Amber Topper and Black Topper.
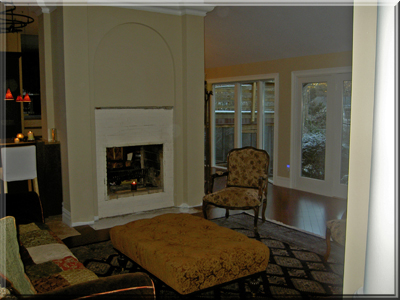
The house is very nice, the fireplace right now is "YUK"!
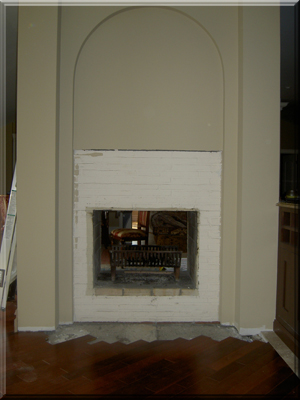
YUK again!
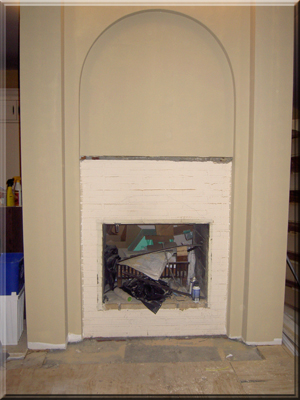
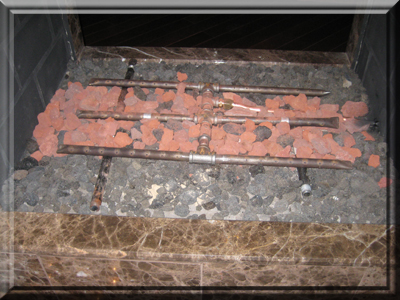
We used a double "H" to give a wider flame pattern as you will see.
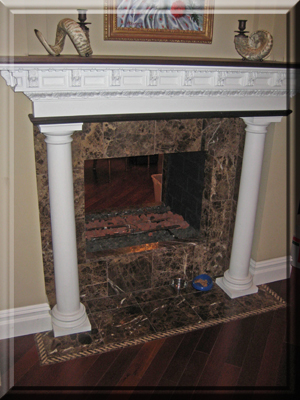
We also used a sand base under the Starfire Base Glass and just up to the burners, not covering them.
Just so you know, this is a two sided fireplace.
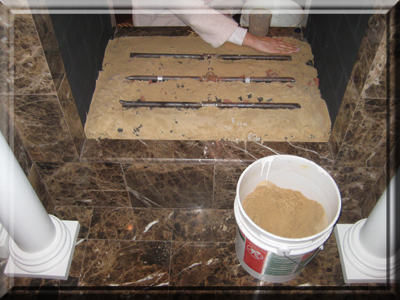
Now 2" of Starfire Base Glass.
and you are done!
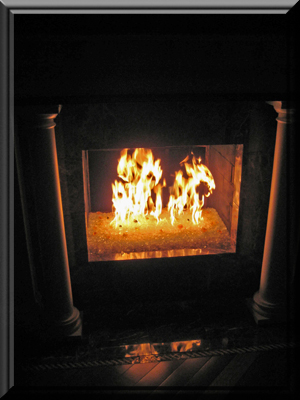
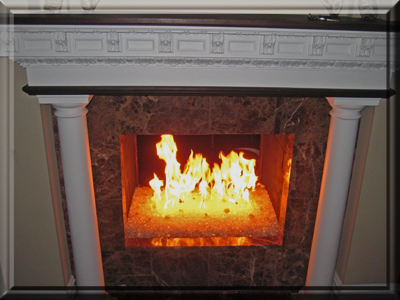
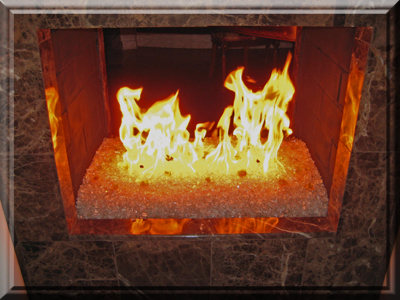
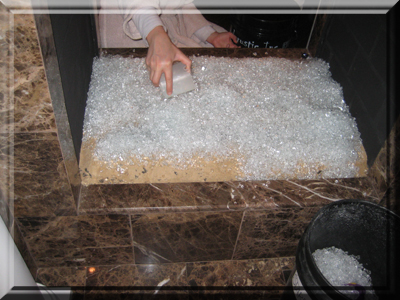
The fireplace pictures below are of a self installation with a crushed lava as a bed and
Multi-Mix Base Glass poured on top.
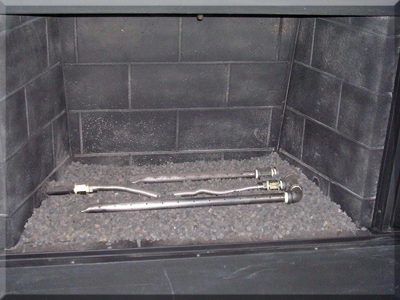
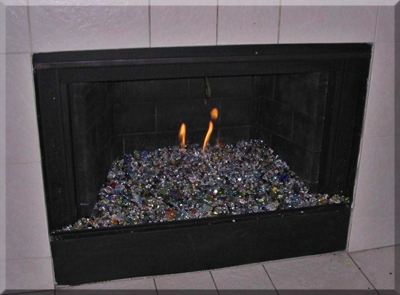
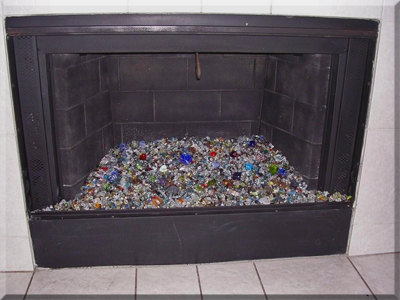
The fireplace picture below shows what almost happened. The customer asked: Should I Paint? I think it looks good with the used marks, what do you think? I told him if he doesn't buy the Paint that I would donate the Paint.
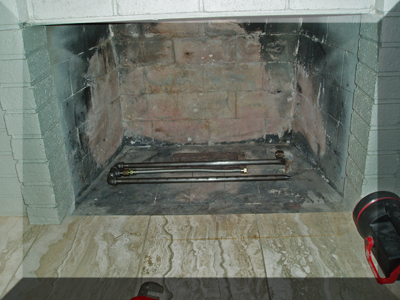
He did Paint and it looks great!
Now to show you a happy ending! Morris in Canada finished his fireplace any it turned out amazing!
The fireplace pictures below show a happy ending!
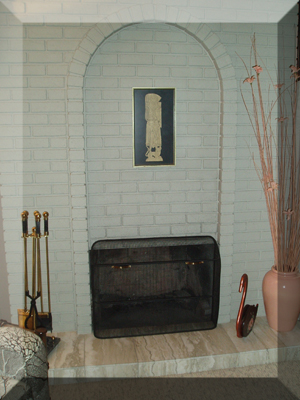
YUK, YUK, and YUK! Burning wood is like having an incinerator in your family room.
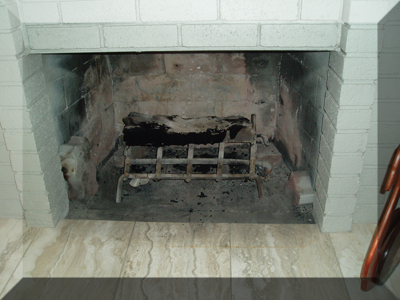
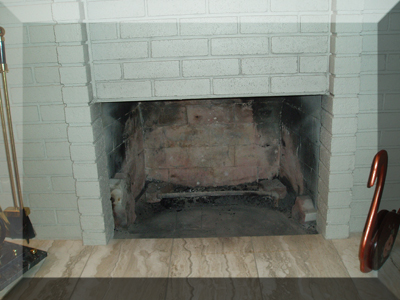
There is nothing pretty about a wood burning fireplace.

Now, Paint the interior, connect the burner.
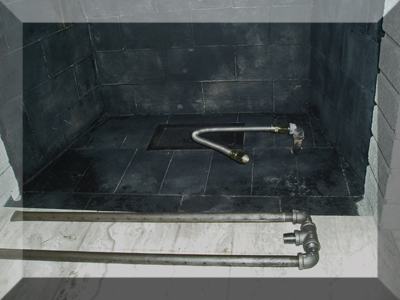
Pour in the filler.
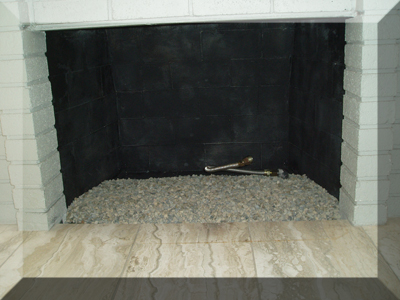
Test your burner.
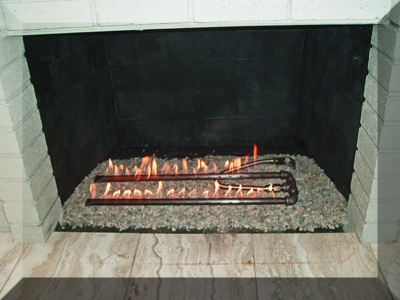
Pour in the glass and your done! Morris used a Starfire Base Glass ad topped it with 3/4" Starfire Base Glass and Rhubarb Topper.
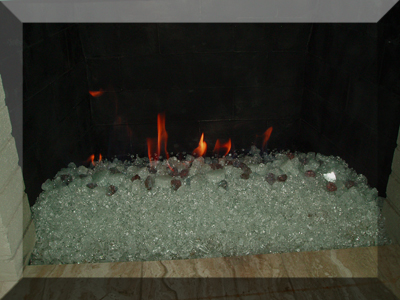
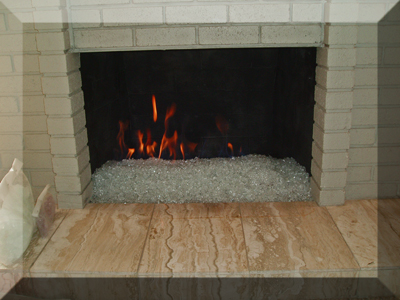
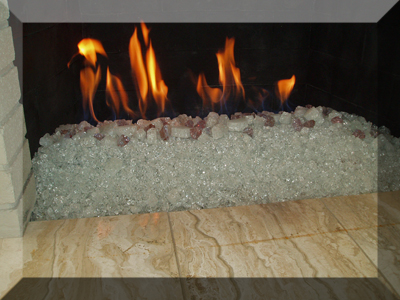
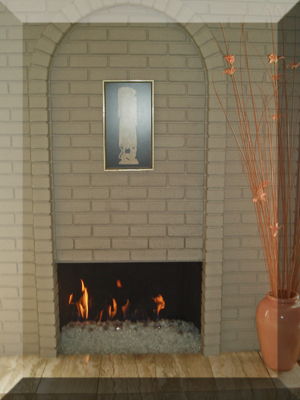
Very nice Morris! One of our Canadian Customers.
The outdoor fireplace pictures below are in Sacramento, California (for Nancy and Derek Long). This was built by Jake Moss and Jim Corbett who are constantly features on
DIY's Yard Crashers! We have worked with them several times and now we continue to help create some pretty cool features together. Here we go:
The glass that was installed is:
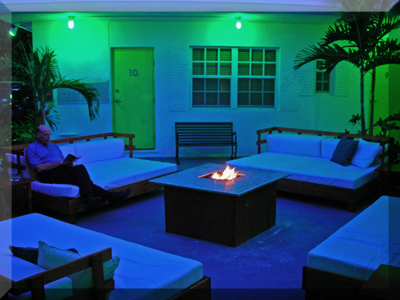
The fire pit below was constructed by Andrew Jordan in Miami Florida, www.BuenaVistaFlats.com.
We build a 16" x 16" aluminum pan with a 1/2" lip on top. The propane tank was mounted below the table top. Nice and simple feature!
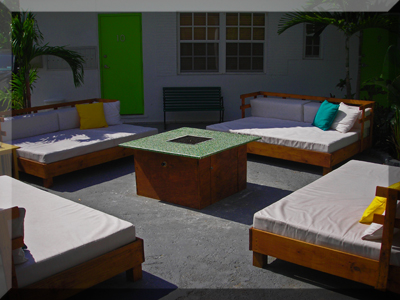
If your in the area, send them a line or stop by www.BuenaVistaFlats.com.
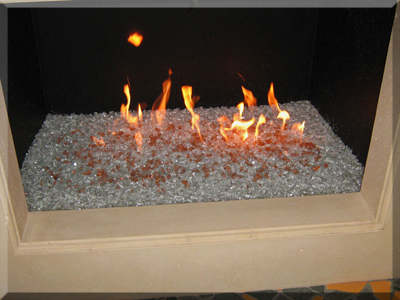
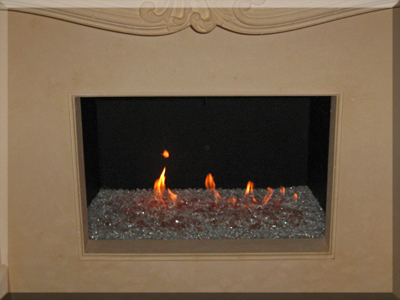
The fireplace below has a Starfire Base Glass and is topped with a bit of Pink Rosa Base Glass.

The fireplace below is a two sided fireplace from the bedroom to the bathroom. This is a very simple conversion. A Starfire Base Glass was used and topped with Gold Base Glass.
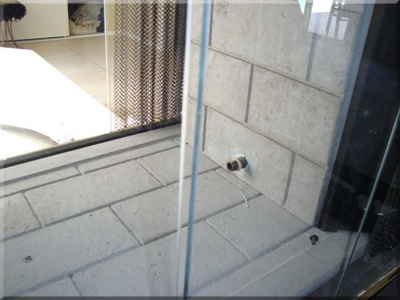
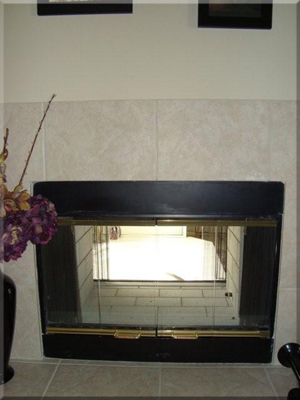
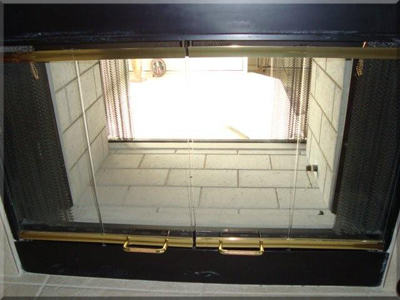
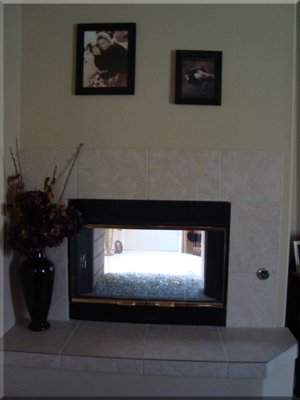
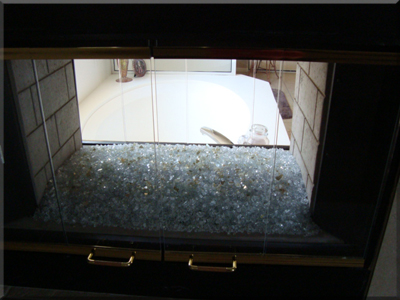
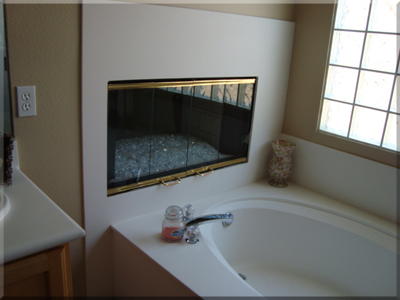
Very simple, very clean and very nice.
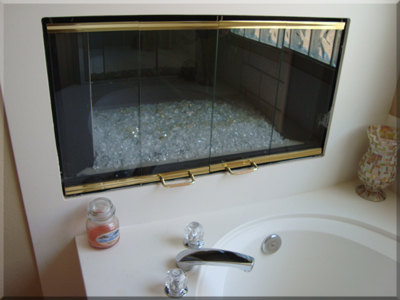
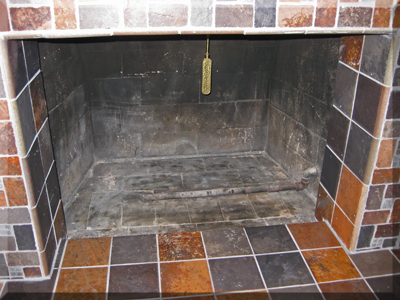
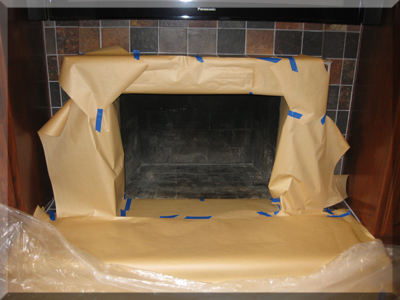
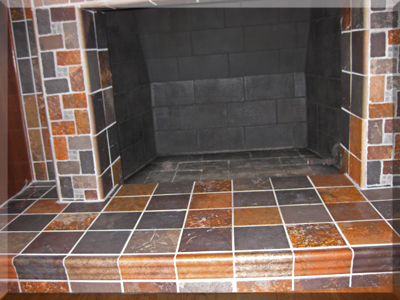
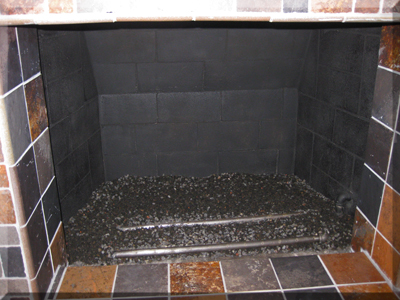
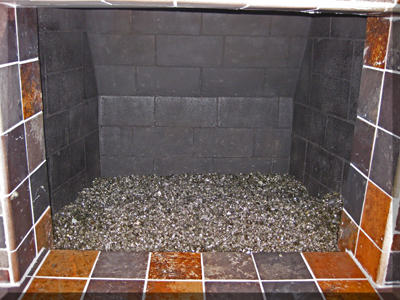
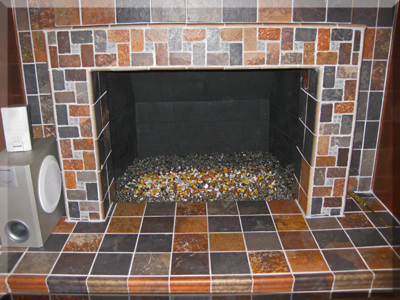
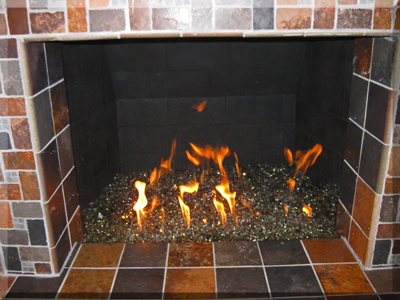
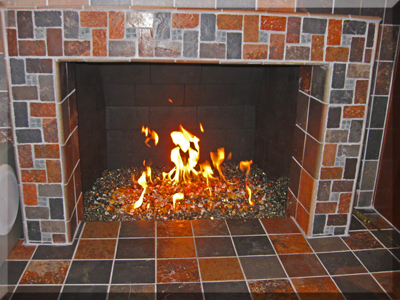
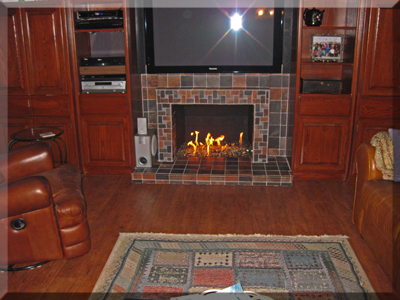
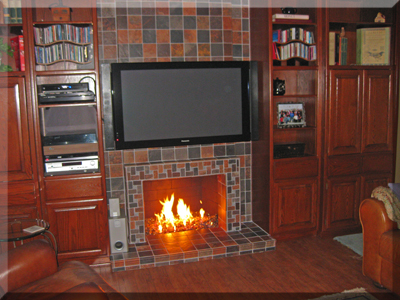
The fireplace pictures below belong to John Krakowski. This is a complete make over/ transformation of his fireplace. The colors that were used are:
Bronze Base Glass,
Bronze Reflective Base Glass,
Yellow Topper,
Yellow Amber Topper,
Dark Red Orange Topper,
This is a very nice self installation: A picture is worth a thousand words!
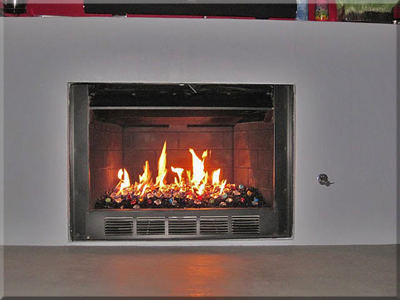
The fireplace below is from Eliabeth Bawden, very nice finish! The colors that were used are:
Black Base Glass,
Ice Ice Ice Topper,
Multi Color Cubes
Very nice splash of color!
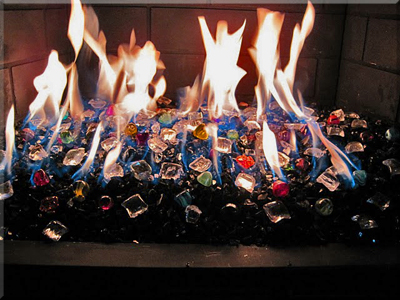
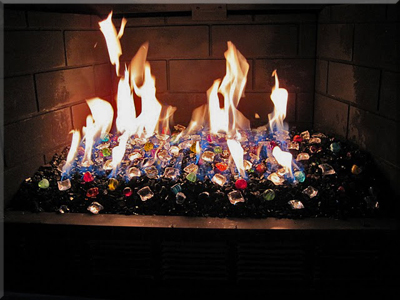
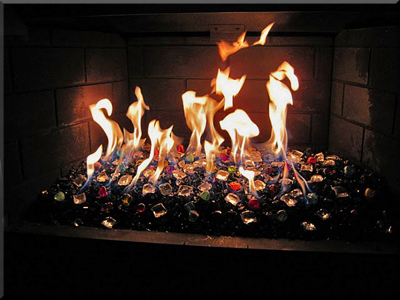
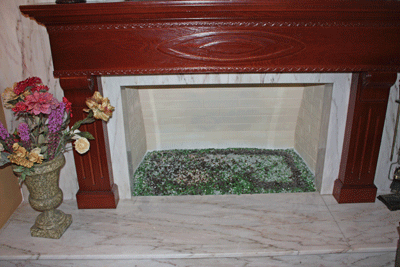
This next fireplace was done with lack of knowledge! First they installed a 18" single burner and some real interesting choices of glass. What they did do correct is have a 3" sand bed under their yuk glass. The first issue we repaired was the stub out on the left side of the fireplace floor. All we did was install a 90 degree elbow and connect a 1/2" flex line to the new double 24" burner. They had left the flex pointing in the air and then reduced it to a 3/8" line and to top that off added they very sad single 18" burner. We repainted their futile attempt (of painting) with dark metallic brown, added 10 lbs of sand and poured 75 lbs of Starfire Base Glass over the new burner and sand filler. We will explain as we move forward:
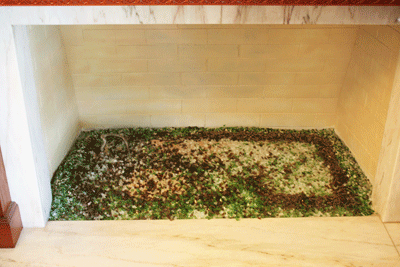
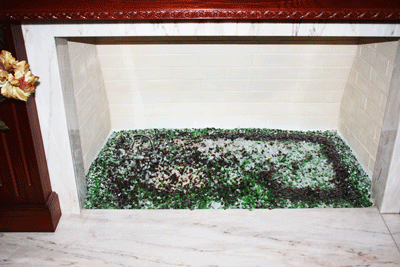
Below you can see the black marks under the paint.
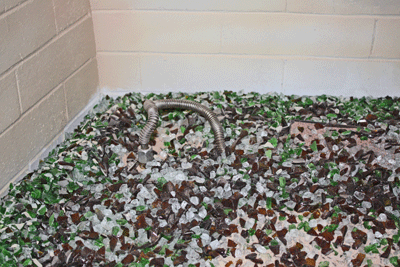
Below you can see the flex line that was installed was left above the surface. Now if we tried that I think our customers would take us out and string us up, what do you think? To top it off this customer was an attorney! Completely happy with what we did.
Here is the new paint on the back walls.
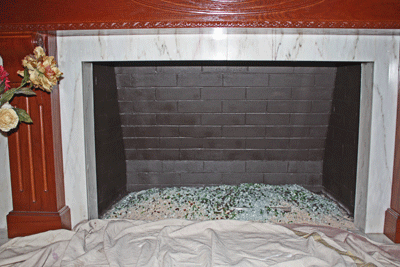
Now we added the Starfire Base Glass. One thing we have been doing a little bit different is to bring the glass out from the front of the fireplace. We let the glass come out of the fireplace from 3 to 6 inches to make it look even more grand. What do you think?
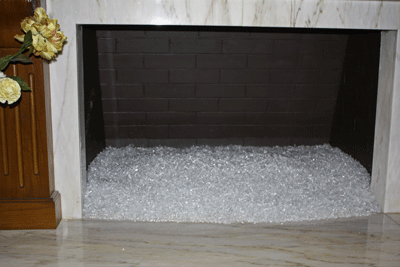
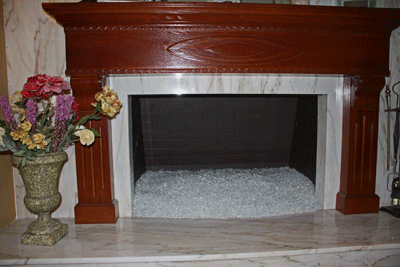
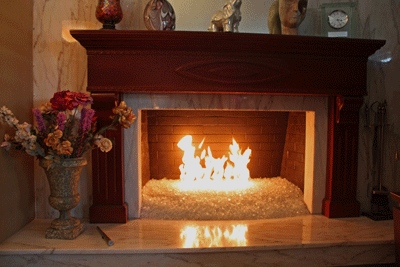
Here is a the almost finished product of what we do! We left several colors with the customer to add. We will post pictures when they arrive.
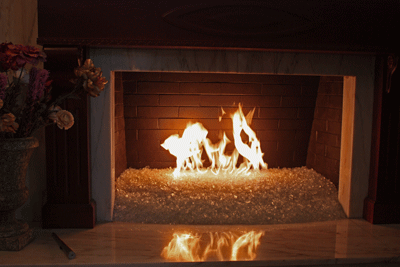
Below are the finished pictures of what else was added:
Yellow Amber Topper,
Ice Ice Ice Topper,
Clear Diamonds,
Fuchsia Topper,
Purple Topper,
Red R Topper,
Roma Red Topper
I think it turned out very colorful! Check it out!
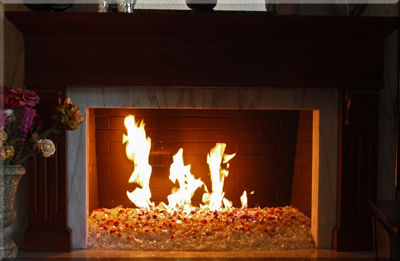
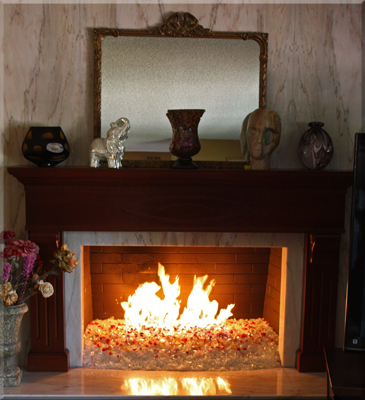
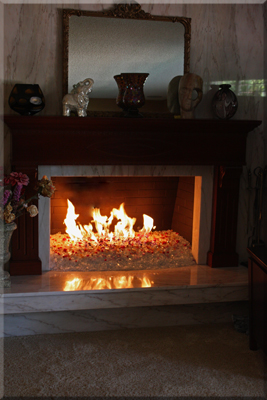
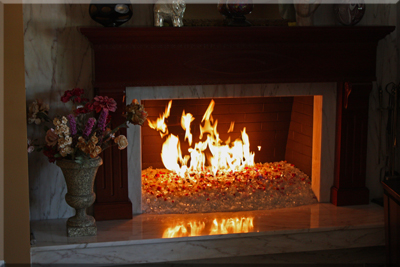
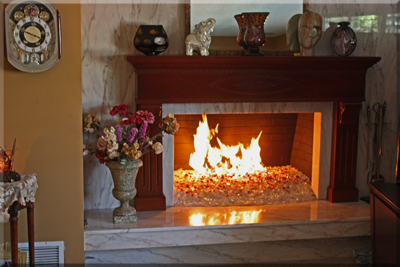
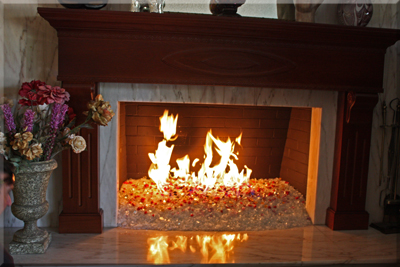
The fireplace pictures below is a before and after fireplace.
The glass that was installed is:
You be the judge, a very nice mix of colors. Many times better than the BEFORE!
YUK?!
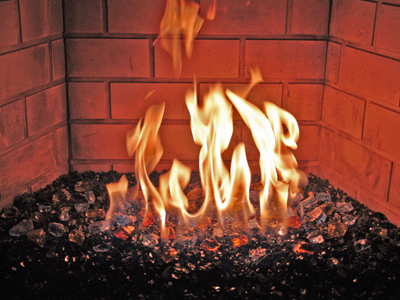
The fireplace pictures below show the before and after from Bob Kobus. The glass that was used is:
Let's go from start to finish:
Nice Logs! NOT!
Bob used an aluminum brick metalized panel.
Then they did their grind pattern.
And here you have it finished!
Yes the logs will be leaving very soon!
Much better, don't you think?
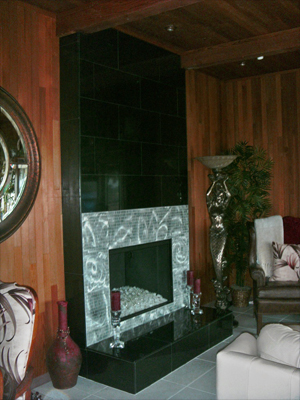
The fireplace pictures below will show how simple and easy it actually is to install.
Here are a few comments from J.D. Harriman
John. Harriman@dlapiper.com
Subject: More proof of how easy it is to do with Moderustic providing the materials!
We are so happy with our fireglass fireplaces (we have 3!). It has literally changed our lives in that we can use our fireplaces anytime we want with no worry about
cleaning ashes later on. Even better, the look is so superior to fake logs. All of our friends have been wowed by the look. We always send them your way.
Best regards,
J. D. Harriman
Here we go:

Above you can see how nice it WAS! YUK!
Below they painted, we always recommend painting the lines first and then painting each brick separately. Using this technique you can eliminate spots.

Install the burner. We usually recommend curling the flex line from underneath, but this works as well if your flex line is long enough. The reason for the flex line: it allows you to move the burner forward to prevent the flames from hitting the back wall.

Below the lava has been poured and test the flame pattern.

Pour the glass from the front going to the back. You can use a cup or pour from the bucket.

Turn it on and you are done!

The glass that was used is:
Starfire Base Glass,
1 lb of Gold Base Glass,
Amber Diamonds,
Ice Ice Ice Topper for one simple but nice fireplace!

The next fire pit was build/ constructed by Rose Harms in Wyoming. Long story behind this one with what the plumbers were telling her and what actually happened. We will explain as we go.
Above and below you can see we had her install a gas line with a quick disconnect hose.
Here is what Rose had to say:
Hi Ed and Claudia,
Wanted to be sure I got the photos to you of our completed fire pit.
Here are the steps we went through:
Bought the brick/blocks (no lip on the stones) from Lowe's, put in circle, 3 rows high.
Bought the iron fire pit at Lowe's and placed on and inside fire pit. -note -it is iron, so I sprayed it with HIGH HEAT paint, in Copper. Wow!
got plumber to run natural gas from deck above (outlet for BBQ) and under the deck, ran down the deck post and he put in a Shut Off valve there.
It turns.
He ran a precise hole through the bottom off the fire pit to hold pipe for gas to the double ring burner (from Moderustic of course) and it is stainless
steel (no rust). At the bottom of the deck post is a flexible hose which goes over to the fire pit. It CAN be disconnected or even roll up and
shove inside fire pit (after it is cooled).
Note: you do need to chop off a piece of the block, or else just pull one out when you are using the
fire pit. (Kind of like Jenga -just pull out the stone, the others support the fire pit) Unless you can successfully saw off a piece of the stone.
Lit the burner to be sure it works well. It did.
We put in the 1" lava rock in the bottom of copper fire pit and then filled in the spaces with 1/4" lava rock. Should have used More! When we went to
cover the burner we were short on the FireGlass. So we ordered more. Still looks beautiful.
Got rest of glass and made circles with the glass and it is beautiful. There are photos of it burning last night!! Lots of warmth on a typical
cool Wyoming evening.
Brick: $200, Fire Pit $79 on sale, double ring SS burner $126, glass -about $250, gas line -don't know yet but guessing $200. Maybe $750-800 total.
And -the way it is made, we could actually dismantle and move it. No mortar in stones. We are very happy with our fire pit and thanks to Ed and the gals
at Moderustic, we were able to make the right choice for glass and burner. Thanks Ed and Claudia. Very knowledgeable and helpful. Could not have managed
this without your guidance. We love being DYI-ers but directions are needed!! We appreciate all your help.
Rose and Doug Harms, Cheyenne Wyoming
Mind that the customers stacked their own bricks!
The glass that was used:
and the rest is history!
This was originally going to be propane but if you have natural gas, then use it if you can. It will cost less in the long run.
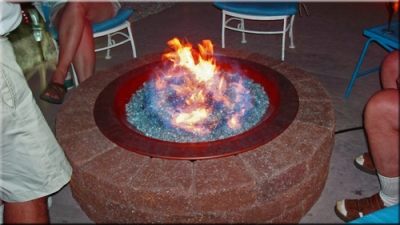
The fire pit below was built and designed by Brett Parks in Indiana. Brett came to us to help hm create his water fire feature for his back yard and be able to winterize it during their frigid winters. The glass he used was a:
We then built a custom shape stainless steel burner to fit his idea. We will explain as we go.
Here is his original concept drawing:
Below is his layout with pavers, electrical and gas line coming up.
6" deep water tank.
Stack a few more pavers.
Let's test it!
A custom size and configuration ring was fabricated.
Now you are done!
The Fireplace below from Larry and Bonnie Bidwell was a typical wood burning fireplace. YUK!. Larry and bonnie are Geologists/ rock hounds with an extensive collection! Here are the fireplace pictures with the fireglass/ fire glass installed:
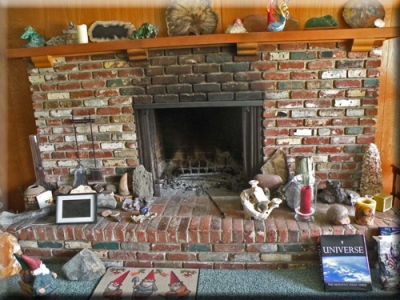
Pretty, don't you think so? Pretty Ugly! Can you honestly tell me you still like wood????
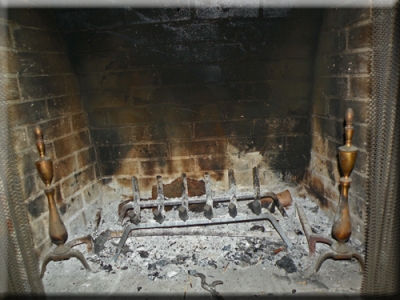
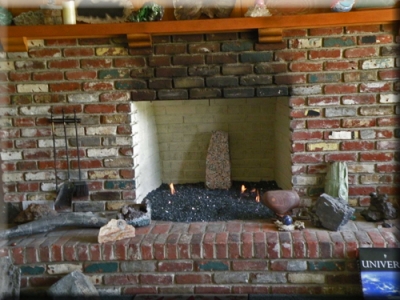
They still have yet to clean the bricks above the fireplace, but this is the result of burning wood!
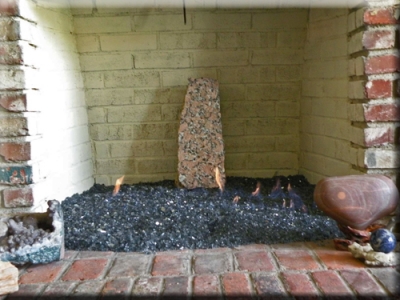
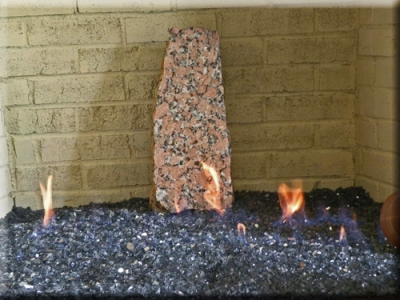
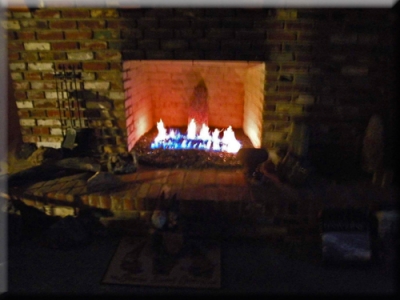
Below are a couple of pictures of Larry and Bonnie's garden with their collection, amazing if you were to see it!
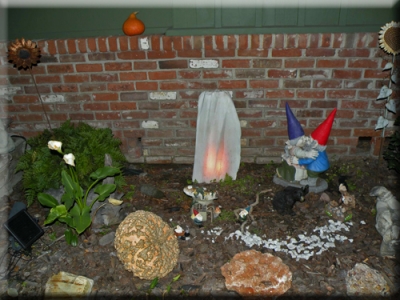
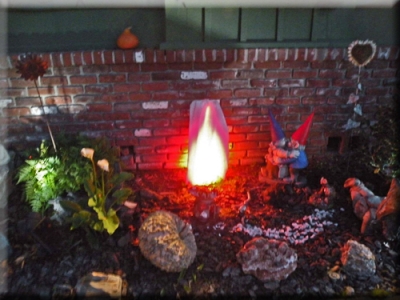
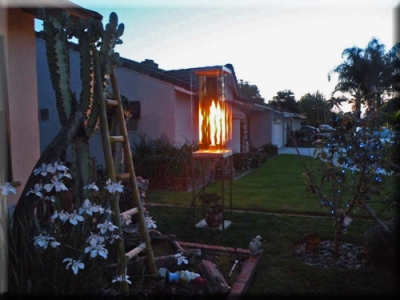
The Vortex below was installed in the front yard in Glendora, California at Larry and Bonnie Bidwell.If you want to make a statement, then this would be it!
The fire pit below has
Azurlite Base Glass FireGlass/ Fire Glass installed. This fire pit was to have an
electronic ignition but the pool builder forgot to wire it, oops! We then installed a
battery operated IPI system and we will explain as we move on. The first issue was we were told the pit was 8" deep, it was only 6" deep! That will explain why the glass is mounded so high. they put a board on top of the fire pit and measured it to the top not the bottom.
We had to mount the gas on top of the ring because of the measuring mistake.
On the bottom front left of the pictures you can see the blue battery compartment.
This will be just slightly covered with glass but easy to find come the time to replace the batteries.
First layer of glass going on.
Below you can see that the ignition is just above the surface and the battery box is now gone!
We had to add more glass, again because of the 6"/ 8" bad measuring.
Below here it is finished.
Yes it is on the golf course in Palm Desert
Below we did a Paparazzi photo shoot! This home took 2 years to build! The gates below had Sea Glass laminated to the glass panels.
If you take notice to the outside walls, the entire house was covered in marble! Crown moldings included!
We only do this once in a while, but the home was outstanding. You should of seen the interior!
Nadine is very creative and always tries to add her personal touches.
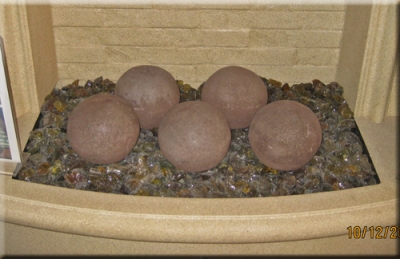
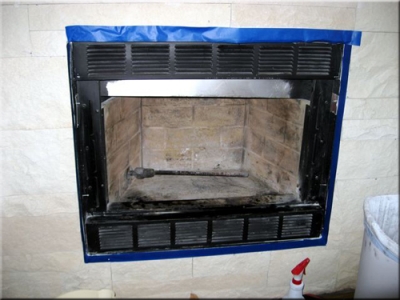
Here is one more Ugly Glass picture! This is actually displayed in a fireplace shop in Temecula, California! You be the judge. This is why we take soooo many pictures to show what we actually supply!
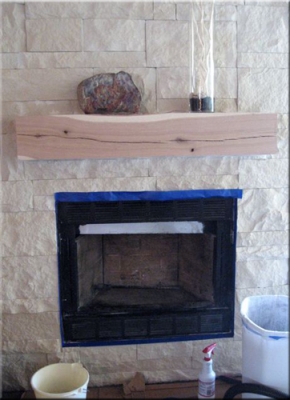
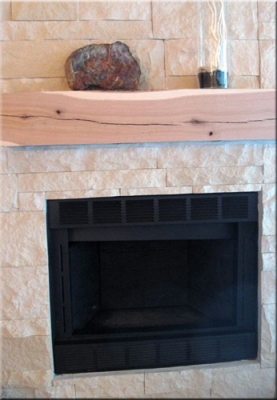
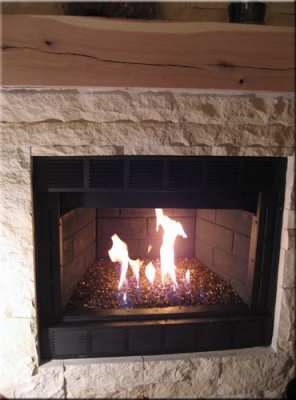
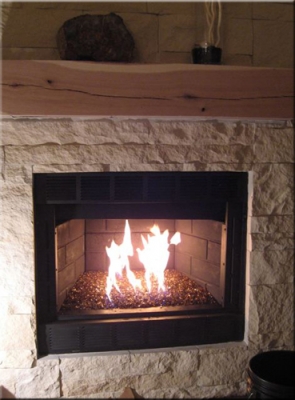
The next fireplace has quit a mix! Fred
Pollakov decided on these colors:
Starfire Base Glass,
Bronze Rust Copper Base Glass mixed in,
Gold Reflective Base Glass,
Azurlite Base Glass,
Cobalt Blue Diamonds,
Amber Diamonds,
Caribbean Blue Cubes!.
The fireplace looks outstanding! There is a glass sculpture in the center which and is amazing!
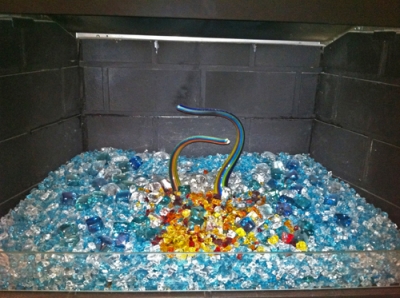
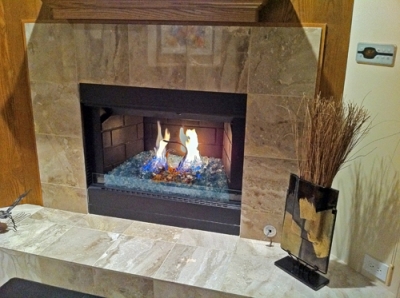
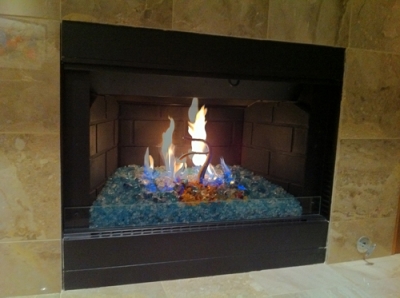
Notice the 3" tall 1/2" thick front screen at the bottom! Pretty amazing!
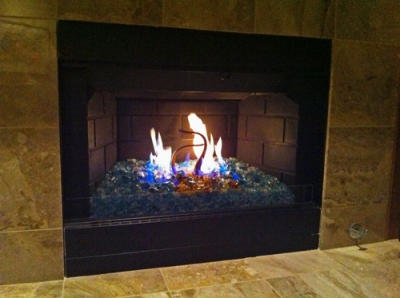
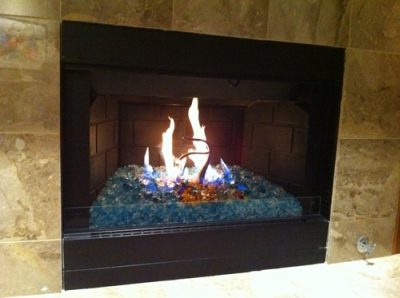
The next fireplace was installed by Brian Cooper. The glass that he installed is:
Starfire Base Glass,
Bronze Reflective Base Glass
and
Emerald Green Topper.
Nice, huh?
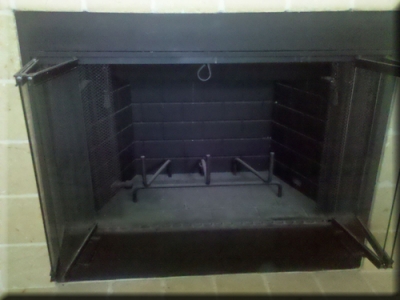
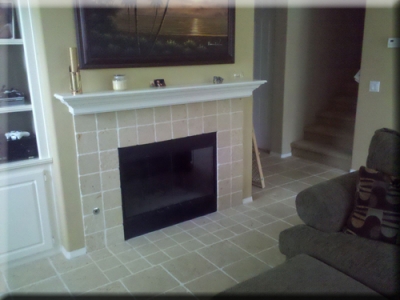
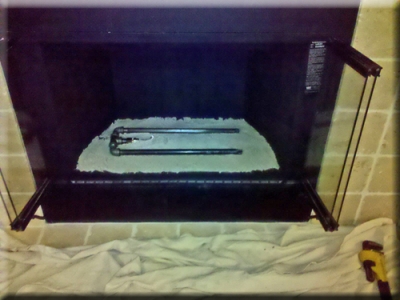
2" method, sand base for lighter colored glass.
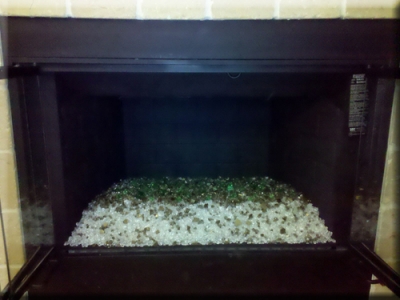
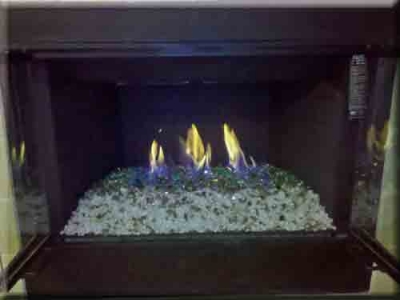
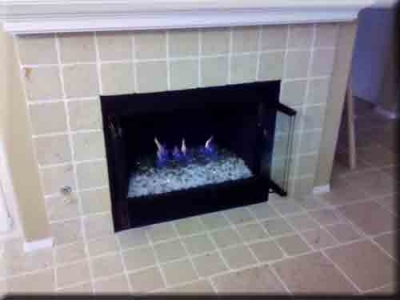
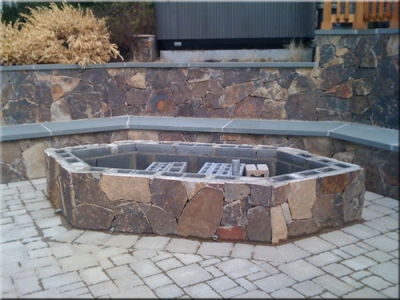
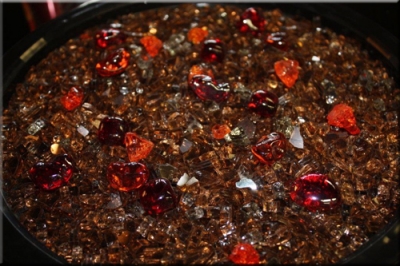
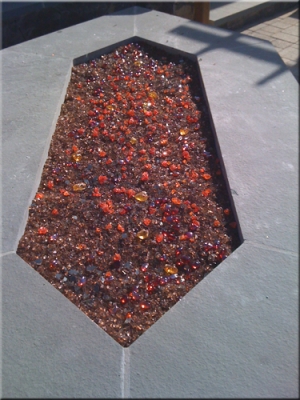
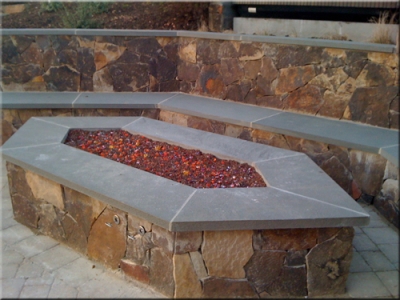
The fire pit below was designed and built by Tamara Lyons and her wonderful family! Junior help most. The glass that was used is:
Bronze Rust Copper Base Glass,
E.D. Diamonds, Red and Orange,
Amber Diamonds,
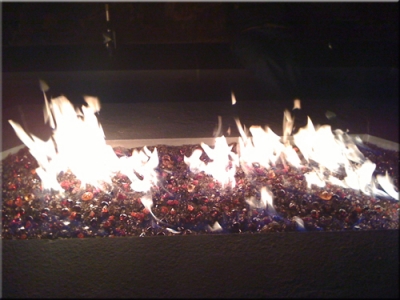
Orange R140 Topper, this particular color is one of our chameleons. It turns a bright cherry red when heated and cools back to orange when cooled!
The fire pit had three sets of burners. One in the center and one on each outer edge. This way you can control how large, how much and where you can have fire when you want it.
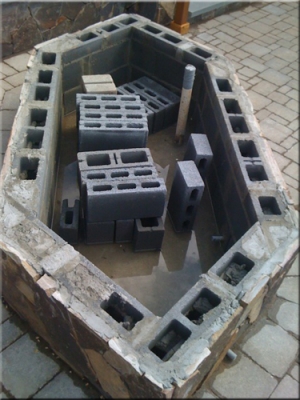
This is how it started
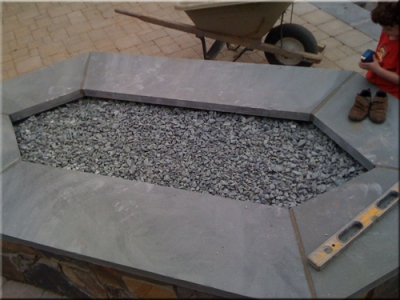
Pea gravel base
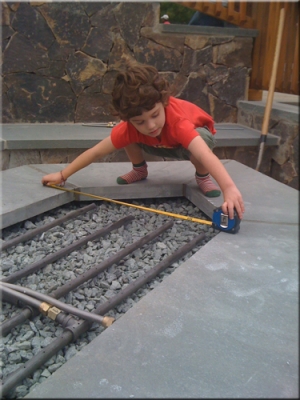
Measure once, cut twice.
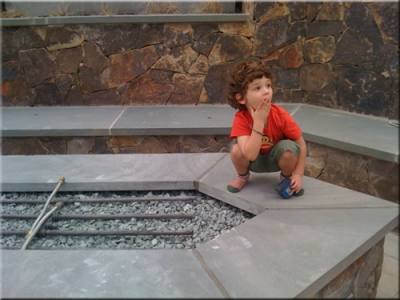
Ohhh, what color?? There are sooo many. What to do????
So we sent a make up of what colors they liked. We can do this for you as well. Just tell us what colors you want and we will mix a batch and send you the pictures!
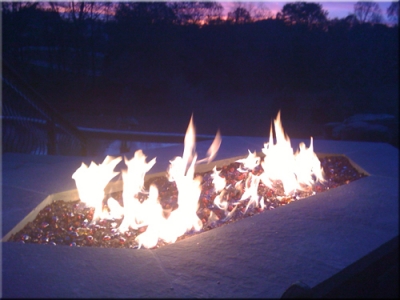
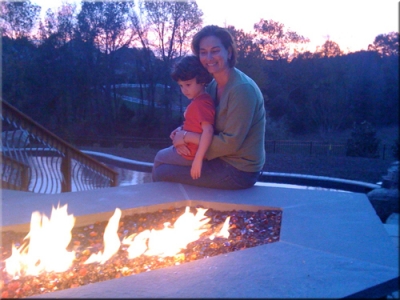
You should of seen the rest of the back yard! Who needs a house! I would live in the back.
The next fireplace is from Chris Ackopiantz in Palos Verdes California.
Chris lives in a condo complex with only wood burning fireplaces. Chris received permission from his complex to add a propane fed fireplace. Burning wood is not only dirty and nasty, it is very unhealthful as well.
Here are his pictures from beginning to end:
The glass he used was a:
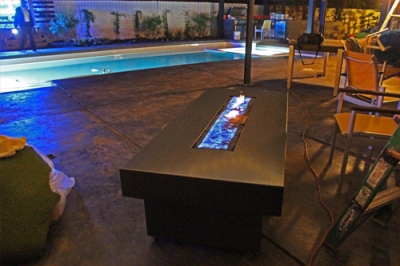
Click on the picture above or "HERE" to see the before and after pictures. Corten Steel Propane Fire Table.
______________________________________________________________________________________________
We will show you how it came to life, CLICK on the picture below or HERE.
_________________________________________________________________________________
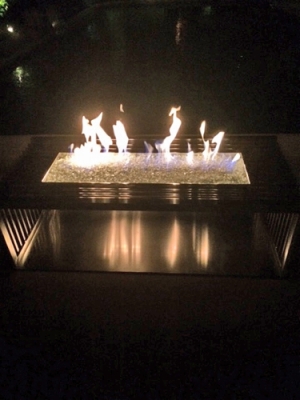
Click HERE or on the picture below to see all of the pictures of the Corten Steel Fire Pit!
__________________________________________________________________________________

