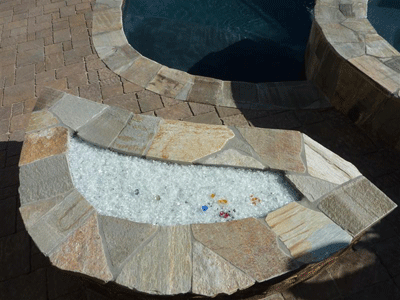
Joe Ramirez contacted us with a few fire pit problems, which we helped him fix. When building a propane fire pit, keep in mind the following:
- Don't put your controls under the base plate, you want to make sure that if you ever need to service the unti you will be able ot have access to it.
- The Air mixer needs to be located in its proper position so that base of the fire pit wont fill up with gas and create a bomb.
- Again air ventalation is critical when it comes to propane.
Here is what Joe had to say...
"Were all good, I spoke to Morgan very helpful, you got a great crew. Works like a champ. Thanks again."
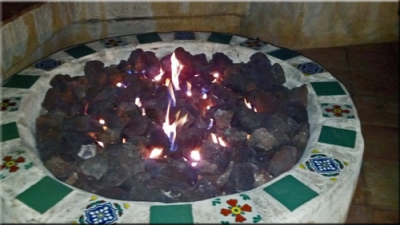
The fire pit below was a traditional lava rock fire pit
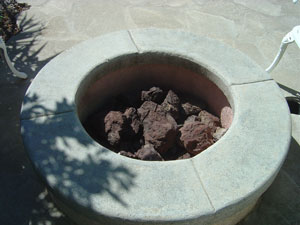
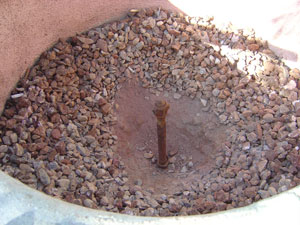
Now filled with lava rock (crushed 1/4" 3/8") over 3/8" 1/2" crushed. Remember the larger is under the smaller to keep the glass from falling through.
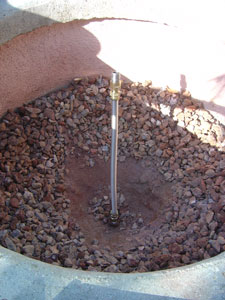
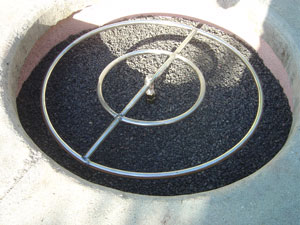
Above a flex line was installed to raise the ring to the surface. You don't want to leave the ring at the bottom unless you want an explosion or if you want to get rid of the significant other.
Below
Pour more crushed lava to make the desired shape of the fire pit and test burn for flame pattern.
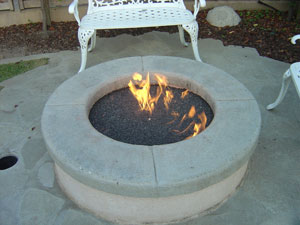
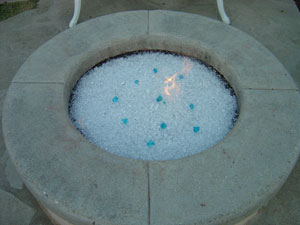
Starfire base and a few other colors were added
Azurlite, Scarlet Topper, Red Topping, Ice, Copper Blue Topper, Copper Blue is a chameleon as when it gets hot it turns green and when it cools it turns back to blue!
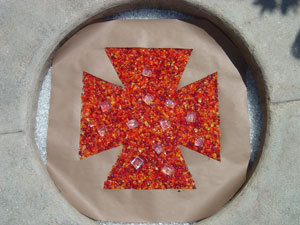
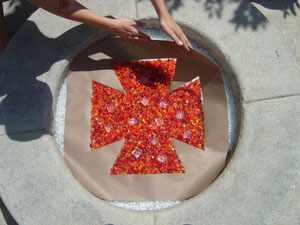
Patterns, can you do better?
Pretty creative!
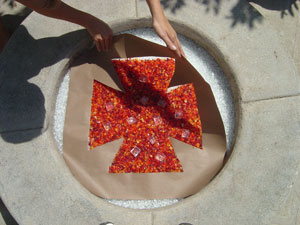
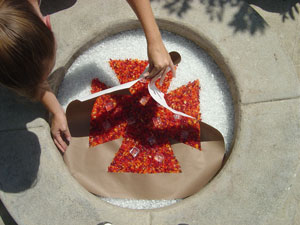
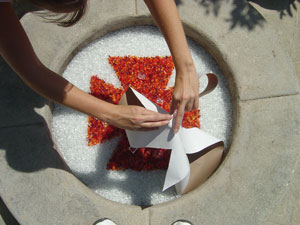
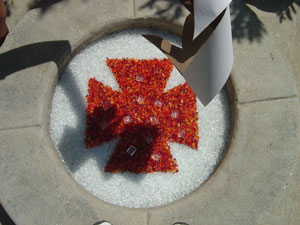
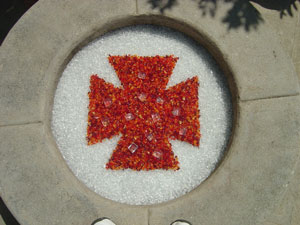
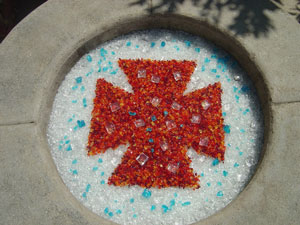
Great job and very creative.
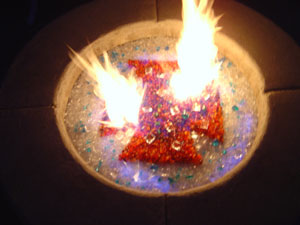
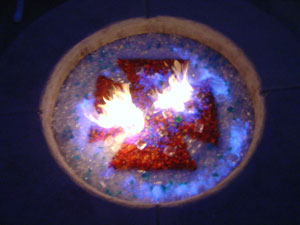
The fire pit below is an older installation and we don't use sand as we use crushed lava rock over the larger lava rock.
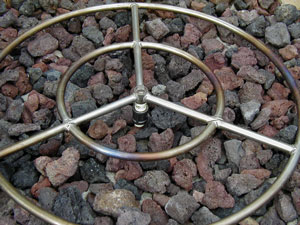
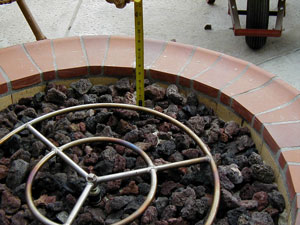
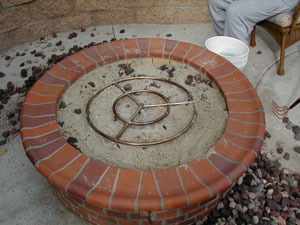
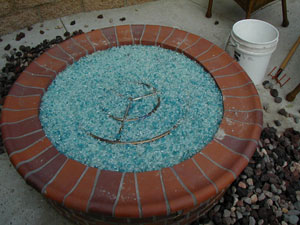
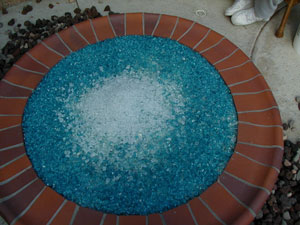
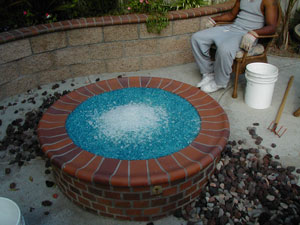
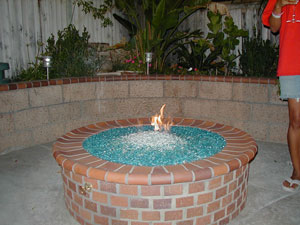
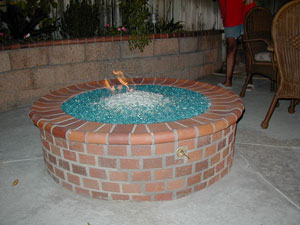
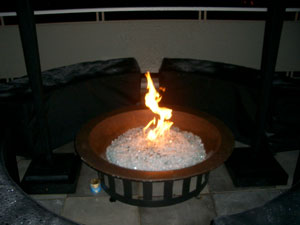
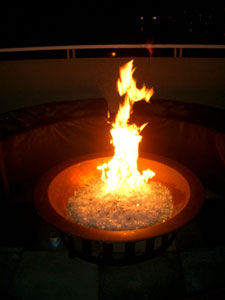
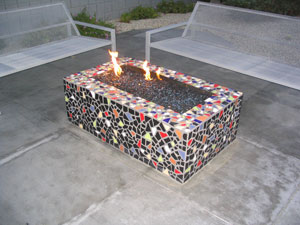
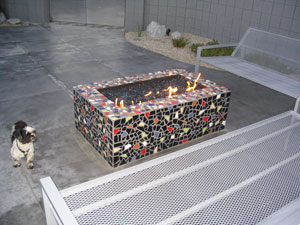
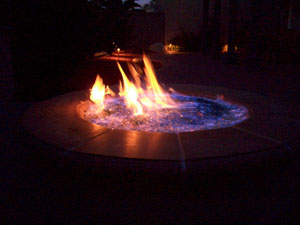
Below is a fire pit with a Clear base with Azurlite and Starfire on top
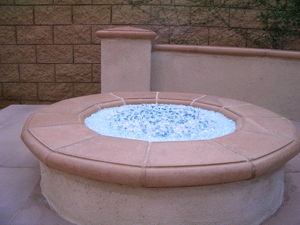
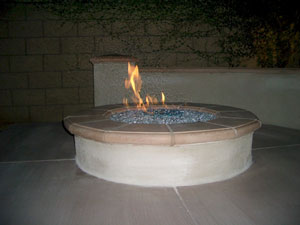
The pictures below are of a self install fire pit with crushed lava rock and a Clear base
1/2" to 3/4" lava rock is use just to the bottom of the ring.
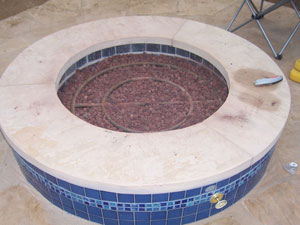
If you want a higher center then pour a little more filler on top of the ring.
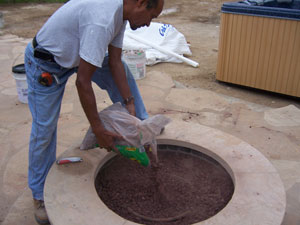
Now we will pour the crushed lava rock (1/4" to 3/8") over the filler as this will stop the glass from falling through the lava rock.
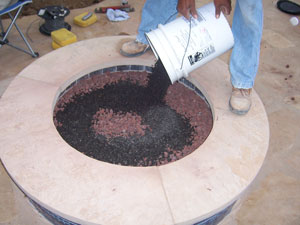
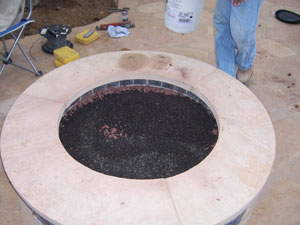
Finish shaping and pour the glass
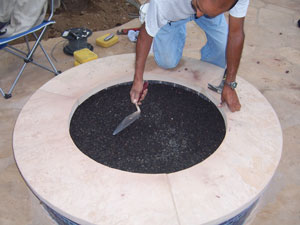
This is a 36" fire pit which requires 56 lbs for a 1" cover and 80 lbs for a 1 1/2" cover.
We used the 1" method, 56 lbs which as you can see works just fine and no you can't see though the glass.
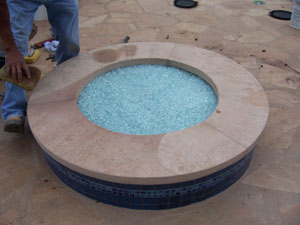
The second step will be to add color and toppers which we should post in a few days and night time pictures with the fire on
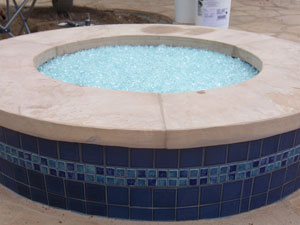
Here we are showing you how to properly install a fire pit with glass whether you are using a 1”, 1½” or even the 2” method. The less glass over the crushed lava rock the more likely someone can disturb the top layer and then the lava rock could show through. We recommend starting with less and then you can always add more if you need to. As you can see we had our customer do the 1” method and it looks just fine. Now he is going to add toppers for accents and color. Don't be fooled by someone trying to get you to purchase more than you actually need. Give us a call and we can help guide you in the right direction.
The 4 pictures are of Multi Mix in a simple but nice fire pit. Multi Mix is off of our test table in the showroom which everyone who comes in can sample mix their fireplace glass and after the table fills up we then have Multi Mix. There is usually a lot of Toppers and Toppings in the Multi Mix.
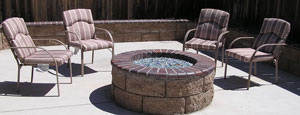
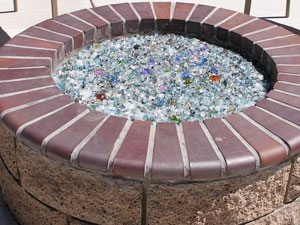
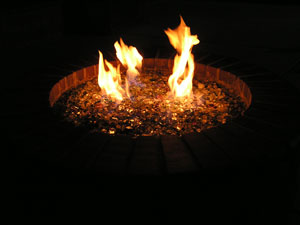
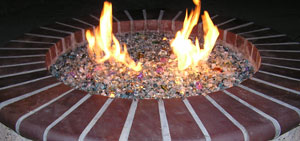
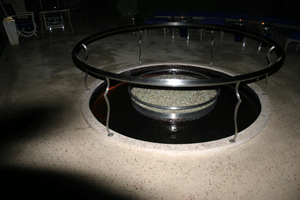
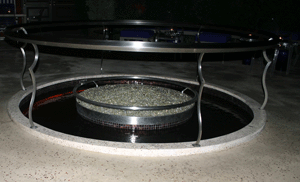
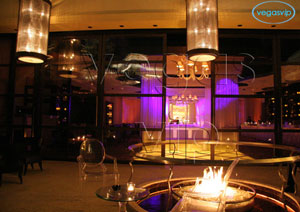
The pictures below are from the Lure Lounge at the Wynn in Las Vegas. This was done for Steve Wynn with all gold. This was taken without the flame on and when we return we will have pictures of the fire pit lite up
Wynn Las Vegas
3131 Las Vegas Boulevard
Las Vegas, Nevada 89109
Phone: (702) 770-7100
Website: www.wynnlasvegas.com
Another site with a nice picture of the pit (two pictures down from the top).
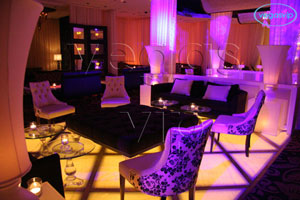
The fire pit below has a Clear base, and 3 lbs of each of the following, Starfire, Azurlite Reflective, 1/2" Bronze, 1/4 Bronze, Evergreen Reflective, Gold, Black Reflective.
The fire pit/ table is at the Roxbury Hotel and we will show you the progress here from beginning to end. This was a propane installation with our FPPK burner. The colors used were:
1/4" Starfire, 1/2" Starfire, Gold, Lime Green Topper, Pale Olive Green Topper, Olive Green Topper,a little bit of wood and tile and here you go!
Above shows the framing and the gas line coming in.
Below shows the pipe coming out of the floor and the thermo-coupler on the glass next to the igniter
Roxbury Hotel, a cool fire pit!
The next fire pit was designed by and built for Kevin Leys of Chicago. He did a great job and you decide.
First he started with a single wall construction fire box with a pan on the top
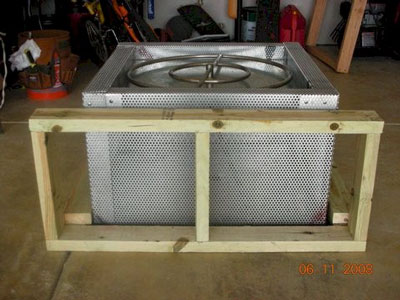
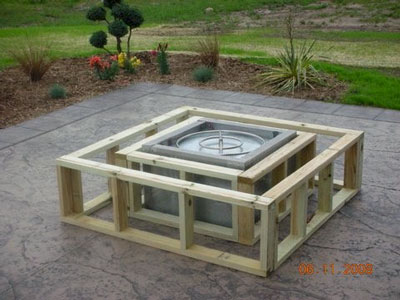
Then it was framed for exterior plywood or you could use metal studs and wonder board.
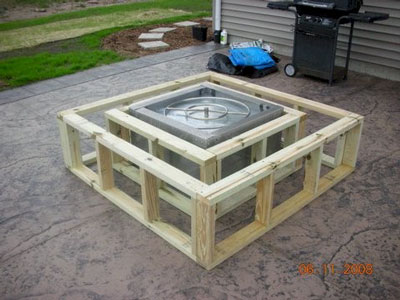
The gas valve was located to the outer framed wall
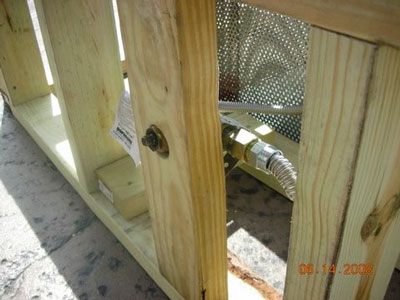
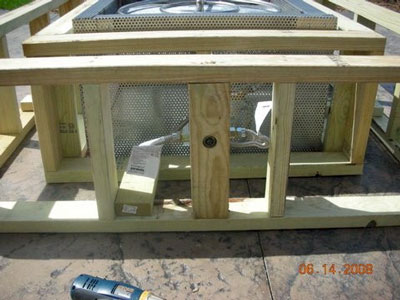
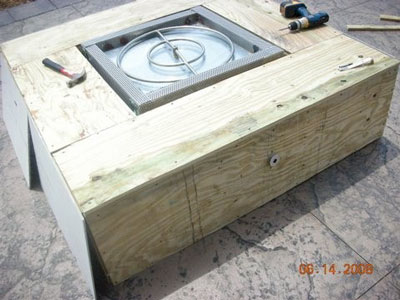
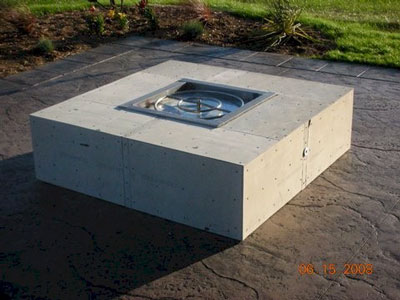
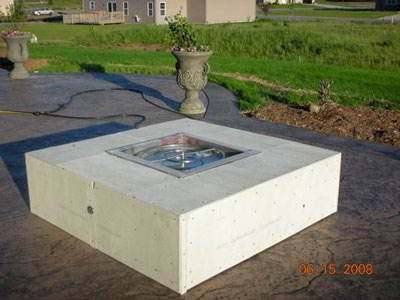
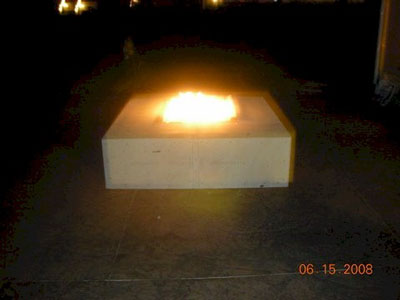
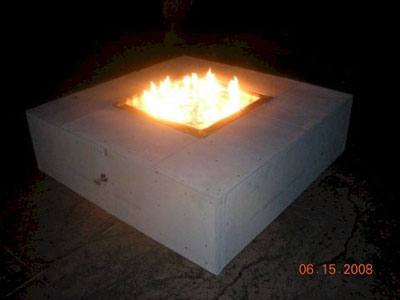
This is a natural gas fire pit. It was tested as soon as it turned dark, fun!
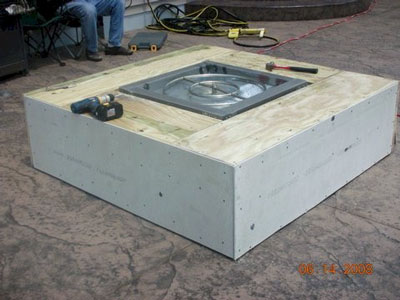
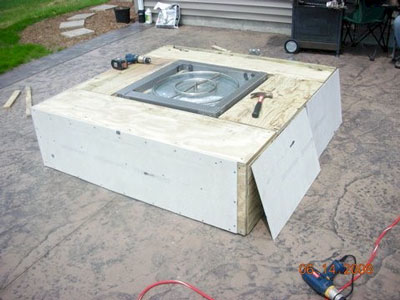
Now we add the crushed lave rock and glass over that. There are many sub materials you can use as a filler. Just ask.
Great back yard by the way! Chicago, remember?
Now we start to apply the tile for the finishing touch.
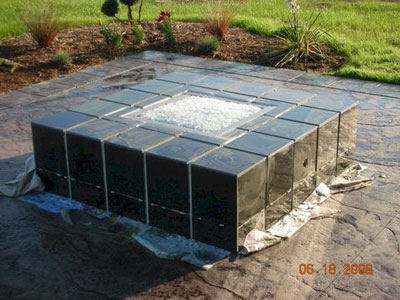
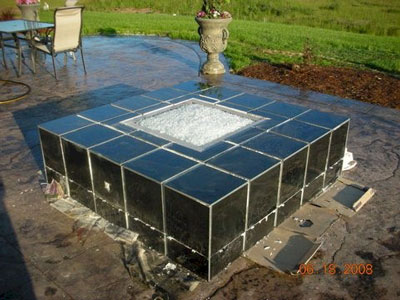
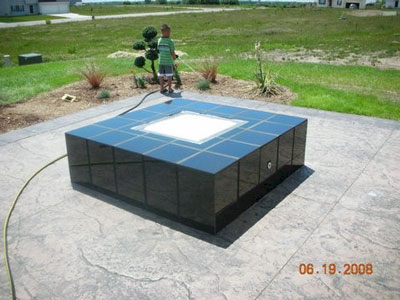
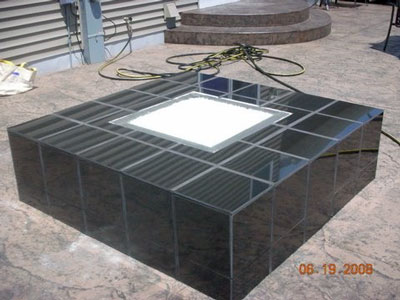
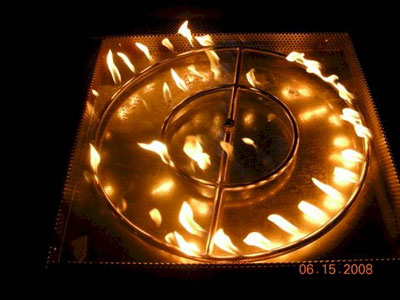
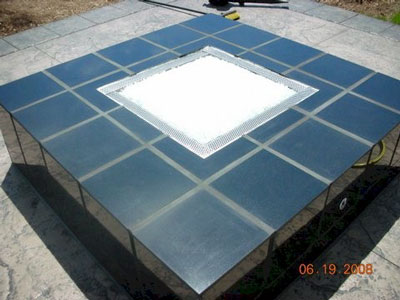
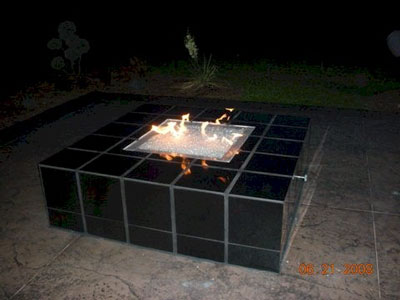
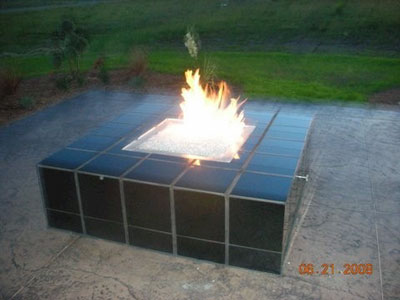
On this page (as if you needed another page) We are going to show you how to build a basic fire pit for your deck/ back yard.
This was built by Glenn Harvey of British Columbia.
This first picture is the frame he had started with.
You can make one from metal studs, aluminum studs, etc. Anything non flammable.
Wrap it with wonder board or durock/ cement board.
Below you can also wrap it with wire for better adhesion to the backer board.
This fire pit was natural gas. We also manufacture the burners for propane. Well, we are the only ones who actually manufacture propane burners for your projects.
Below you can see the gas connection coming up from the deck. Glenn used a pan but he also could of used an aluminum/ stainless steel base plate as well.
The stacker stone is now being applied.
As you can see below the trimming valve is installed on the side. You would be surprised on how many plumbers don't think of this little detail, a valve to turn it on or off. I have seen the valves installed inside of the pit or not even at all. You also need to be careful as to not have a gas line installed that is too small for the application.
Now the stone and cap are done, great and simple job!
Below you an see the larger filler lava rock was installed. If a flat plate were to have been used you wouldn't need the larger filler lava rock base.
Below our crushed lava was used to cover the larger lava rock to insure the glass does not fall through. This makes an even base. What ever shape you make the lava is the shape the glass will take.
Below we installed Water White base glass (32 lbs) for a 1 1/2" cover!
The stone on the side of the fire pit used was to match the stone on the house as well. Looks awesome!
Below is just the Water White before the colors were added.
The colors that were added are as follows:
Azurlite and Azurlite Reflective for the sky area.
Brilliant Yellow R20F4 Topper for the sun center
Scarlett G072F3 Topping for the suns rays
Orange R140F4 Topper for the ring around the suns center
Emerald Green 1417 Topping for the bottom trees/ grass?
Deep Blue 2507 Topper mixed in around the Azurlite in the sky area.
If you notice below the center of the sun, it changes when it get hot! This one of our chameleons that change when the glass gets hot. If you look real close at the Orange Topper (next to the suns center) as well, it turns a bright cinnamon red when it get hot also! All of our chameleons will be posted when we get a chance. This is just another one of our product lines that we have not had time to further promote.
Above is the fire burning and
below the fire was just turned off.
Glenn spent a few hours placing all of the glass to make this very cool scene. So don't just think you can just throw it on and it knows were to go. Very creative!
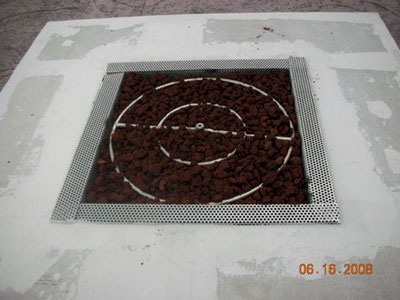
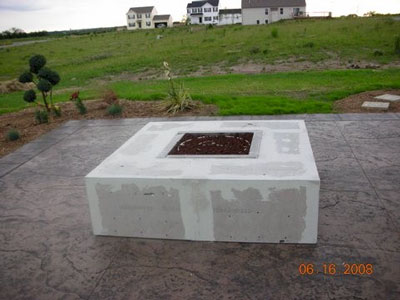
The fire pit below had the wrong type of burner let alone the location of the burner.
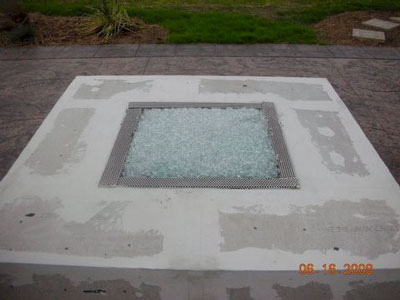
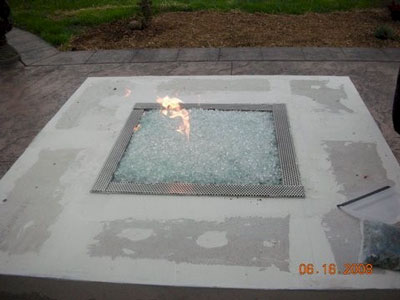
The burner must be with in 2" of the ultimate top of the surface of the fire pit. Filling the pit with gas and then trying to light it? Nothing good can become of this. We installed a #304 stainless steel "H" burner, covered it with crushed lava (1/4" / 3/8") over the larger lava rock. This is what keeps it from trickling to the bottom. Them we topped it with Starfire base glass. Then Eric is trying to decide which colors/ topper he should add if any at all.
Wrong type of burner above.
Our "H" burner below. Watch the flame pattern as the crushed lava covers the burners.
Now for the bid decision, more colors and which ones?
