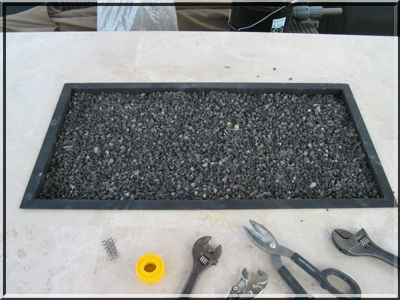
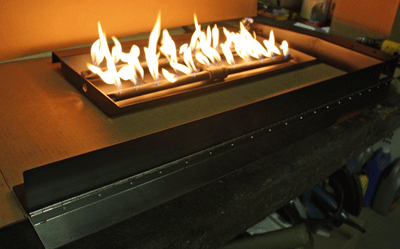
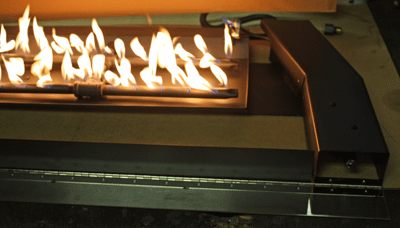
The propane pan below has a brushed finish on the front metal shield. This is a two part shield, one to retain the fireplace glass and second to conceal the controls. This is part of the fireplace design that was asked for. The first pictures shows the front completely up.
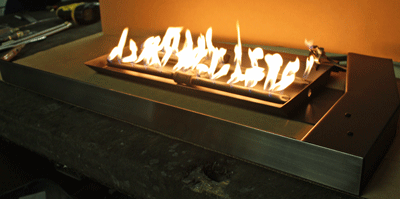
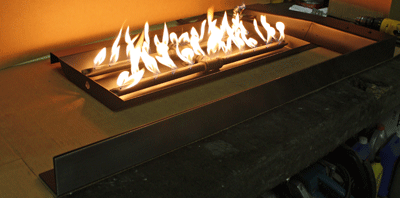
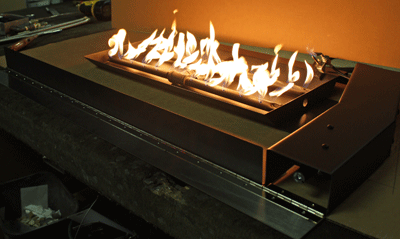
The picture below shows the complete front dropped down to access the controls.
The next 9 pictures are of fire pits, water falls and fireplaces by one of our dealers in Henderson Nevada. They do some very nice work but didn't tell us what glass they used, oops. But we can still enjoy the nice pictures of their work.
Enjoy!
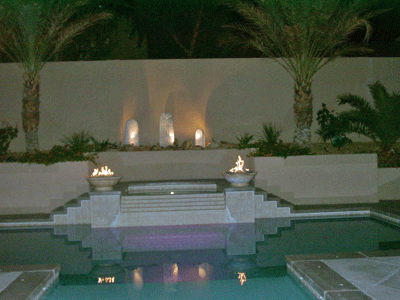
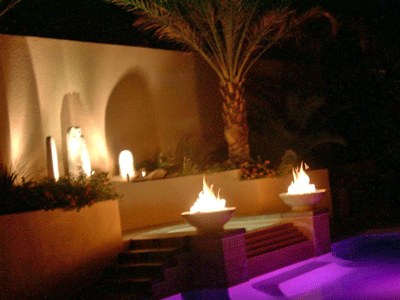
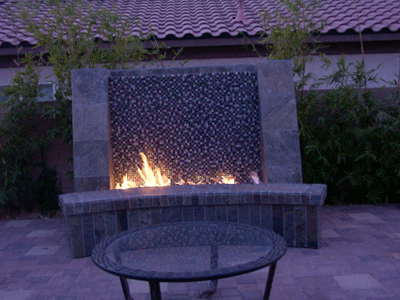
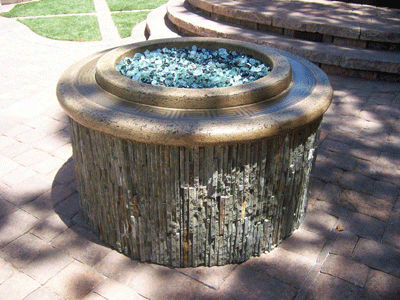
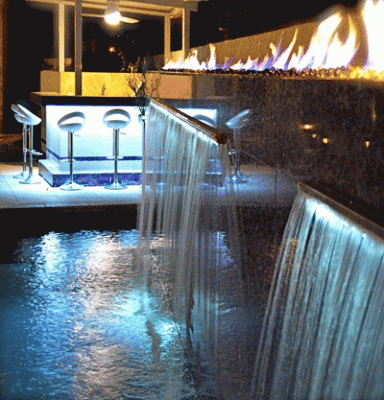
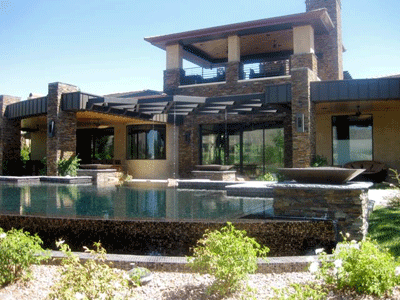
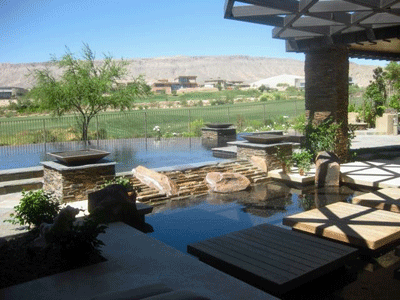
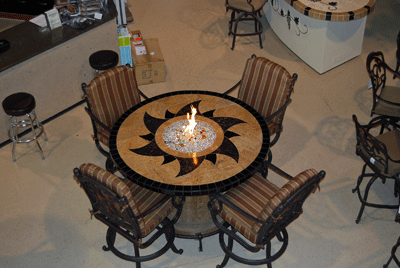
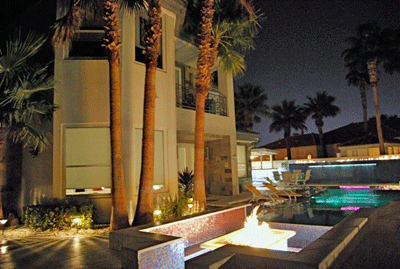
All the pictures above are from Las Vegas and Henderson Nevada.
Just when I thought they couldn't do something different, they did! I agree with the sand as a base under the Starfire Base Glass. I will explain as we go forward: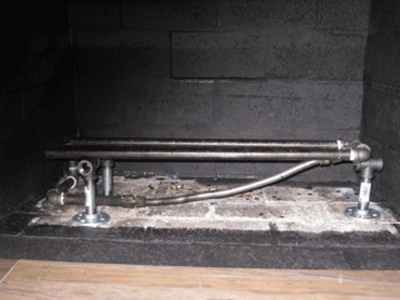
I finally understood the weird brackets, he was calculating the height of his burner for sand filler underneath.
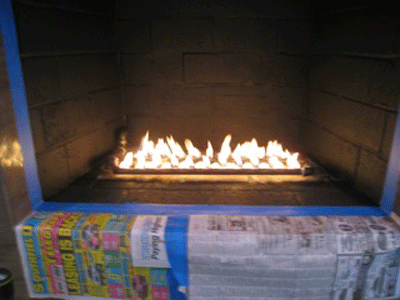
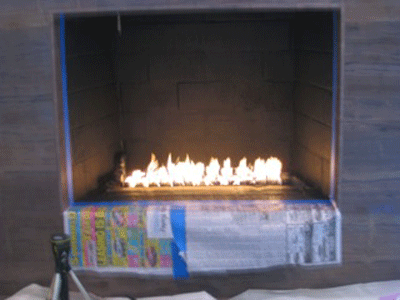
Above and below I understand testing the burner.
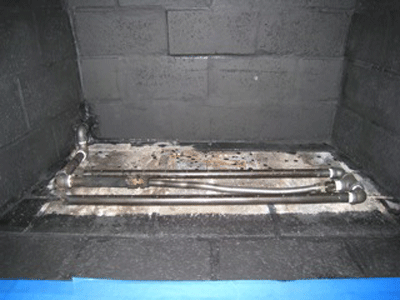
OK, I give, he taped the holes to prevent sand from getting in the burner. That doesn't really matter as too much sand really can't get inside and if it does, no big deal.
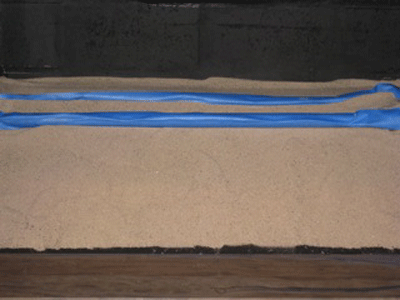
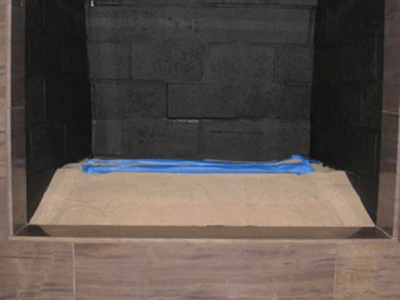
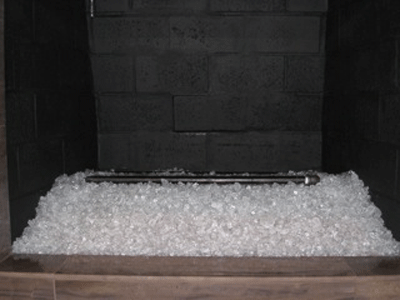
What I don't understand is the burner left on top of the glass. Didn't I show enough pictures for you to get the hint? No really? I guess he missed those few hundred pages of pictures.
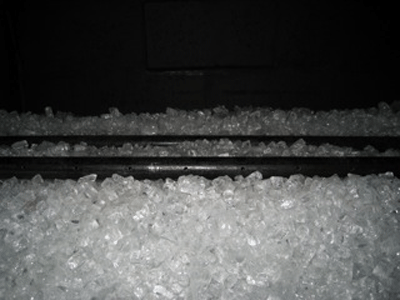
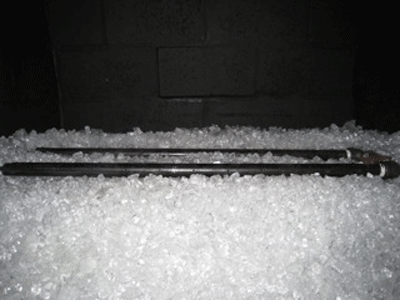
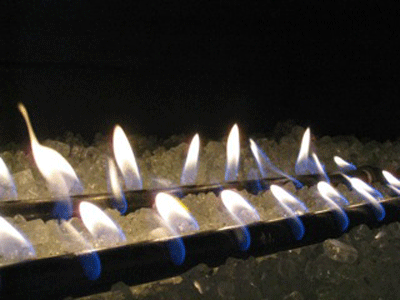
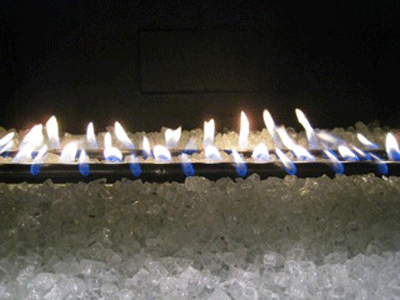
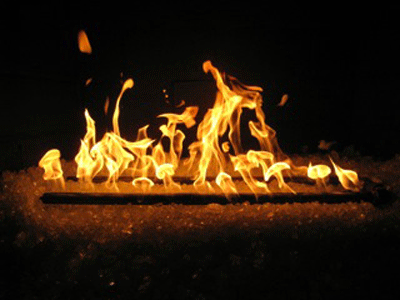
If this is the look he was after, then he got it! Different strokes for different folks.
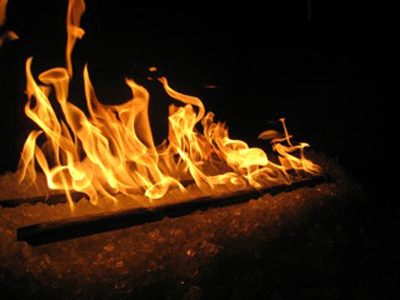
The fireplace below is a direct vent conversion. The most important issue to address here is to NEVER increase the amount of fuel that your fireplace was designed to burn.
We will explain as we move forward:
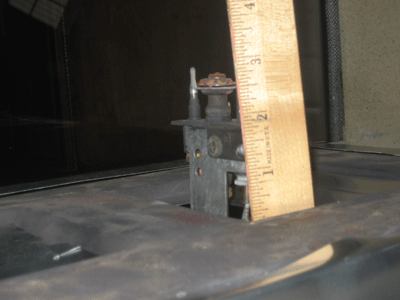
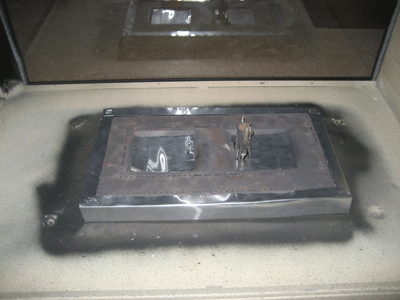
This is the burner in this particular direct vent fireplace.
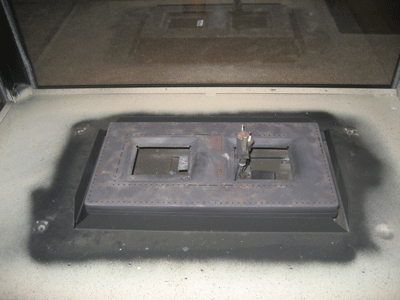
This burner will work just fine.
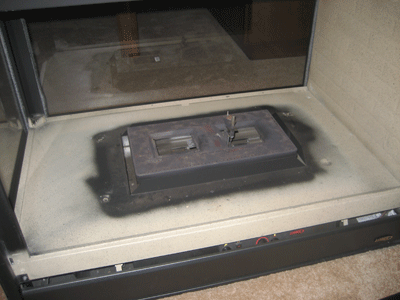
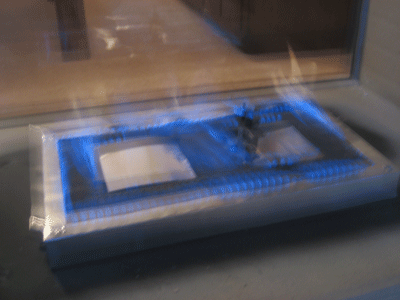
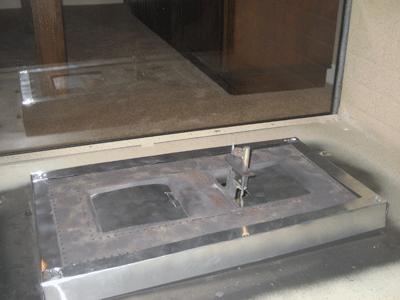
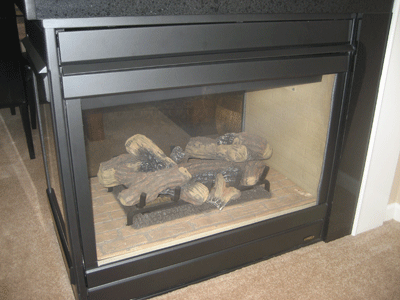
Nice Logs? Isn't that the WOW! factor you were looking for?
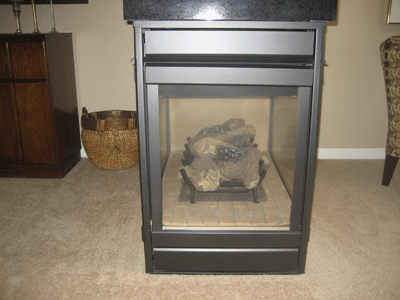
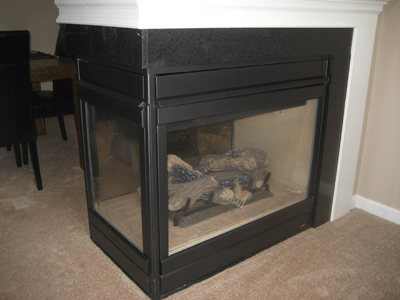
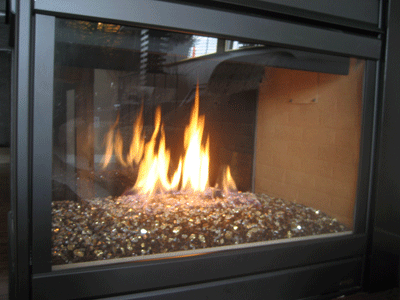
Now we add Bronze Rust Copper Base Glass with Gold Base Glass on top.
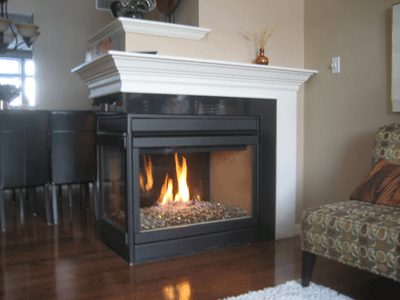
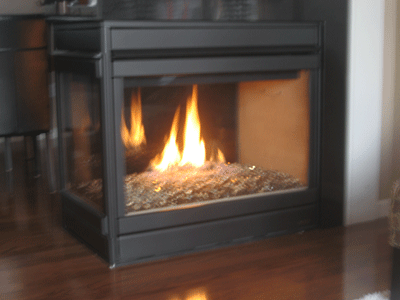
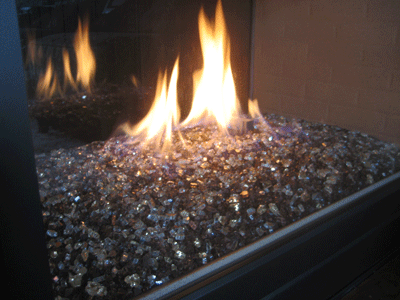
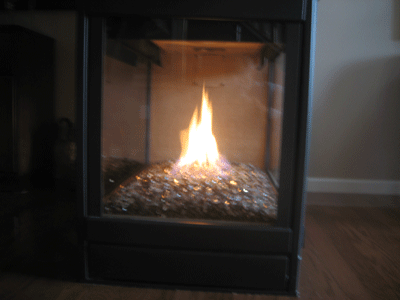
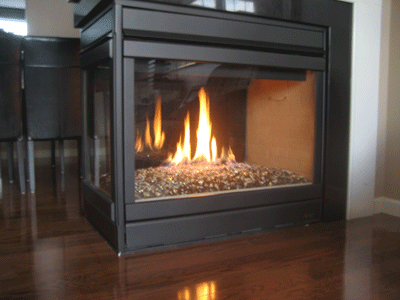
You tell me, which looks better?
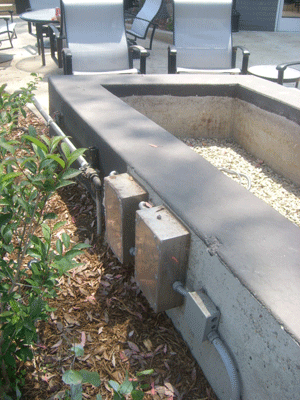
The fire pit below is located in San Diego, Gable Point Loma. There were 2 electronic ignitions installed and a false bottom was installed. We filled the base with 1/4" Clear Base Glass and 1/2" Clear Base Glass.The lines were installed from the back.
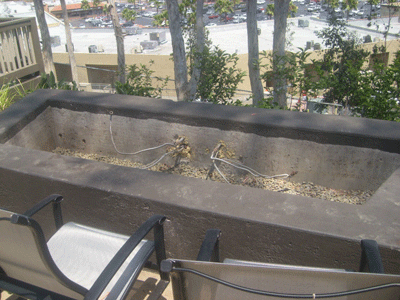
Below are the electronic ignitions.
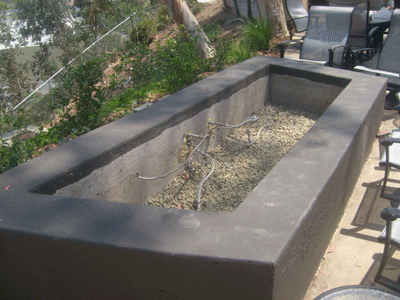
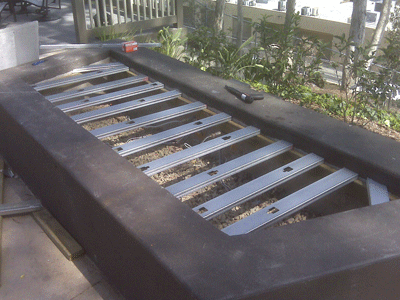
Framing/ metal studs were installed and two layers of durock was then installed to support the glass.
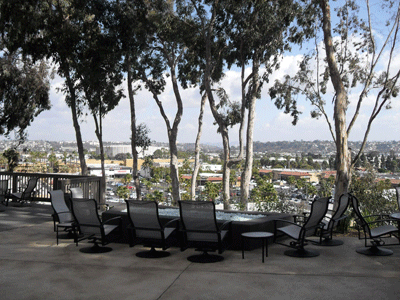
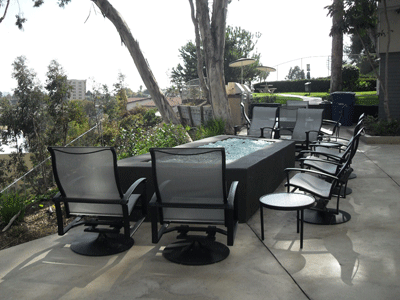
Finished!
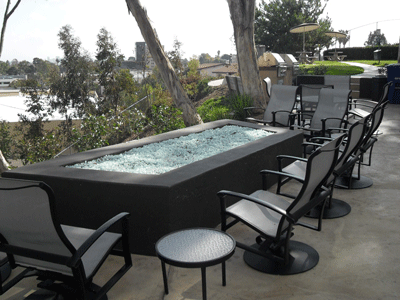
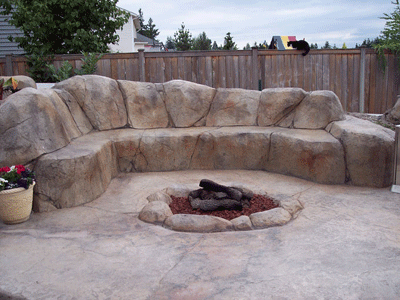
The fire pit below is from Chad McGraw in Washington State. He took a simple patio and transformed it into a fire pit and seating area. The electronic ignition was installed under the bench to the left and accessible from the rear of the seating area.
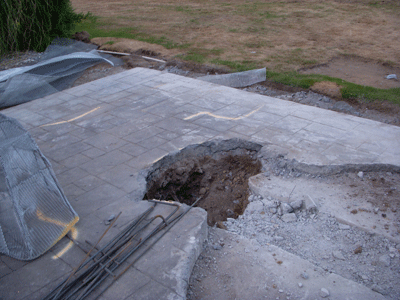
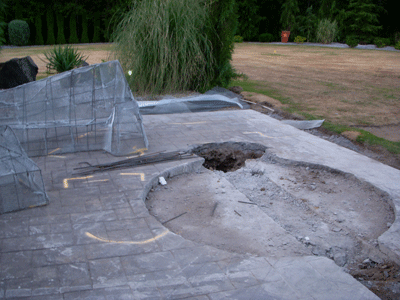
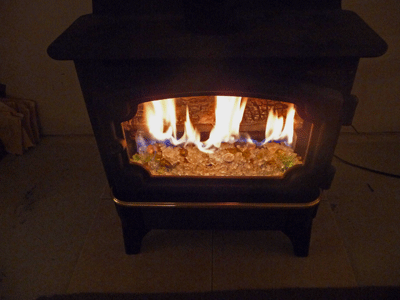
The stove below had a set of logs installed, yuk! We used the original burner and just raised the thermocouple to the surface of the glass. The glass will get to about 700 to 750 degrees in about an hour burning at 80,000 btu's. We used a Clear Base Glass, Lagoon Topper and a few Clear Diamonds and Pink Diamonds.
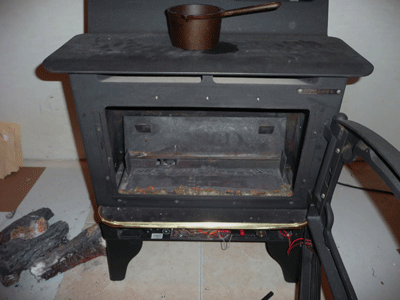
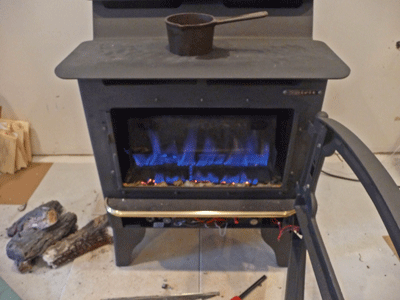
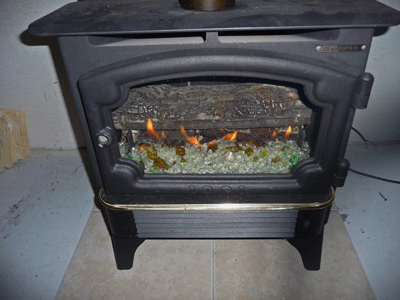
Much nicer than LOGS! No Really!
Then he topped it off with 1 lb of each of the following:
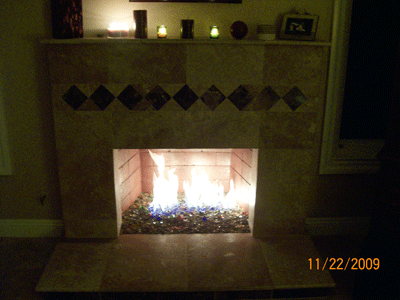
And when he finished it, it looked amazing! Take a look.
Mike has received many compliments which we constantly shares. We do understand why and we were glad to help.
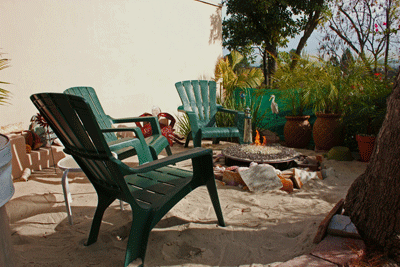
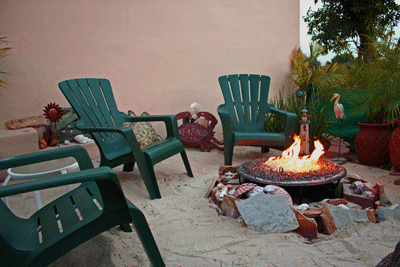
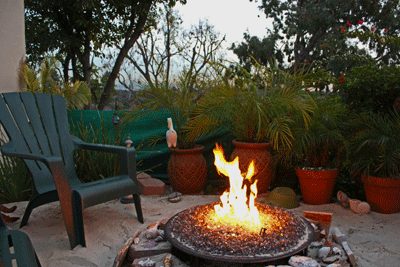
The fire pit below is from Frank Hammond. He created a beach environment in his back yard. He purchased a wood burning fire pit and we converted it to a gas burning pit. We also supplied a quick disconnect gas line to eliminate plumbing underground. he used a Bronze Base Glass over a bed of crushed lava and topped it with Gold Base Glass.
L'Auberge Del Mar
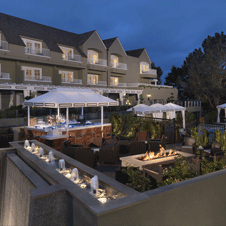
The fire pits and fireplaces below were from L'Auberge Del Mar. www.LAubergeDelMar.com/
Enjoy the pictures and hope you get to visit!
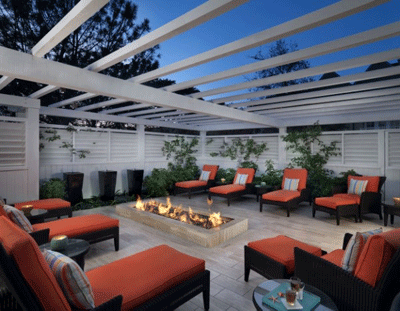
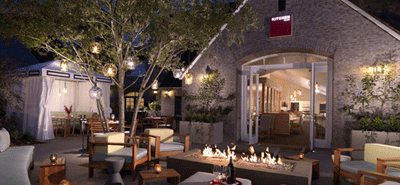
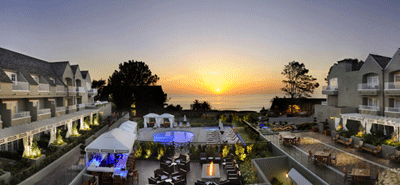
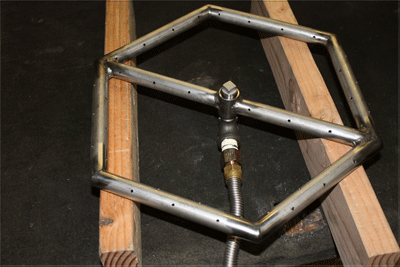
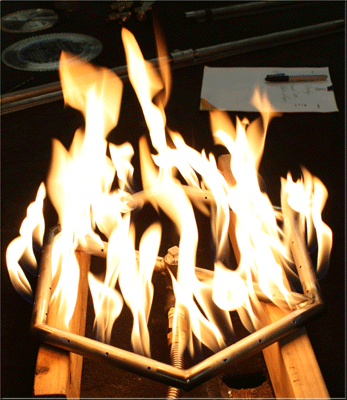
The burner below was a custom 14" hexagon designed burner by our customer for their fire pit.
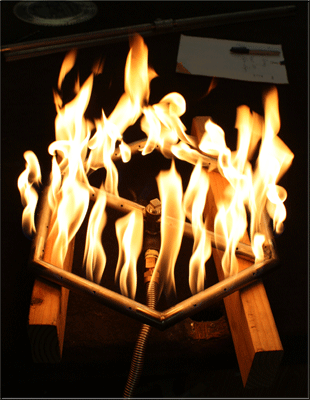
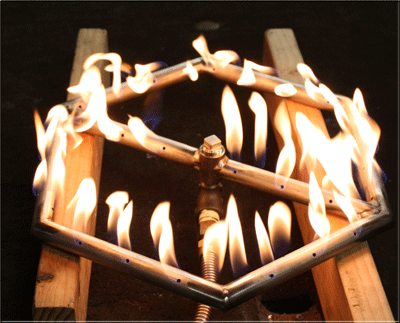
The burner below is a propane ribbon burner with all stainless steel construction.

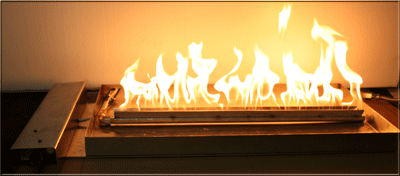
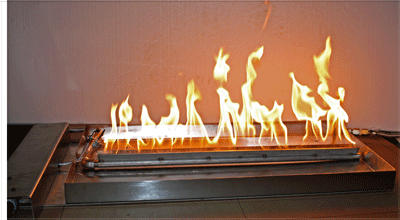
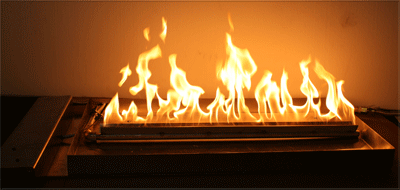
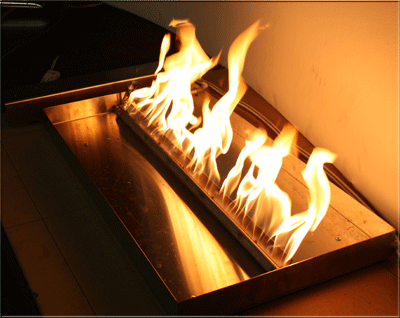
The pan and all around was filled with glass hiding/ concealing all of the workings.
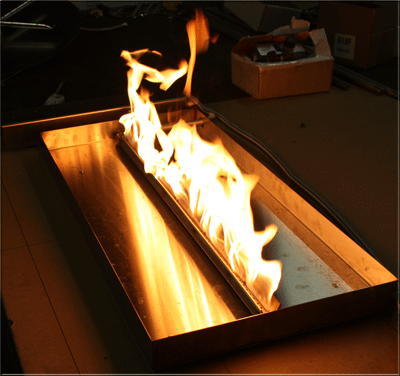
A ribbon burner will mold all of the flames together making it look like a ribbon of fire.
The burner below is a rectangular burner specified by the customer.
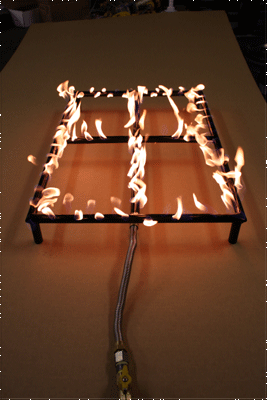
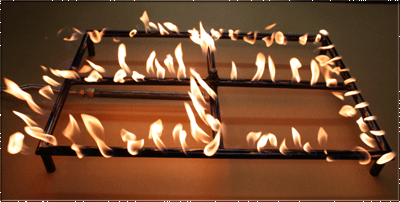
For some reason they ordered 2 1/2" legs underneath, so we just did it!
The fireplace below has Azurlite Base Glass, Ice Ice Ice Topper and Sky Blue Diamonds for accents.
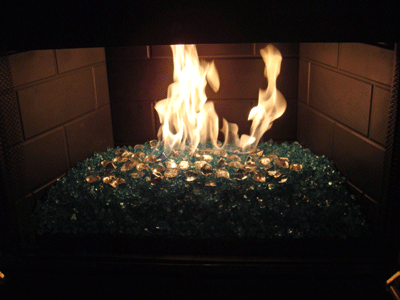
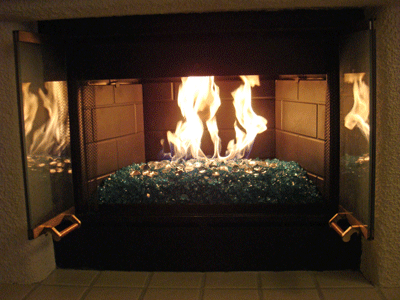
The fire pit below is in San Diego California. First we built 2 new half oval stainless
steel rings. To replace a futile attempt of burner rings by the contractor. If you don't want your rings to rust, cover them or purchase stainless steel. We will explain as we move on.
We converted the mishap of rings with two valves, one for each ring. The first issue was the contractor installed a1/2" gas line, oops. Way too small for the distance. The home owner had to have the pressure turned up by the gas company. Sometimes this is not possible. We spit one line into two. This enabled us to equalize flames in each burner half.
Here are the two half oval rings.
Below are the two key valves.
Cover the rings with the amount of filler (
crushed lava) to make the shape you would like the pit to be.
Here we have it. The customer did get the pressure turned up but we did not get any further pictures.
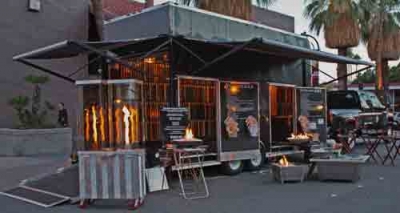
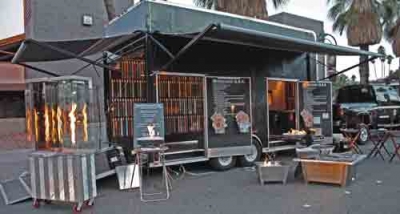
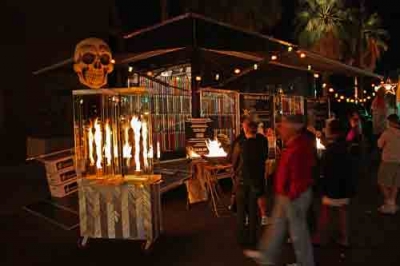
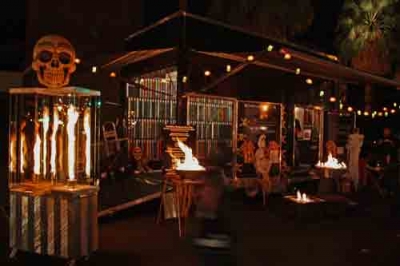
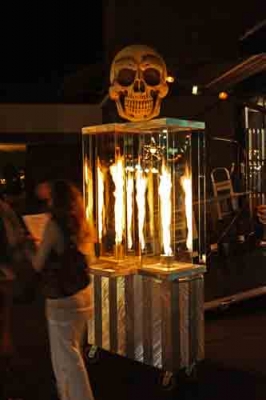
Here is one of our trailers in Palm Springs California. This is our fourth year there (since 2006) some of the pictures posted weer from Halloween 2009. We decked the trailer out for the show and trick or treaters. As you can see we enjoy bringing new products to the public as much as they like to see them. Every week thousands of visitors stop by and tell us " I saw you on line" and "we saw you last year" and on and on. We really enjoy what we do. What makes us different is being different for you the customer. Our display in the showroom and or any of our mobile displays are constantly changing so when you see us again it won't be the same display every time! Enjoy.
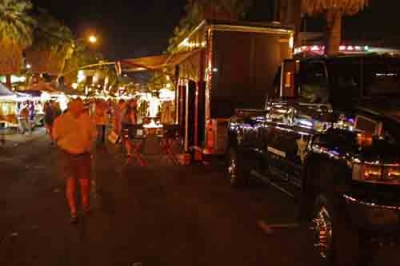
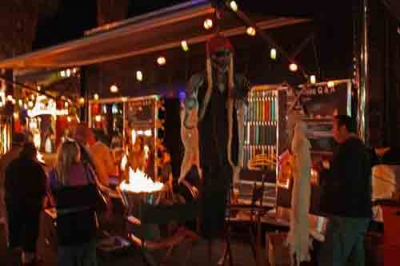
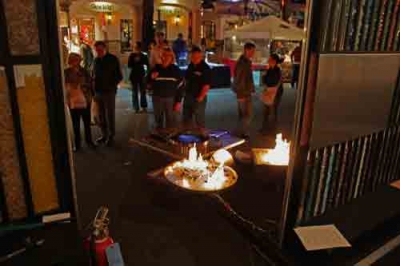
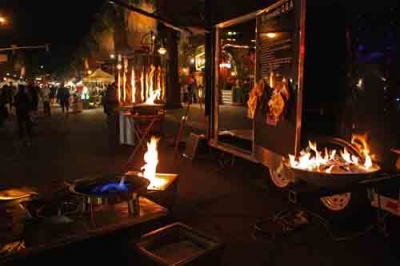
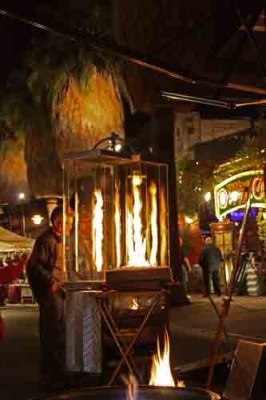
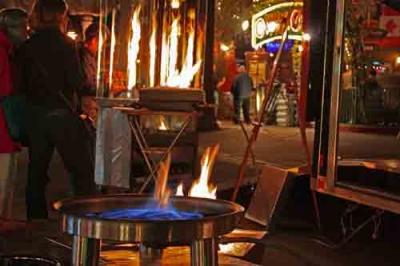
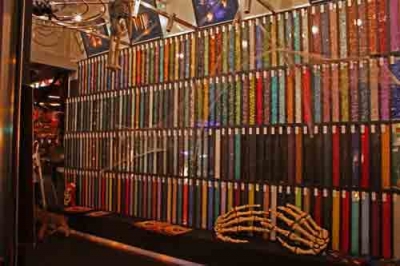
We are displaying over 500 colors and products in the trailer and soon more are coming!
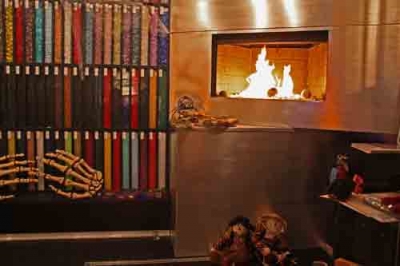
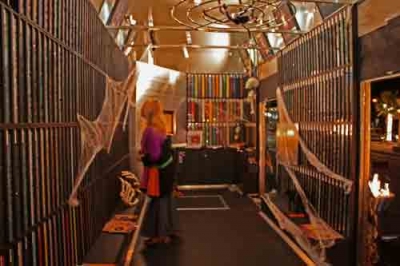
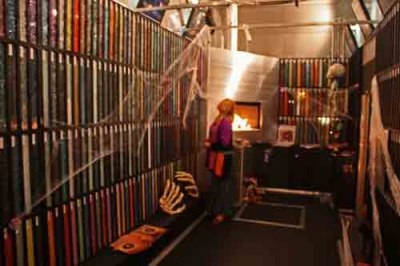
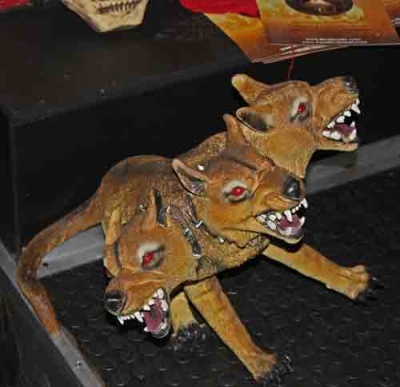
We had to put our 3 headed dog in the shot.
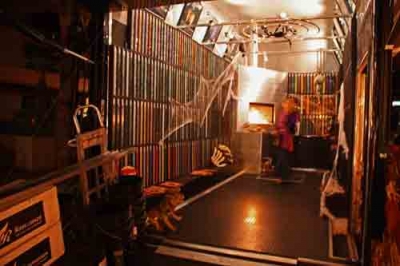
The next fireplace was featured in MILWAUKEE, www.GMToday.com
Simply perfect
Contemporary in the country is a way to enjoy the best of both worlds
The family’s theater room takes on a contemporary flare with a stainless steel-tiled fireplace. Shards of glass replace artificial embers in the gas fireplace, creating a glow as the flames flicker. A large screen on a remote control is located above the fireplace, perfect for the family to watch a movie together.
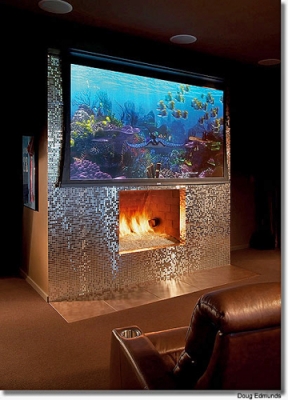 Picture by Doug Edmunds
"Click Here for the full article!"
The propane burner conversion below was performed by Richard King of South Carolina.
Richard has one very cool Super Bowl party room! We assisted him in converting a propane fire pit one very nice clean burning fire pit. We will explain as we move along.
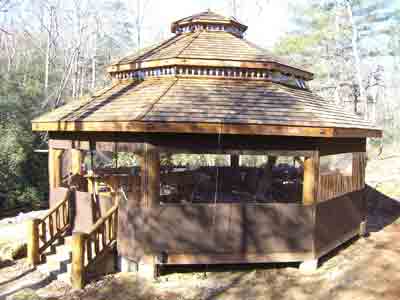
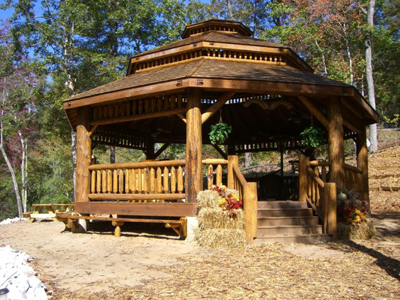
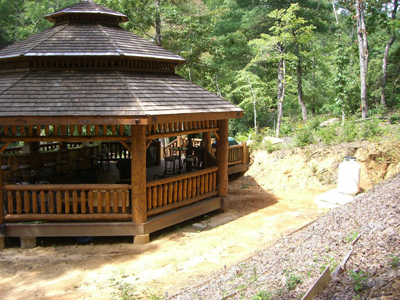
Richard: You did a beautiful job on your gazebo!
Here is the fire pit turned up so you can see that we installed one of our FPPK (fire pit propane kit) The tank was under the deck.
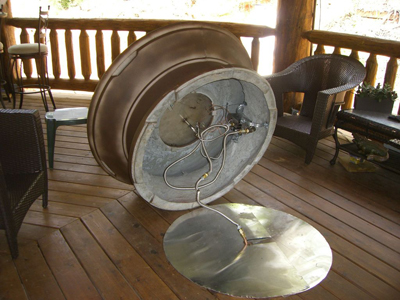
Richard may of had a few flex lines that were a bit too long.
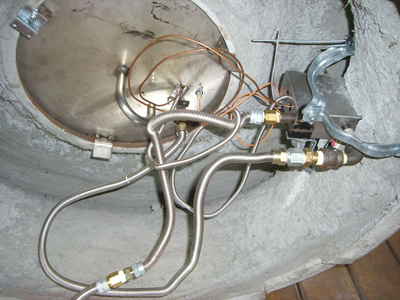
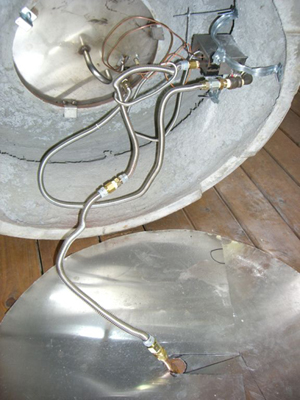
It's supposed to look simple when it's finished.
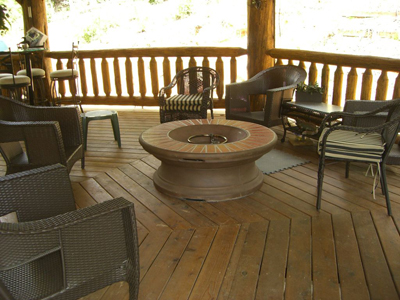
The controls were adapted to his and over his old controls.
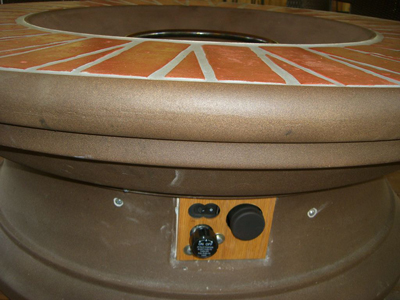
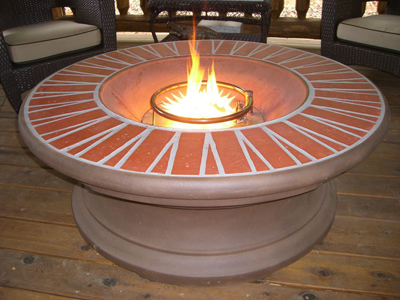
Above is on low and I might add no black soot or smoke! You would think the manufactures of these tables would of figured it out by now?
Below is the standard ring but we installed thermocouple and safety pilot kit.
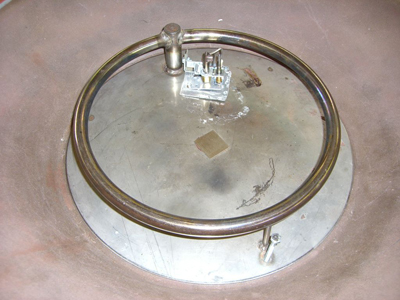
Below is what were sent to convert. Small flames and no air mixer what so ever. Just a lot of soot and black smoke, seen it before?
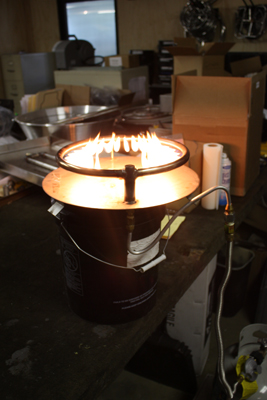
Below, not a lot of flame is there? The reason is once they turn it up for you, the soot starts to show. So they tell you it can't be turned up.

Now we step in, air mixed calibrated to the ring and valve system and pilot light and thermocouple in place.
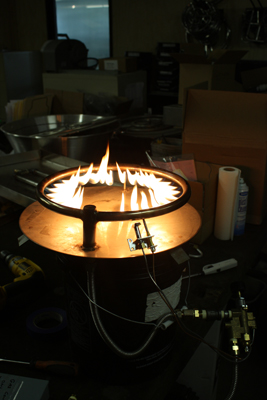
On medium!
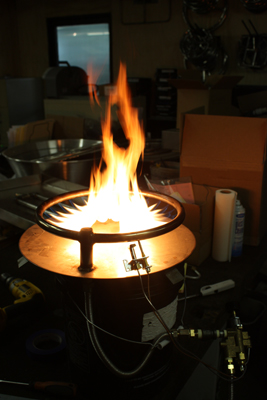
and turbo high and still with a clean burn!
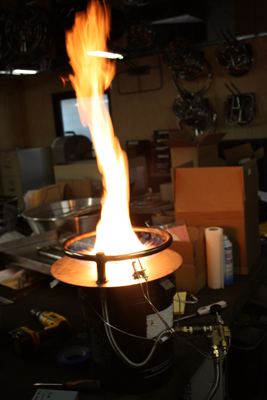
and below is the 2009 Super Bowl Party! Thanks Richard!
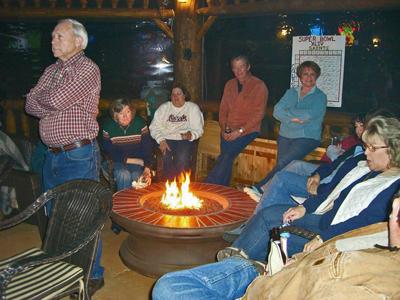
Yes, we can convert anything!
The wine barrel below was build by one of our newer dealers in Texas. Matt's Custom Welding. Contact us for information about Matt's wonderful work. We are going to be much more of Matt's work and look around his showroom in the pictures below. Many more projects to come.
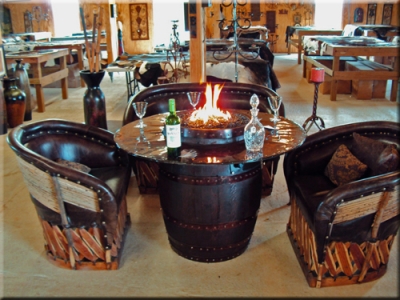
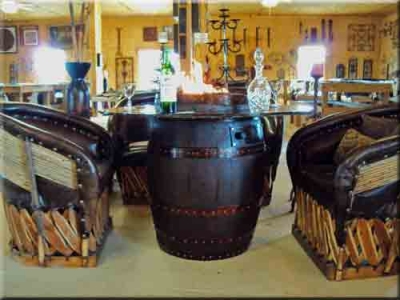
There was a steel bowl installed using our propane system to burn our glass. They used Bronze Base Glass in the fire pit.
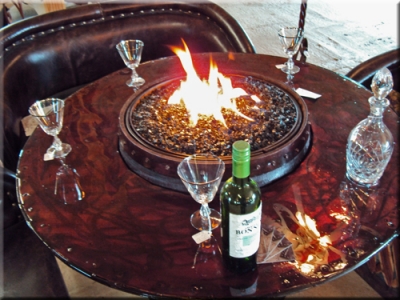
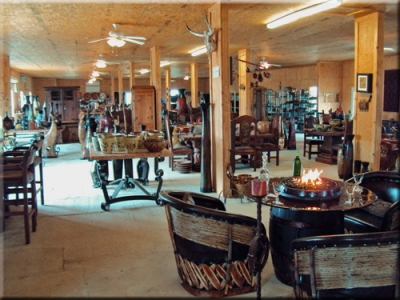
Wine Barrel Fire Pits
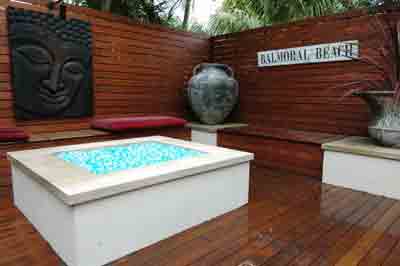
The fire pit below was installed in Sydney, Australia by Ian Sutherland. He did a great job on his new patio and fire pit. We inspired him to build this really nice back yard project and we were glad to help. The glass that was used was Azurlite Base Glass and Starfire Base Glass.
The pictures below are from Tom and Maria and they installed Bronze Base Glass with lava as a filler.
We would like to share their comments:
From:Tom and Maria
Ed:
Sorry it took me so long to get the pictures off to you. Anyway, we are digging the new look in the fireplace. You and your staff have been wonderful, from the first phone call to the last question. The handful of times I called for clarification or assistance it was about making sure I was comfortable, not once did I feel as though you guys left me hanging. As you promised during that first call, this really was one of easiest do it yourself projects I have ever completed. Thanks, you guys made it easy. I feel fortunate to have landed with you and your organization.
From: T R [mailto:trnmaria@msn.com]
Sent: Monday, December 14, 2009 9:17 PM
Here are their fireplace pictures and self installation.
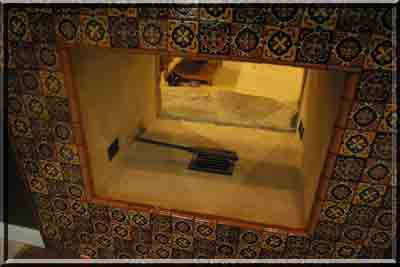
Family room side above
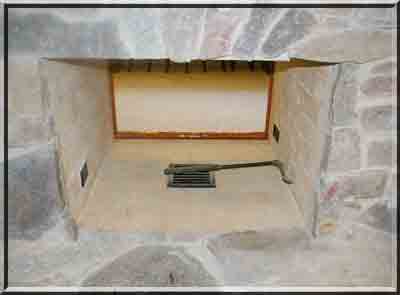
Living room side below
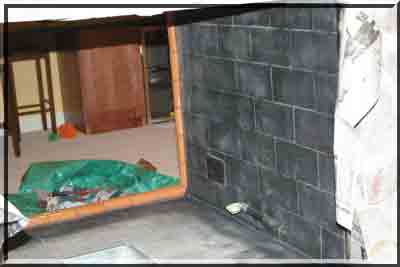
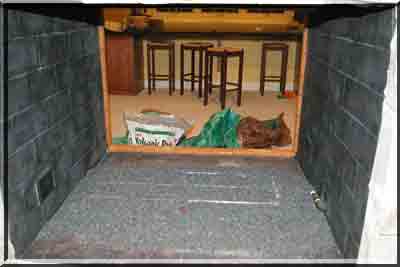
Paint the walls
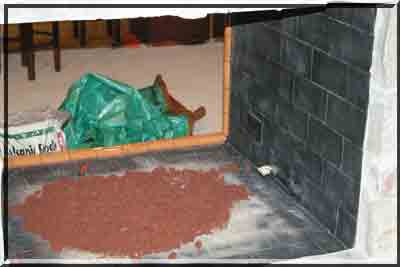
Pour in the larger lava as a base and then cover it with our small crushed lava.
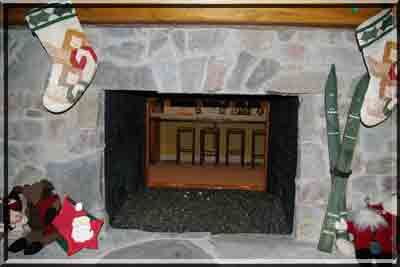
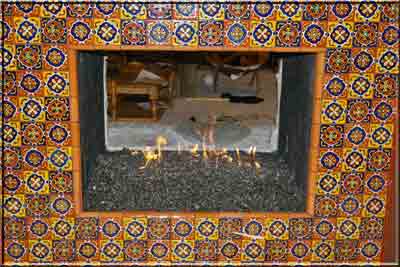
Then you're done!
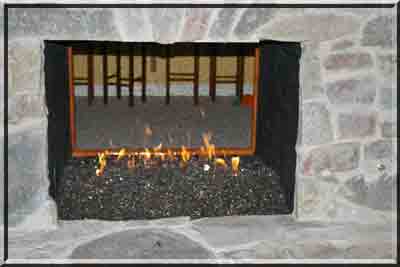
Below you will see how simple it is to convert/ install a propane into your table:
This is our FPPK box with controls and air mixer calibrated to the burner we are using
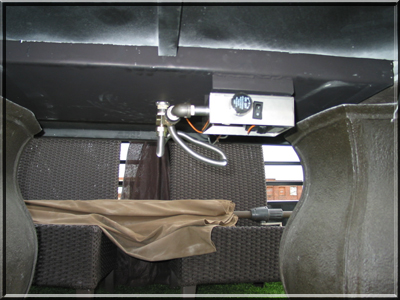
A better view
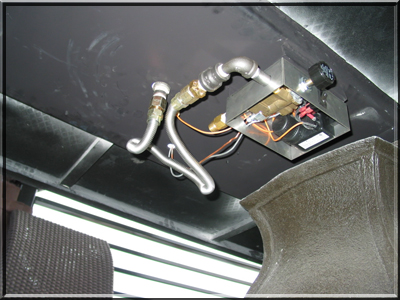
The burner on the top side with the thermocouple, pilot light and battery operated ignitor exposed
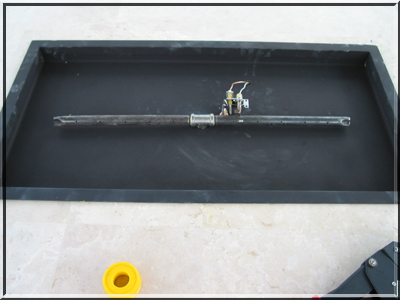
Pout the filler/ lava/ glass? and drink beer! Put a fork in it, You're done!
