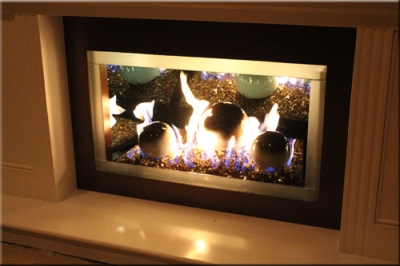
CLICK HERE TO SEE THIS PRODUCT IN THE E STORE!
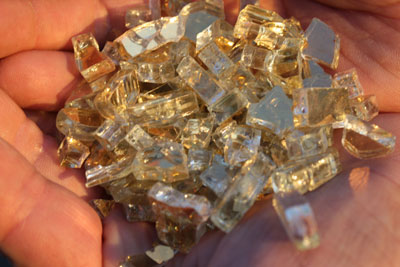
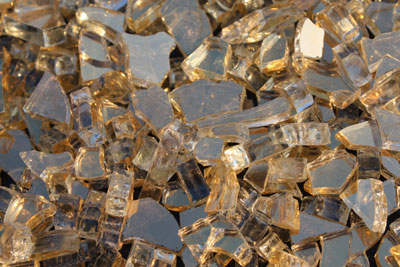
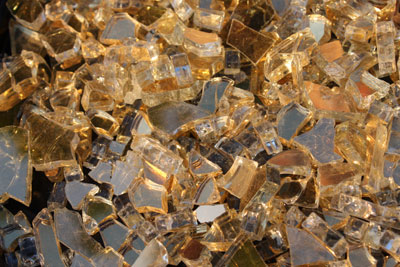
CLICK HERE TO SEE THIS PRODUCT IN THE E STORE!
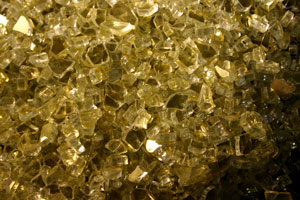
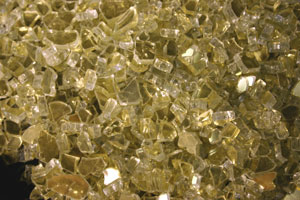
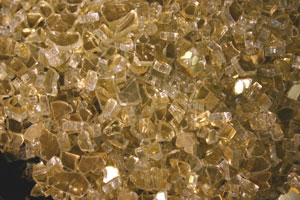
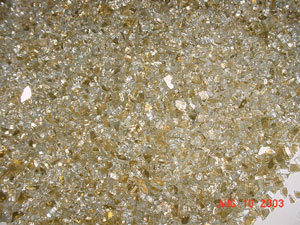

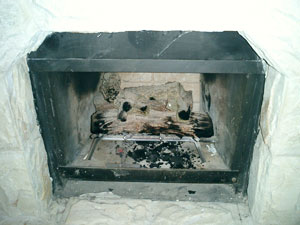
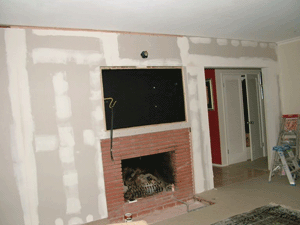
Before Starfire and Gold
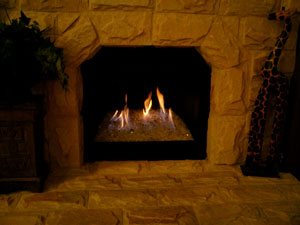
After Starfire and Gold
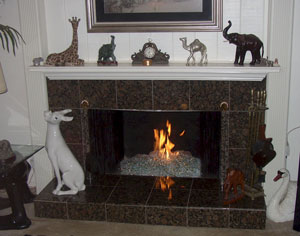
Clear base and 2 lbs of Gold as a Topper
Below we have a Bronze base with Bronze Reflective and Gold on top
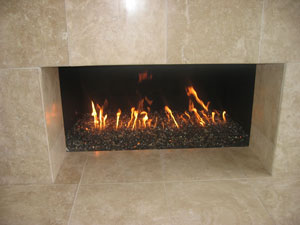
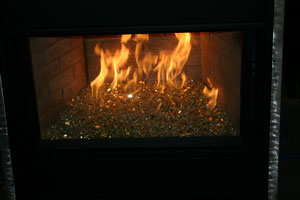
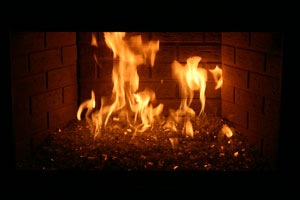
The fireplace below has Clear, Gold and Black. A little drywall and paint and here you have one cool fireplace!
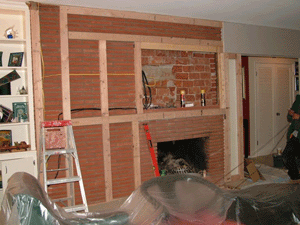
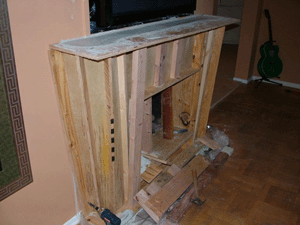
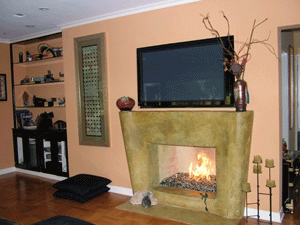
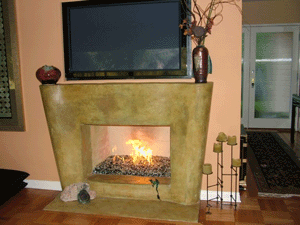
The pictures below are from the Lure Lounge at the Wynn in Las Vegas. This was done for Steve Wynn with all gold. This was taken without the flame on and when we return we will have pictures of the fire pit lite up
Wynn Las Vegas
3131 Las Vegas Boulevard
Las Vegas, Nevada 89109
Phone: (702) 770-7100
Website: www.wynnlasvegas.com
Another site with a nice picture of the pit (two pictures down from the top).
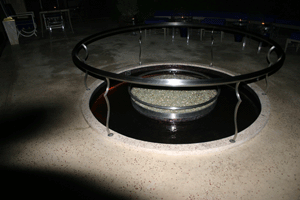
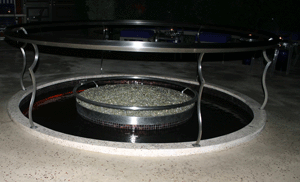
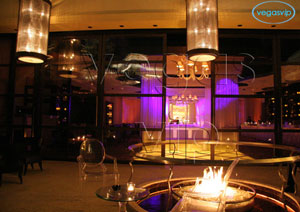
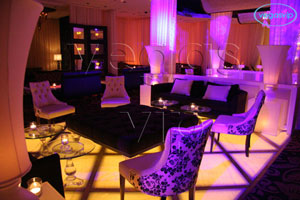
The fireplace below has Starfire Base Glass, Rhubarb Topper, Gold Base Glass, 3/4" Starfire Base Glass and Green Pyrite Base Glass.
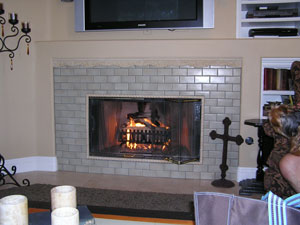
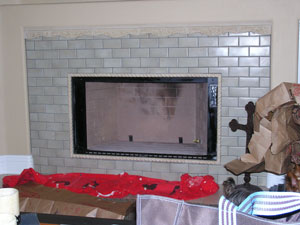
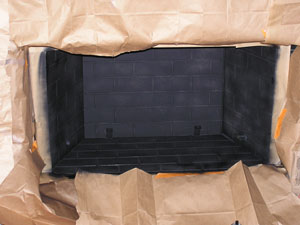
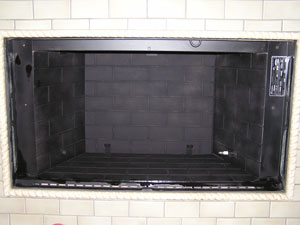
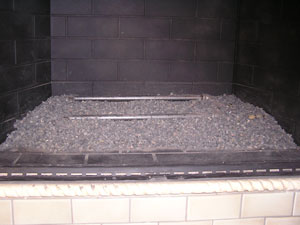
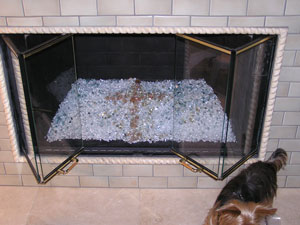
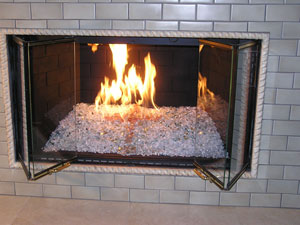
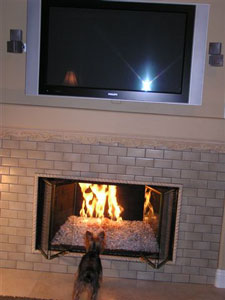
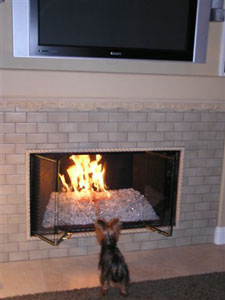
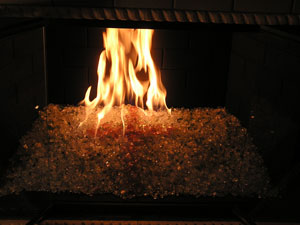
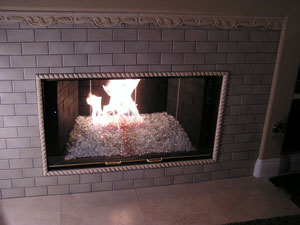
The indoor fire table below has:
Bronze, Black, Emerald Green, Reflective Green, Black Reflective and Gold
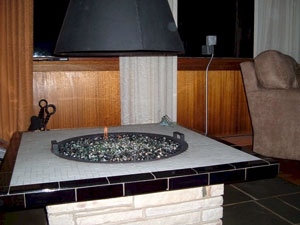
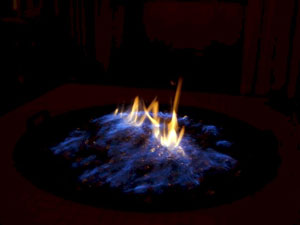
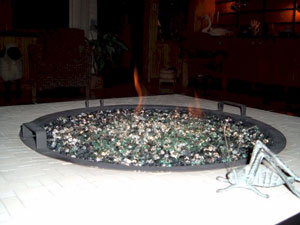
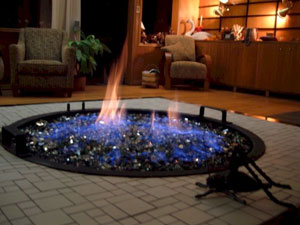
The pictures below are of:
Bronze, Dark Red Orange Topper, Gold, Amber Topping, Scarlet Red and Diamonds. The back of the fireplace was done with Ceramic tiles.Very nice and in Palm Springs.
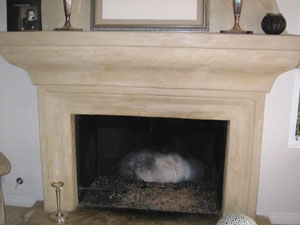
The fireplace below is in Newport Beach, California and Laura did a great self install!
2" of lava and a Bronze base with Bronze Reflective and 2 lbs of gold. One can of paint and you're done.
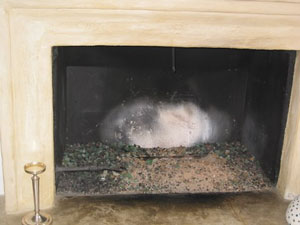
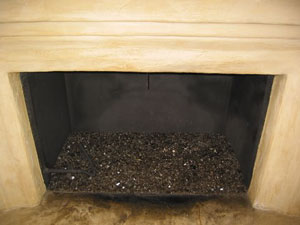
CLICK HERE TO SEE THIS PRODUCT IN THE E STORE!
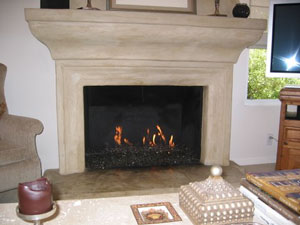
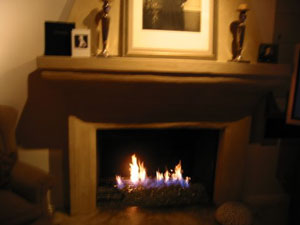
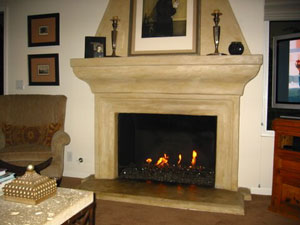
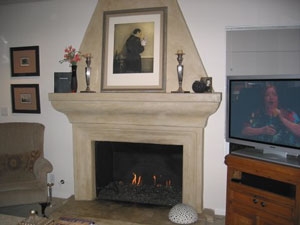
Now for the after pictures! This was a custom propane burner which was under all of the glass!
This is what Patti had to say:
Hi Ed,
Well, it's been about two weeks since I installed the new fireplace, and it is the talk of this sleepy little town. Because of the "ice" on the top, it has been nicknamed the "
Fire and Ice" fireplace. I just placed an order for a pound each of
1/4" Gold Base Glass,
Yellow Amber Topper and
Clear Ice Ice Ice Topper. I think it needs a smidgen more color, and since the
Ice Ice Ice Topper is the big feature, I decided to add a little more. I have to say, I didn't think I would like the ice, but it looks amazing!
Thank you Ed and Jimmy for all of your help and hand holding over the past few months. I will take more pictures when I add the new products.
Thanks again,
Patti
arnev@frontiernet.net
The fireplace below has Starfire, Bronze, Bronze Reflective, Gold, Amber and Dark Red Orange Topper.
CLICK HERE TO PURCHASE IN THE E STORE!
The fireplace below is a propane burner, self installation with the 2" method, Starfire and Gold on top
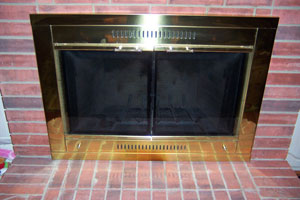
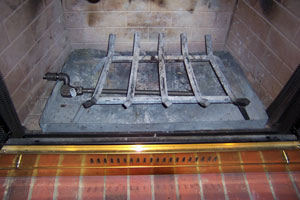
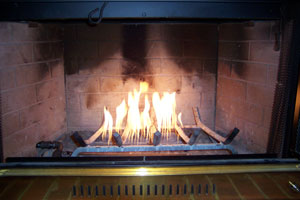
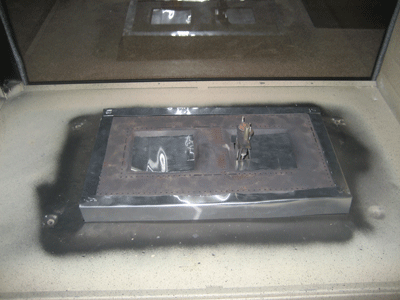
Above we have the old burner with a smaller flame pattern which we will change to a double burner in our tray propane pan burner
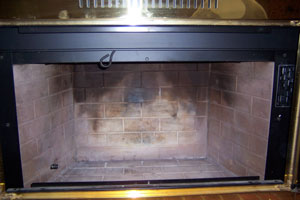
A little bit of cleaning with a wire brush and 1200 degree paint
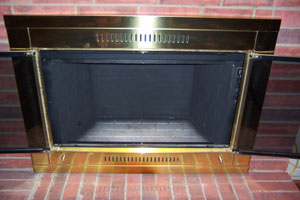
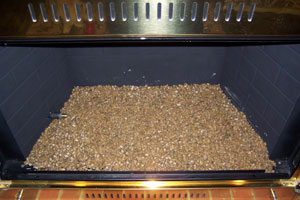
We filled the bottom with pea gravel and the covered it with sand
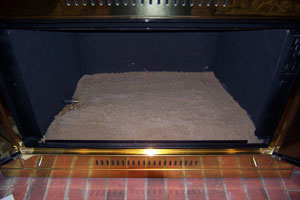
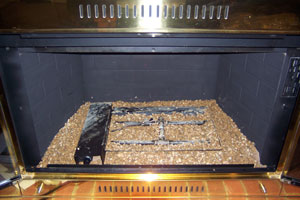
Then we installed the propane burner and filler it with pea gravel to the top of the burners
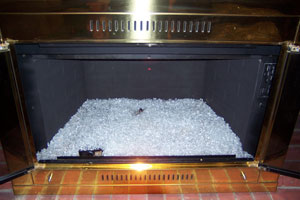
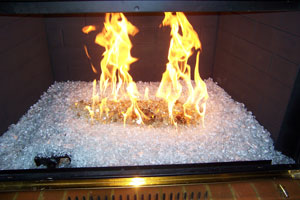
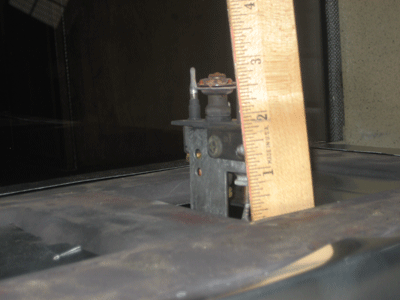
You can see the pilot light and thermo-coupler exposed
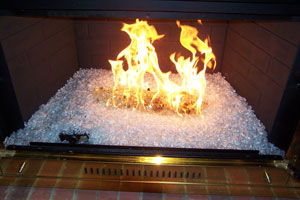
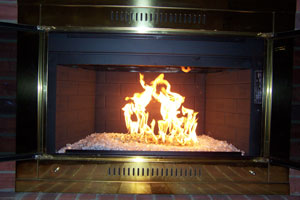
So there it is. A clean burning propane burner, 2" method, no soot, no smells, no carbon monoxide and it puts out a tremendous amount of heat. We sell the 2" method because it works and if anyone tries to tell you different, they need your money more than you do. We are the only company building propane burners for glass that don't soot or smell!
The fire pit below has a clear base, and 3 lbs of each of the following, Starfire, Azurlite Reflective, 1/2" Bronze, 1/4 Bronze, Evergreen Reflective, Gold, Black Reflective.
The fireplace below is in Palm Desert, California and was a self install with a crushed lava base, clear over the lava, Starfire on top of the Clear and topped with Amber Diamonds and a splash of our Gold . It looked great until they found the burner was too close to the back which burned the back wall. I don't know if this was repaired as we did send paint and instructions on how to prevent this in the future. The fireplace looked great except for the "skid mark" on the back wall.
Above it still looked good here!
About our Diamonds, they are made of crystal and when you see them in the fireplace you actually see the fire reflection reflecting the flame backward as if the Diamonds were melting from the inside.
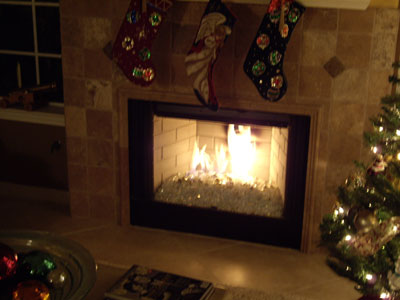
The fire pit below is again in Dallas, Texas and installed by Nadine. She used a Black base with Gray base glass, Gold base glass, Bronze Rust Copper base glass and a splash of Azurlite.
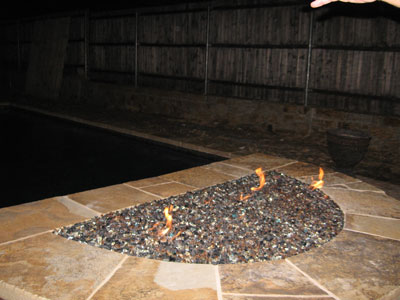
The fireplace below is a self install with a 2" base of
crushed lava18 18 double burner
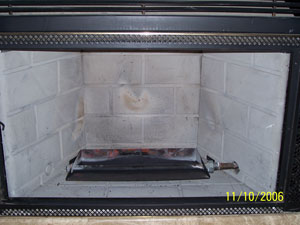
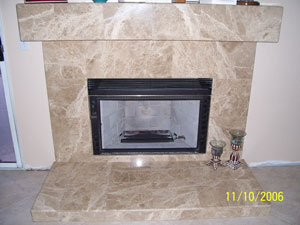
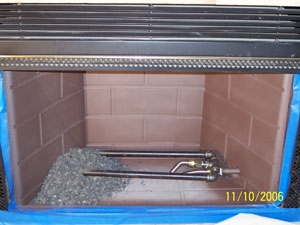
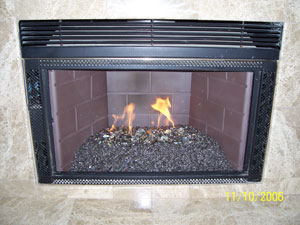
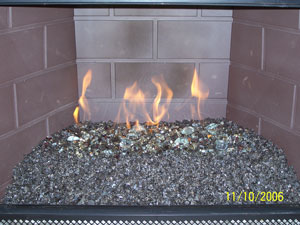
The fireplace pictures below are a self install with a 2" layer of crushed lava and 2" of Starfire on top. They used an 18X24 double burner and splashed 2 lbs of Gold in the center.
Above you can install the burner with the flex line curling back under the burner or below
you can use a longer flex line or add a nipple. Which ever you prefer.
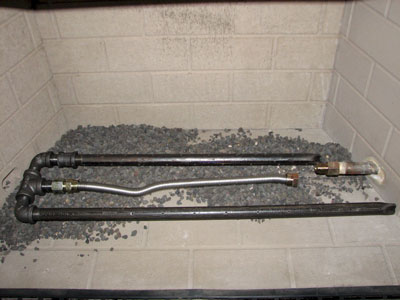
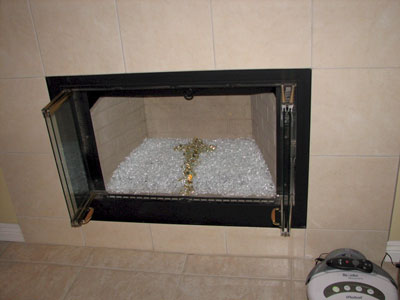
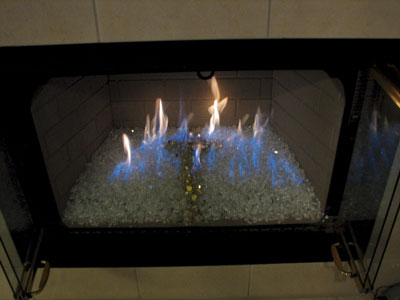
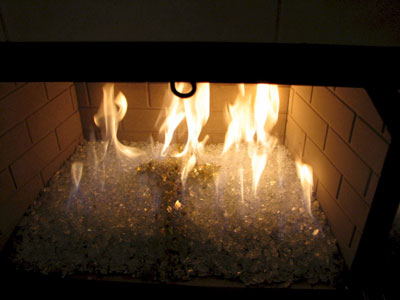
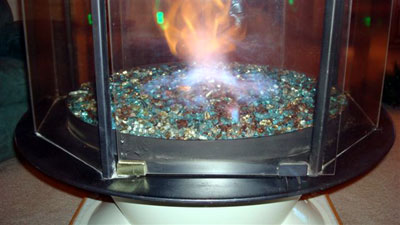
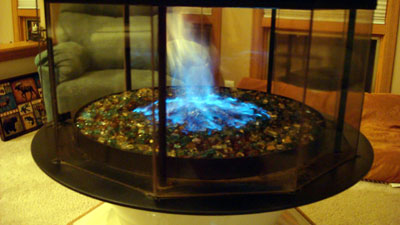
The fireplace below is a Malm Carousel Fireplace (
www.malmfireplaces.com ). We replaced the attempted dual burner which it was originally installed with with a simple 12" steel ring.
This fireplace has a safety pilot light kit which was still left intact for local code reasons but we did get rid of the non functioning pan burners.
Below we poured the crushed lava base up to and just covering the ring burner.
Then we poured the Bronze Rust Copper over the ring and crushed lava rock.
With the doors closed just enough as you can see now they can control the hurricane/ tornado effect!
Azurlite Reflective and Gold were added to the Bronze Rust Copper
The fireplace below is a before and after with Solex base glass with Gold base glass and Starfire base glass on top. It does look much nicer with out the screens and new paint.
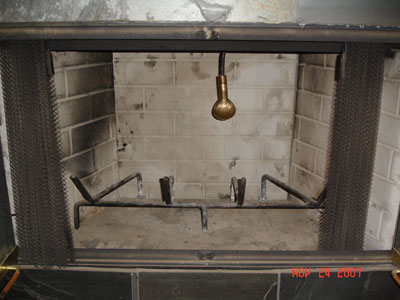
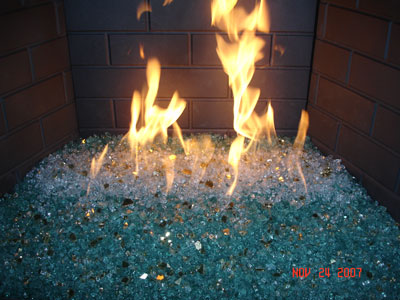
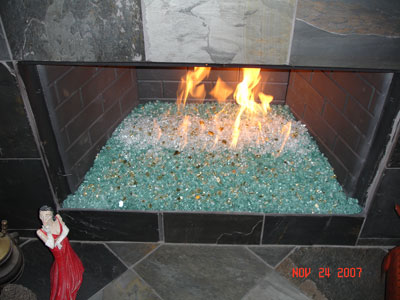
The fireplace below was installed with a dual battery operated 100,000 BTU propane electronic ignition system. Each capable of 100,000 BTU's of fire. The first pictures show what we had to work with and how it progressed.
The glass that was used was Starfire, Gold and Ice Ice Ice.
If this was in your house you would say NASTY!
Burning wood and logs is just nasty and dirty! True story!
Above you can see the soot that come out of the fireplace and and leaves your house smelling so carbon monoxide fresh! YUCK!
Add a bit of lime stone.
A few pieces of copper.
Below you can see the sand bed and the ignition box we built.
Below are the two vent we installed for the air mixers inside of the ignition systems.
and here we are finished. Now isn't that much better litter feller?
Modern times call for modern measures! I guess that's why we are Moderustic!
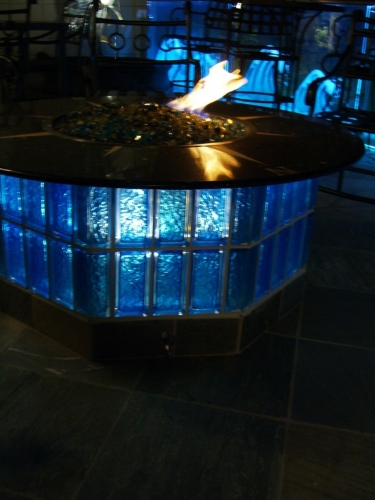
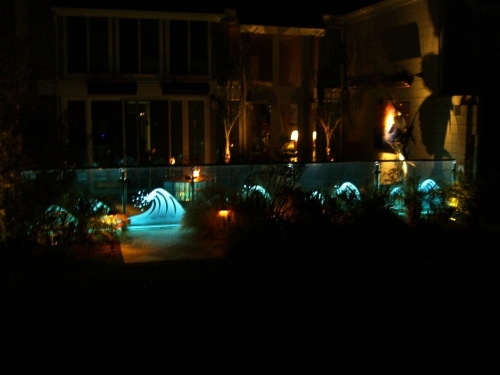
The fire pit below is a custom fire pit in Covina, California with one really great back yard design. This back yard was designed for great parties. If you look and see the glass wall with the etching you will also see the fire pit in the back ground. The glass that was used: Gray and Clear Pyrite base glass Gold Reflective Copper Blue Topper This is one really good looking table.
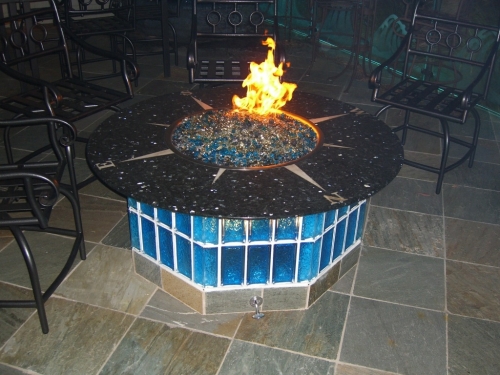
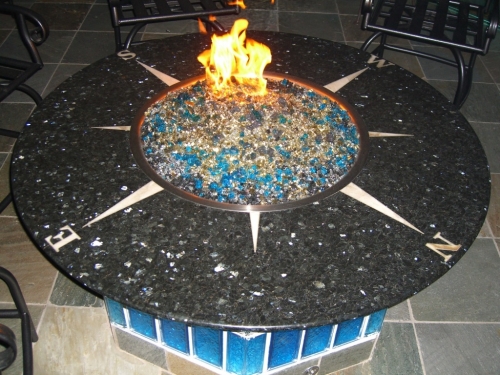
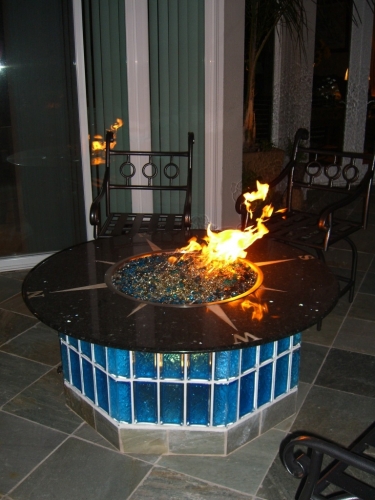
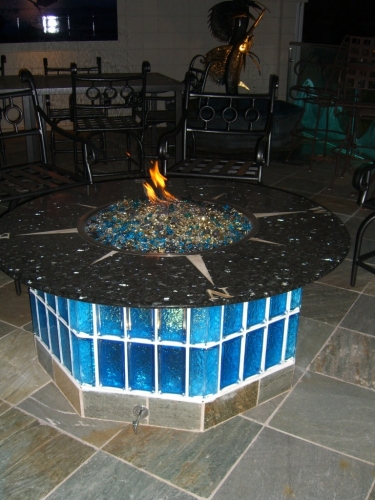
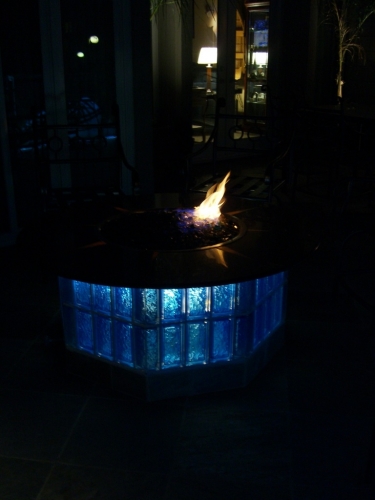
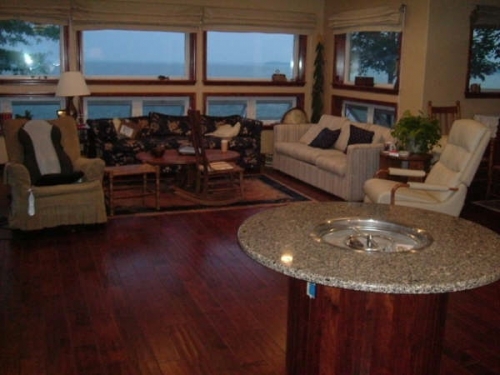
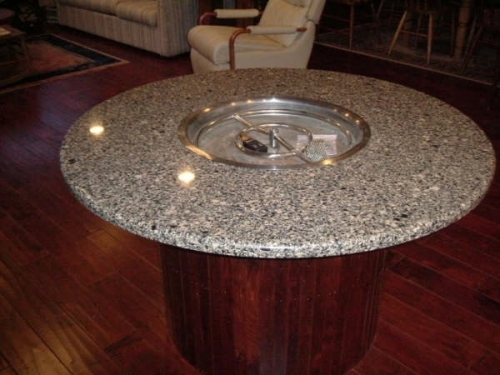
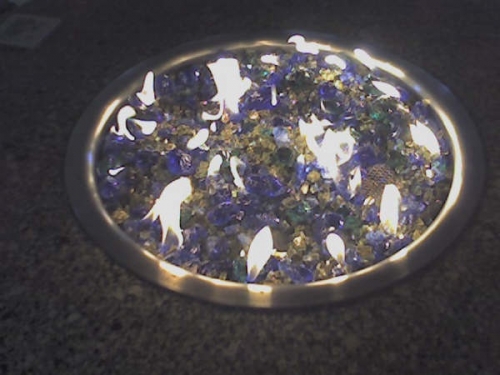
The fire table below is in Sackets Harbor New York with one very nice view. The colors that were used are:
Bronze base glass
Gold and
Cobalt Blue Topper
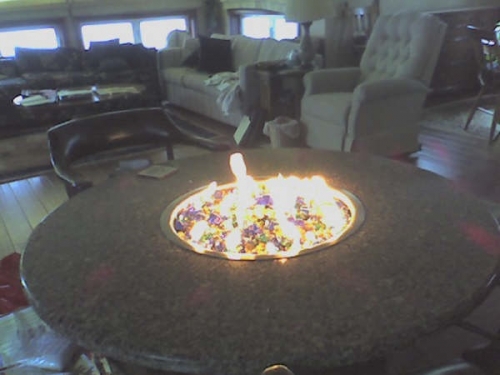
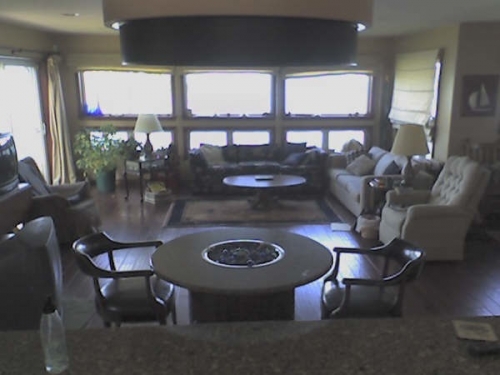
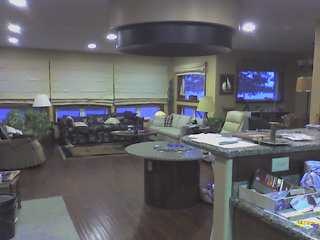
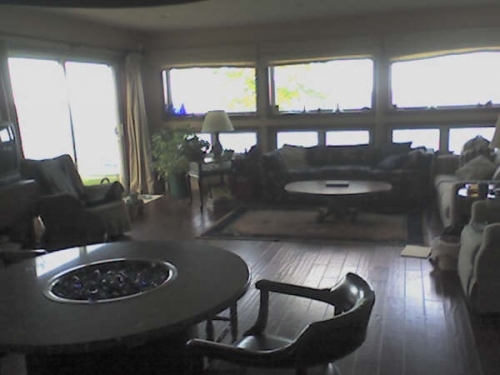
The fire pit/ table is at the Roxbury Hotel and we will show you the progress here from beginning to end. This was a propane installation with our FPPK burner. The colors used were:
1/4" Starfire, 1/2" Starfire, Gold, Lime Green Topper, Pale Olive Green Topper, Olive Green Topper,a little bit of wood and tile and here you go!
Above shows the framing and the gas line coming in.
Below shows the pipe coming out of the floor and the thermo-coupler on the glass next to the igniter
Roxbury Hotel, a cool fire pit!
www.TheRoxburyMotel.com
The fireplace below is from Cory here locally in
Rancho Cucamonga California. This transformation was a complete surface make over along with out Sterling Silver interior. The glass that was used was Bronze base glass. This is truly a DIY project and we like to help you create your ideas to reality.
Here we begin with the old interior brick panels removed.
Below you can see the new stone being applied.
Below the Sterling Silver panels and Bronze base glass with a few pounds of Gold base glass was installed.
Now you can see the reflection on the walls in the Sterling Silver panels. No, these are not just mirrors in the fireplace. If you do try this, let us know how it worked out for you. Be sure to send us pictures of your project and we will be sure to post it on our "How Not To Do It Page"! No, Really!
Again we are proud to constantly give you new and exciting products for your fireplace and fire pit projects.
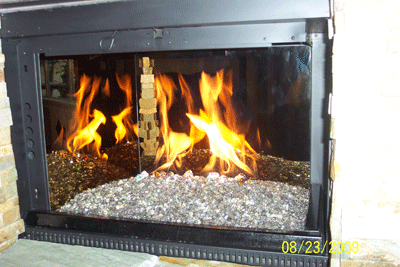
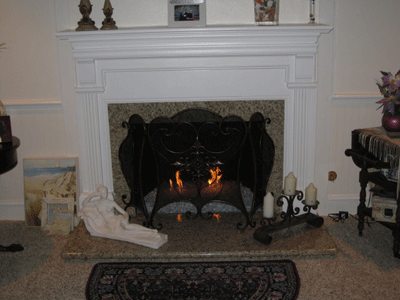
The fireplace below is from Steve Calderon and he used a Starfire base glass with Gold and Bronze Rust Copper on top.
This is from beginning to end.
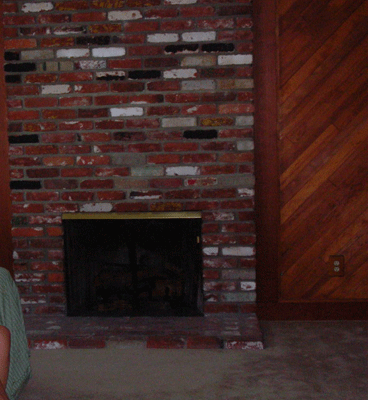
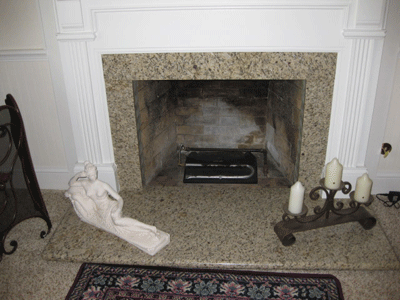
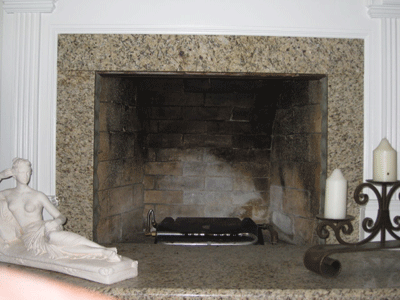
Above is the before believe it or not. As you can see Steve did a terrific job. This was a wood burning fireplace before. he installed a gas line and control valve on the right side.
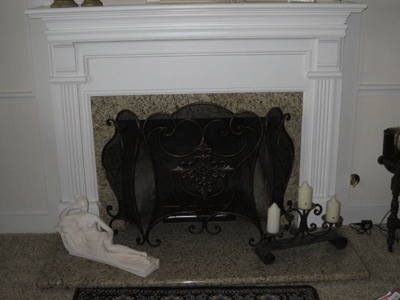
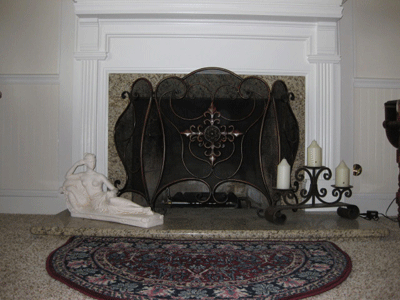
Below you can see the old burner which we replaced with the new double 18" burner.
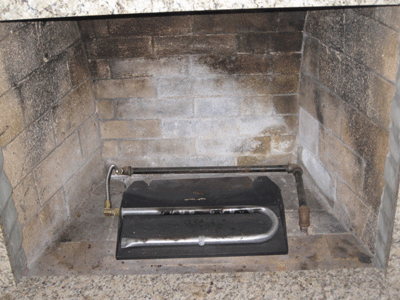
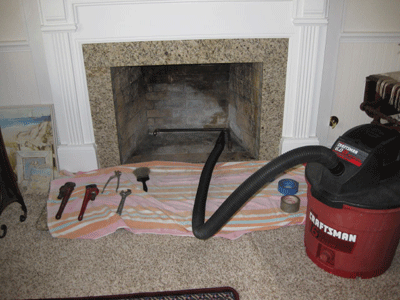
Mask it, vacuum it after wire brushing the walls clean.
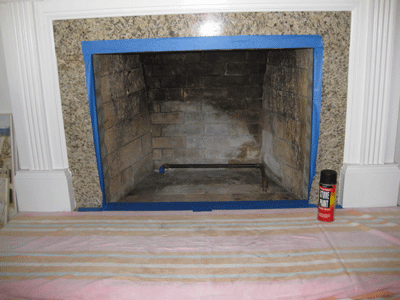
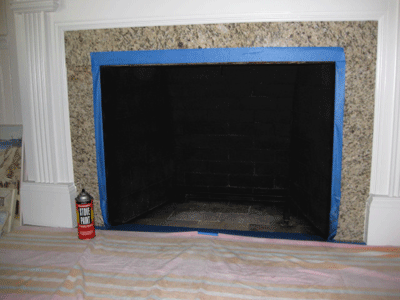
A bit of Thermolux 1200 degree high heat paint.
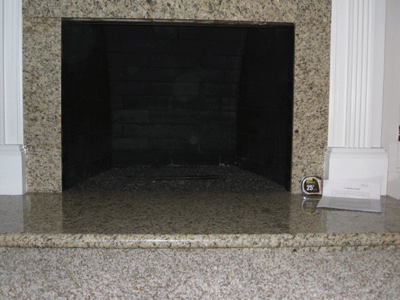
Fireplace Glass used:
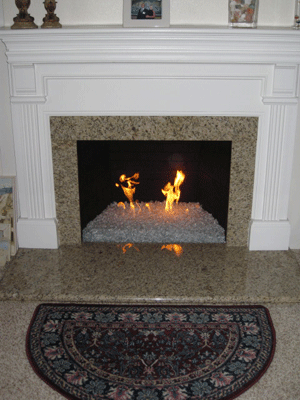
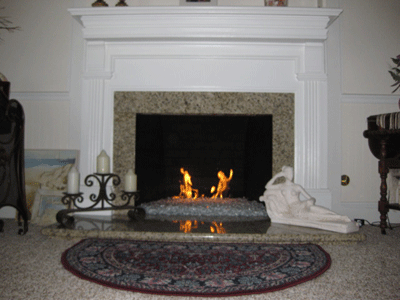
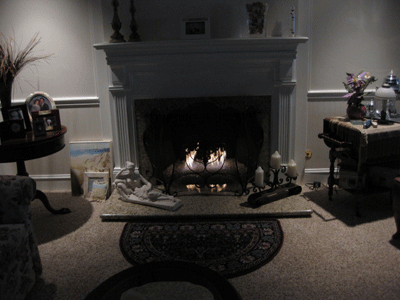
Pour in a Starfire base with a splash of Gold and Bronze Rust Copper on top.
.
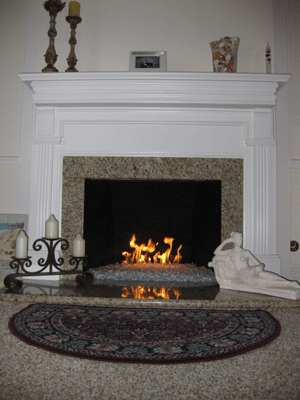
Then you have one nice fireplace, great job!
The project below is being featured on HGTV/ Yard Crashers/ DIY Network.
CLICK HERE FOR OUR PAGE ON DIY!
This is a gold mine and river project and as soon as they release the pictures of the project we will post those as well. But in the mean time here is our project we created for the DIY Network/ Idea Factory!
We started with Gold base glass on the two top gold pans.
The lower pan had a bed of Black Magic under the Gold base glass
We were pumping water into the top pan so it would run down through the three pans and then pour back into the gold river Yard Crashers created. Only fire came from the two top pans.
We used three 16" gold pans for this project.
Pictures of the finished project will be posted as soon as the Idea Factory forwards them to us.
The fireplace below was installed by Scott Hansford of Palm Springs California.
We made an aluminum border to separate the glass from the outer stone layer. This helped in design and saved on glass as well. We will explain as we move on:
Do you see how high the gas connection is? We sent a 90 degree elbow to point the gas line down and then added enough filler to the bottom of the gas line to conceal it under the glass.
The metal border is installed holding the outer layer of rock in place.
They didn't like the post in the fireplace so we cut a mirror to preview if in fact they wanted it covered at all. If they would of wanted it covered we would of made piece of super 8 stainless steel (highly polished) to cover the post. The mirror was only a temporary visual. DON'T USE REGULAR GLASS NEAR ANY FIRE! So if you are not sure, preview it. The glass we used was a Bronze base glass with Gold base glass and Clear Diamonds.
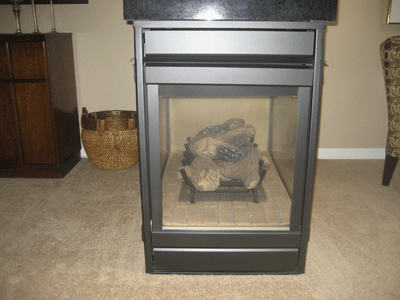
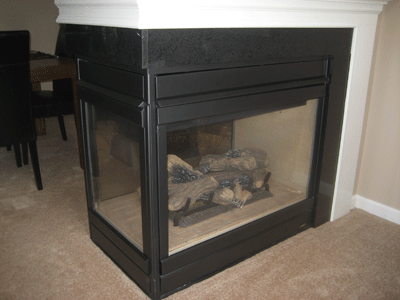
The fireplace below is a direct vent conversion. The most important issue to address here is to NEVER increase the amount of fuel that your fireplace was designed to burn.
We will explain as we move forward:
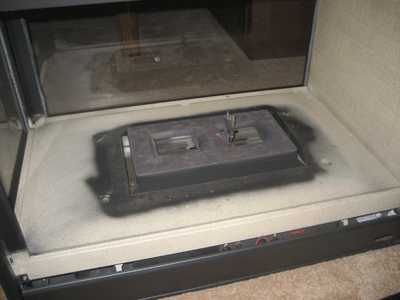
This is the burner in this particular direct vent fireplace.
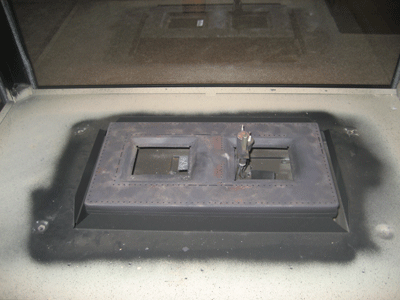
This burner will work just fine.
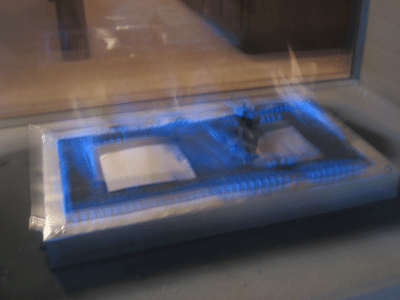
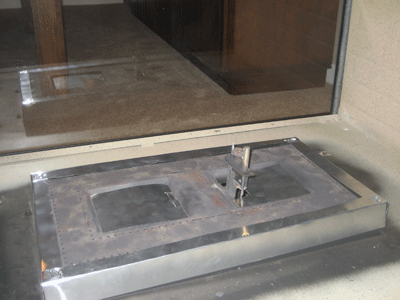
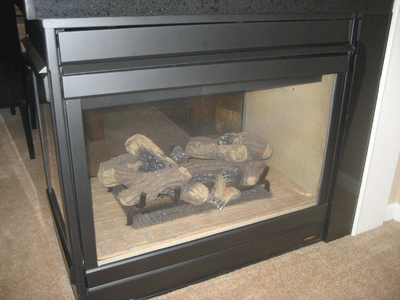
Nice Logs? Isn't that the WOW! factor you were looking for?
Now we add Bronze Rust Copper base glass with Gold on top.
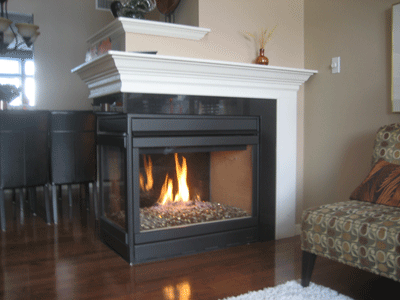
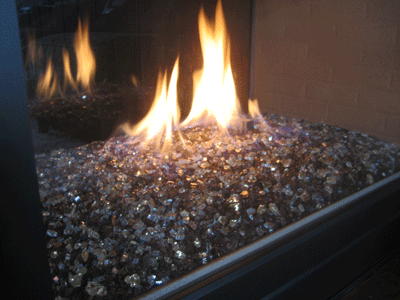
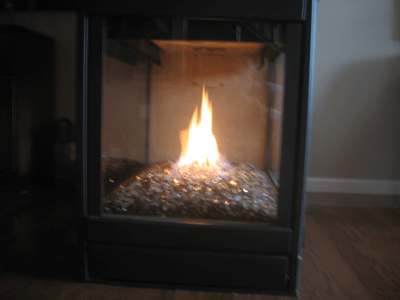
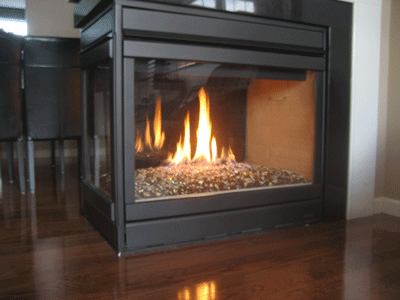
You tell me, which looks better?
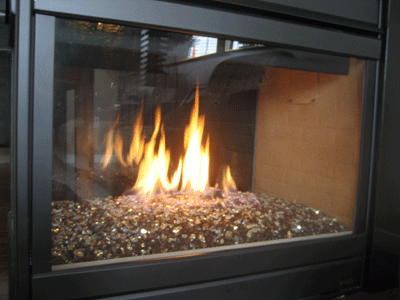
Mike
Clemen installed this next fireplace. He started of with Starfire base glass and exchanged it for a Bronze base glass.
Then he topped it off with 1 lb of each of the following:
New Yellow base glass,
Dark Red Orange Topper,
15 lbs of Bronze Reflective base glass,
Iris Yellow Topper,
Saffron Topper, Granny Apple Green Topper
and Extra Gold Ruby Topper.
And when he finished it, it looked amazing! Take a look.
Mike has received many compliments which we constantly shares. We do understand why and we were glad to help.
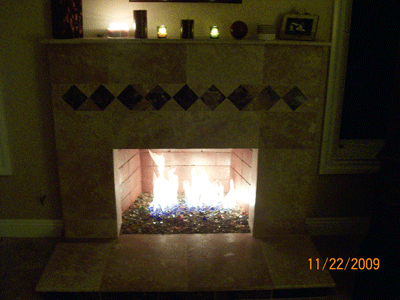
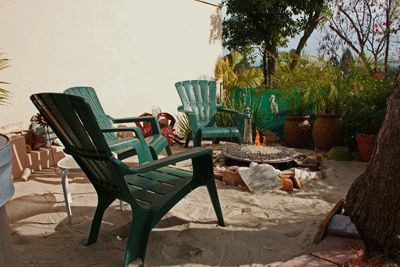
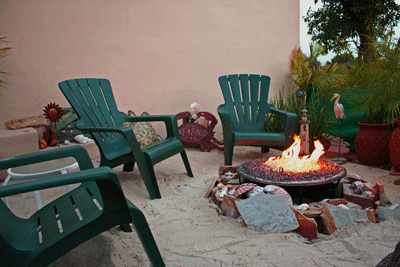
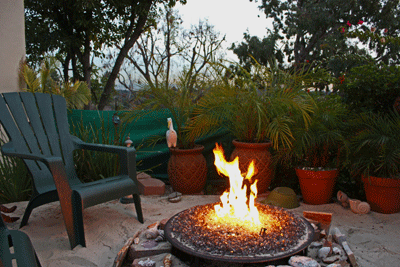
The fire pit below is from Frank Hammond. He created a beach environment in his back yard. He purchased a wood burning fire pit and we converted it to a gas burning pit. We also supplied a quick disconnect gas line to eliminate plumbing underground. he used a Bronze base glass over a bed of crushed lava and topped it with Gold base glass.
The fireplace below is a two sided fireplace from the bedroom to the bathroom. This is a very simple conversion. A Starfire base glass was used and topped with Gold bas glass.
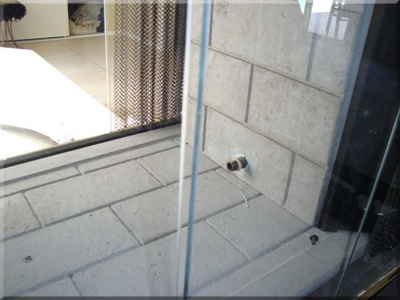
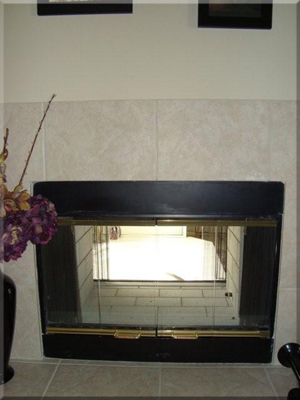
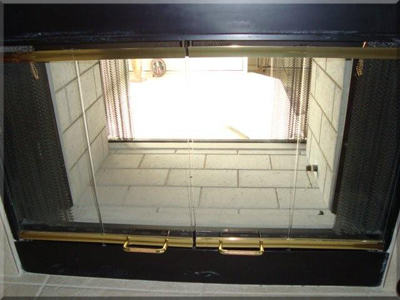
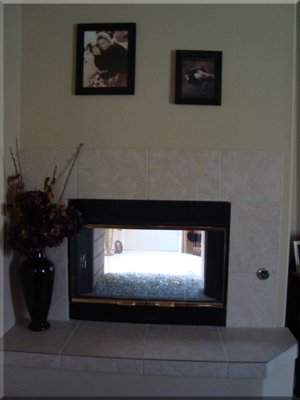
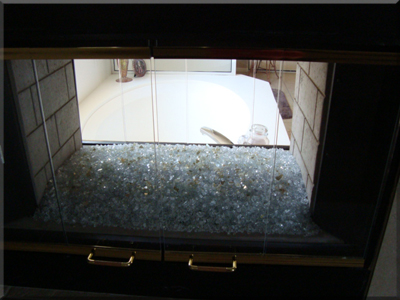
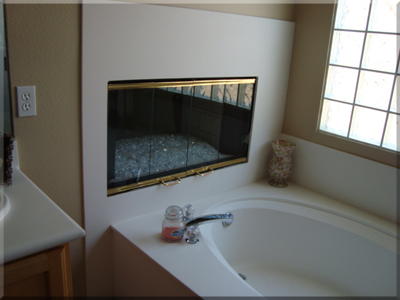
Very simple, very clean and very nice.
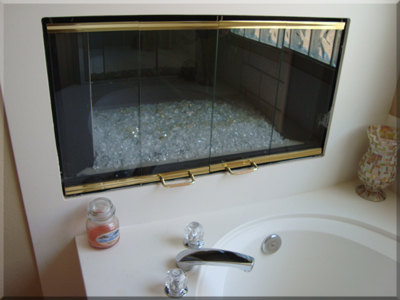
The fireplace pictures below have a Starfire base glass, Gold base glass and Copper Blue Topper.
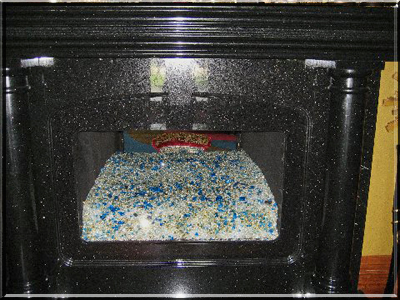
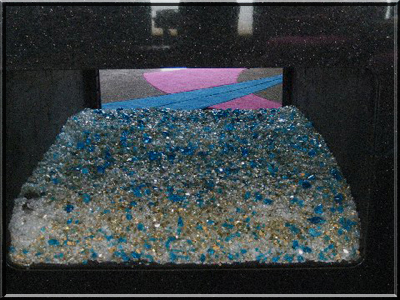
You have to admit, this is one interesting fireplace design!
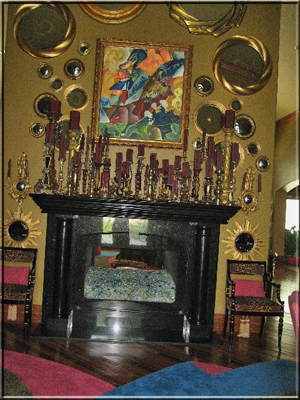
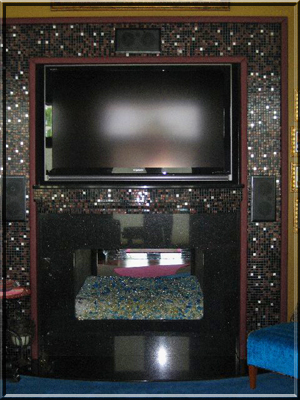
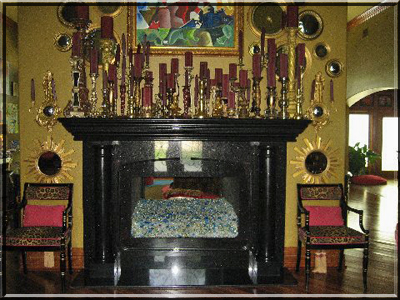
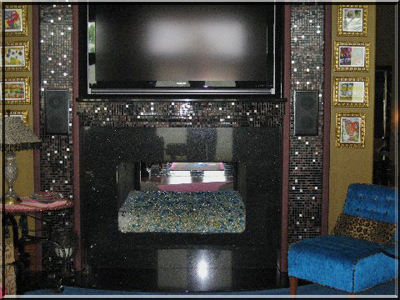
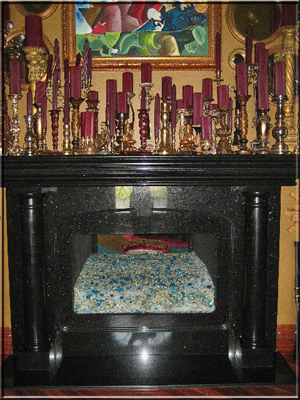
The fireplace pictures below will show how simple and easy it actually is to install.
Here are a few comments from J.D.
Harriman John. Harriman@dlapiper.com
Subject: More proof of how easy it is to do with Moderustic providing the materials!
We are so happy with our fireglass fireplaces (we have 3!). It has literally changed our lives in that we can use our fireplaces anytime we want with no worry about
cleaning ashes later on. Even better, the look is so superior to fake logs. All of our friends have been wowed by the look. We always send them your way.
Best regards,
J. D. Harriman
Here we go:

Above you can see how nice it WAS! YUK!
Below they painted, we always recommend painting the lines first and then painting each brick separately. Using this technique you can eliminate spots.

Install the burner. We usually recommend curling the flex line from underneath, but this works as well if your flex line is long enough. The reason for the flex line: it allows you to move the burner forward to prevent the flames from hitting the back wall.

Below the lava has been poured and test the flame pattern.

Pour the glass from the front going to the back. You can use a cup or pour from the bucket.

Turn it on and you're done!

The glass that was used is:
Starfire base,
1 lb of Gold,
Amber Diamonds,
Ice Ice Ice for one simple but nice fireplace!

The next fireplace has quit a mix! Fred
Pollakov decided on these colors:
Starfire Base Glass,
Bronze Rust Copper Base Glass mixed in,
Gold Reflective Base Glass,
Azurlite Base Glass,
Cobalt Blue Diamonds,
Amber Diamonds,
Caribbean Blue Cubes!.
The fireplace looks outstanding! There is a glass sculpture in the center which and is amazing!
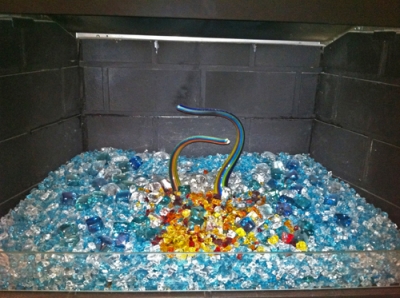
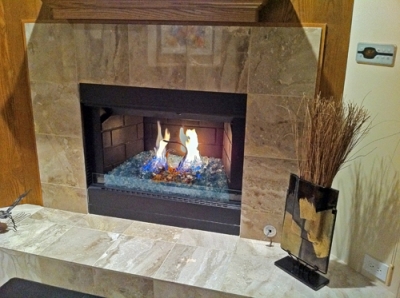
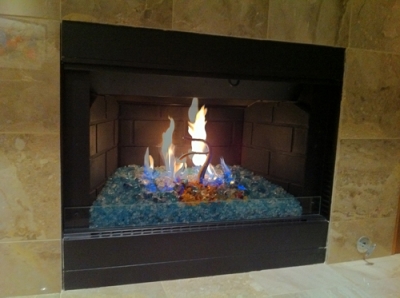
Notice the 3" tall 1/2" thick front screen at the bottom! Pretty amazing!
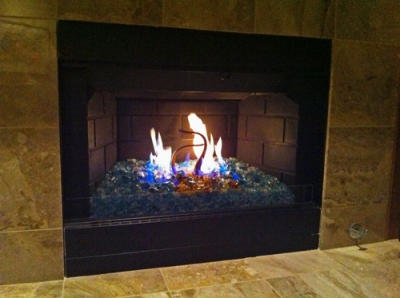
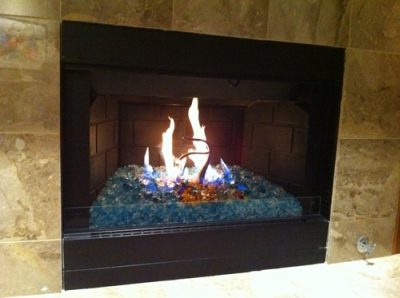
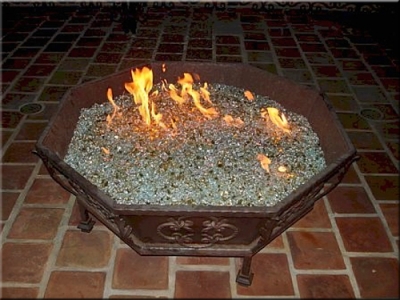
The next fire pit was created by Mike. He used a metal flower pot/ planting tub and just connected it to his gas line. He installed
Clear Base Glass and Gold on top.
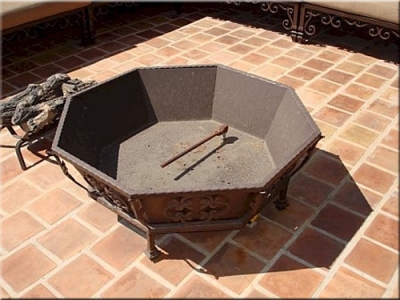
You can see the logs just outside of the pan on the left, yuk! I personally would of installed a ring burner, but that is just me!
But you have to admit, it is a good idea!
Here are two different color combinations we were asked to send to a customer. We include flash from the camera and no flash to show the variation of color. The first picture of each set has flash and the second has no flash.
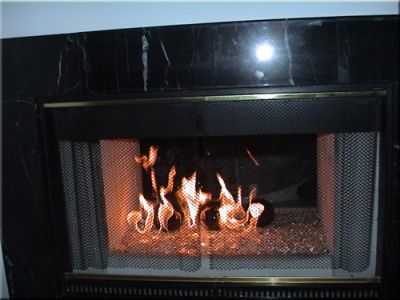
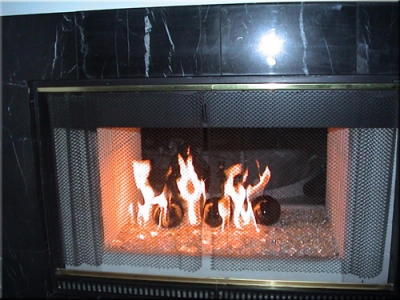
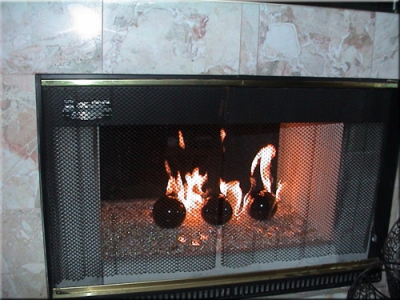
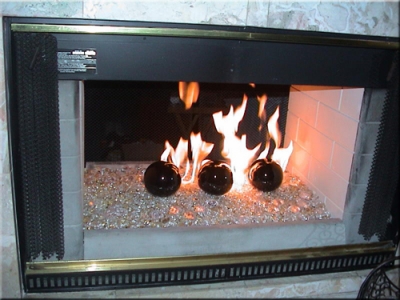
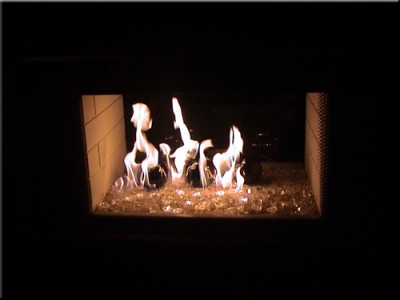
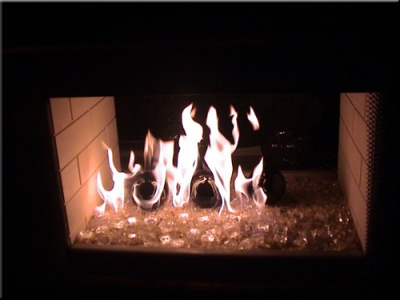
The next fireplace has a Starfire base, Gold (15 lbs) 2 lbs of Ice ice Ice and 3 of our new 4" Black Porcelain Coated FireBalls! What went wrong was they left the screens on and the burner was not centered, very important!
I hope she removed the screen centered the burner...
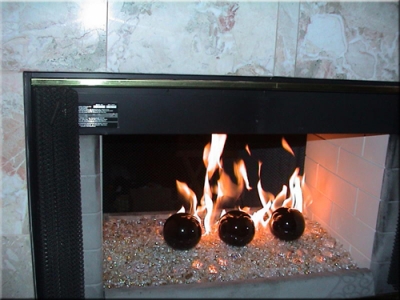
Now it looks nice!
Simon and Roberta Hollis Fireplace Surround
Click "HERE" or on the picture to see the complete installation!
